


B.1 Communication parameters
B.1.1 Default communication parameters
The default communication parameters are:
• Baud rate
: 19200 bps
• Parity : none
• Data bits
: 8
• Stop bits
: 1
• Flow control
: none
When the server receives a serial break signal, it will switch to default communication parameters. After 5 seconds of inactivity of the
HOST, it will switch back to the configured communication parameters. This feature ensures the HOST can always gain access to the
instrument.
B.1.2 Miscellaneous
Command, request and response lines are terminated by a linefeed <LF>. Carriage returns <CR> are discarded in commands and
requests.
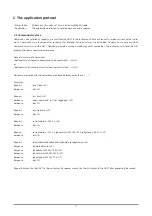
B.2 Client server protocol
The instrument provides the information and will send a response on every command from the HOST. Every request from the
HOST is acknowledged by 0, 1 or more responses and a prompt. See examples 1 to 3. The instruments transmit a status message
periodically. A status message should not be acknowledged by the HOST (see example 4).
Direction
Client (host)
Server (instrument)
Example 1
Action host
Request
Response
Action instrument
→
Transmit request
Request
Process request
←
Prompt
Acknowledge
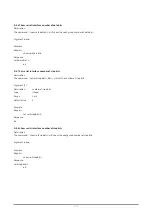
Example 2
→
Transmit request
Request
Process request
←
Response
Send
response
←
Prompt
Acknowledge
Example 3
→
Transmit request
Request
Process request
←
Response1 Send response 1 to 3
←
Response2
←
Response3
←
Prompt
Acknowledge
Example 4
←
Status
Send
status
B. The protocol layer
94
Содержание SOLYS Gear Drive
Страница 1: ...SOLYS2 Sun Tracker SOLYS Gear Drive Sun Tracker Instruction Manual...
Страница 2: ...2...
Страница 4: ...4...
Страница 6: ...6...
Страница 10: ...10...
Страница 38: ...Figure 3 12 Mounting the sun sensor M5 locking nut 3x Shoulder washer 6x Compression spring 3x Sun Sensor 38...
Страница 39: ...Figure 3 13 Adjustment of the sun sensor 21 0 5 mm 3x 39...
Страница 61: ...6 Insert the Ethernet cable Contacts on this side 61...
Страница 78: ...78...
Страница 80: ...80...
Страница 86: ...86...
Страница 88: ...88...
Страница 112: ......


