34
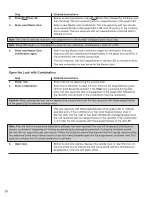
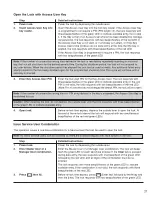
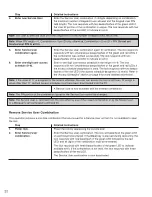
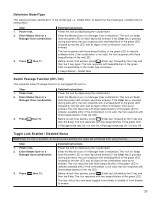
Note: If at any time during the procedure the lock power drops below a sufficient level for operation, the lock will
continually beep and flash the red LED, prompting the user to depress the outside lever to provide additional power.
Step
Detailed Instructions
5.
Ensure lock remains powered
Ensure that the lock remains powered and the SA Key remains in the reader
and SA Key remains in reader
until the lock has com plet ed uploading the lock user table data. Upon com-
until complete.
pletion of the operation, the lock responds with two simultaneous
beeps/flashes of the green and red LEDs.
The user table has now been uploaded to the lock.
Lock User Table, Holiday & Daylight Savings Time Data Upload Via Palm Or ga niz er
To upload the data, complete the following steps:
Step
Detailed Instructions
1.
Attach Palm Organizer to PC.
Insert the Palm Organizer into the Palm cradle attached to the PC.
2.
Create user table data on PC.
Logon to the PC software and click Locks, then Add Locks to System.
Enter the lock serial number, site number and other identifying in for ma tion,
and click OK. Define Holiday Settings, Access Sched ules and create the
Access User list for the lock. From the “List of Locks Pro cessed” window,
click the Store Locks on Palm Or ga niz er button. When finished, click the
Close button on the “List of Locks Pro cessed” window. After all locks have
been processed, perform a Hot Sync operation with the Palm.
3.
Connect Palm Organizer to
Connect the Palm Interface Module to the lock using the lock interface
lock.
cable.
4.
Power lock.
Power the lock by depressing the outside lever.
5.
Enter combination.
Enter the combination. The lock will beep/flash the green LED on each key-
stroke entered. If the Clear key is pressed during data entry, the lock
responds with one beep/flash of the green LED followed by the red LED, and
all digits of the com bi na tion must be re-entered. The lock responds with
three beeps/flashes of the green LED to indicate available entry. If the com -
bi na tion is not valid, the lock re sponds with three beeps/flashes of the red
LED.
6.
Press then 6.
Before re-lock time expires, press (Enter key) followed by the 6 key. The
lock re sponds with one beep/flash of the green LED every second until the
Palm interface cable has been in sert ed into the lock communication
connector.
7.
Upload lock user table data.
Turn on the Palm Organizer and tap the Connect to Lock button at the bot-
tom of the Main Menu. Tap the Add Users button on the top of the Connect
to Lock menu. After all user table data has been uploaded, tap the Dis con -
nect button at the bottom of the Connect to Lock menu. Upon com ple tion of
the Palm op er a tions, the lock re sponds with two simultaneous beeps/flashes
of the green and red LEDs.
Содержание PowerLever 455 Series
Страница 1: ...PowerLever 455x Operating Instructions...
Страница 37: ...37 Notes...
Страница 38: ...38 Notes...
Страница 39: ...39 Notes...

