PAGE 59 of 177
CX0344 Rev 05.3
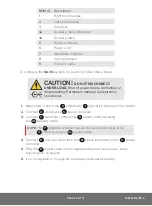
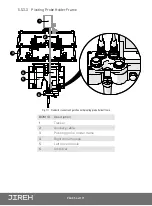
BOM ID Description
BOM ID
1
Slider PPS encoder
6
Power controller
2
Encoded skew vertical P.H.
7a
Auxiliary cable
3
Right drive module
7b
Auxiliary cable (alternate)
4
3-axis encoder cable
8
Handheld controller
5
Umbilical
9
Power cord
10
User instrument
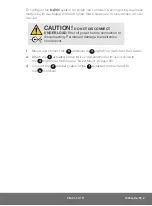
To configure the
NAVIC
system for scanning using a single module and a 3-axis
nozzle scanning system, follow these steps
(see “3-Axis Nozzle Scanning” on page
87)
:
1.
Separate the crawler’s drive modules
(see “Connecting/Disconnecting Left and
Right Modules” on page 67)
.
2.
Mount and connect the
5
umbilical at a 90° angle
to
3
right drive module.
3.
Connect the
5
umbilical
to the
6
power controller
.
4.
Connect the
8
handheld controller to the
6
power controller using the
7
b
auxiliary cable.
NOTE:
The
8
handheld controller may also be connected directly to the
5
umbilical using the
7
a
auxiliary cable.
5.
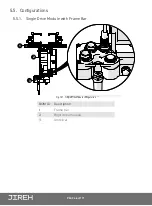
Mount the appropriate 3-axis nozzle configuration to the swivel mount of the
crawler.
6.
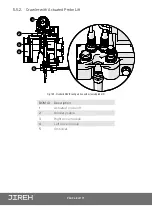
Connect the
4
3-axis encoder cable to the encoder cables of the
2
encoded skew vertical probe holder and the
1
slider pps encoder.
7.
Connect the opposite end of the
4
3-axis encoder cable to the
10
user’s
instrument and to the
6
power controller.
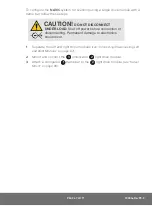
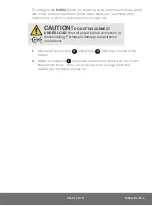
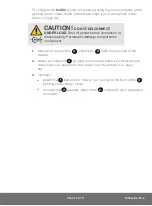
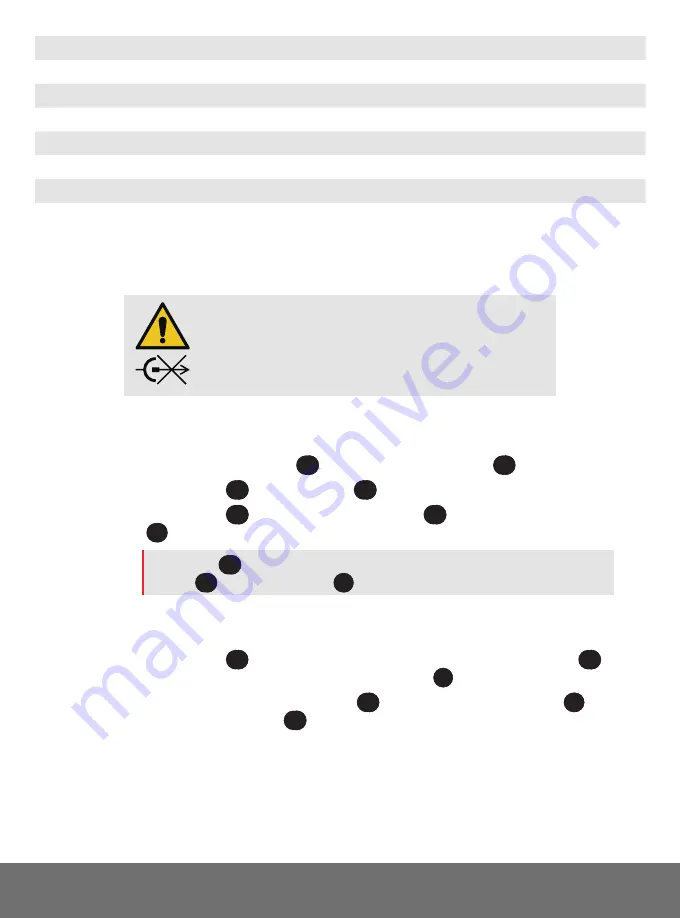
CAUTION!
DO NOT DISCONNECT
UNDER LOAD.
Shut off power before connection or
disconnecting. Permanent damage to electronics
could occur.
Содержание CX0344
Страница 1: ...NAVIC 2 Automated Steerable Scanner CX0344 Rev 05 3 ...
Страница 12: ...PAGE 1 of 177 CX0344 Rev 05 3 ...
Страница 55: ...PAGE 44 of 177 5 4 System Connectivity 1 2 4a 3 5 4b 9 7 6 8 Fig 106 Standard crawler configuration ...
Страница 189: ...Jireh Industries Ltd 53158 Range Road 224 Ardrossan Alberta Canada T8E 2K4 780 922 4534 jireh com ...

