13
W A T E R F I L T E R
NOTES:
• The filter bypass or water filter must
be in place or no water or ice will be
dispensed.
•
DO NOT
dispose of the filter
bypass. It should be stored for future
use, in the event that you choose to
use the water and ice dispenser
without a filter.
I
NITIAL
F
ILTER
C
ARTRIDGE
I
NSTALLATION
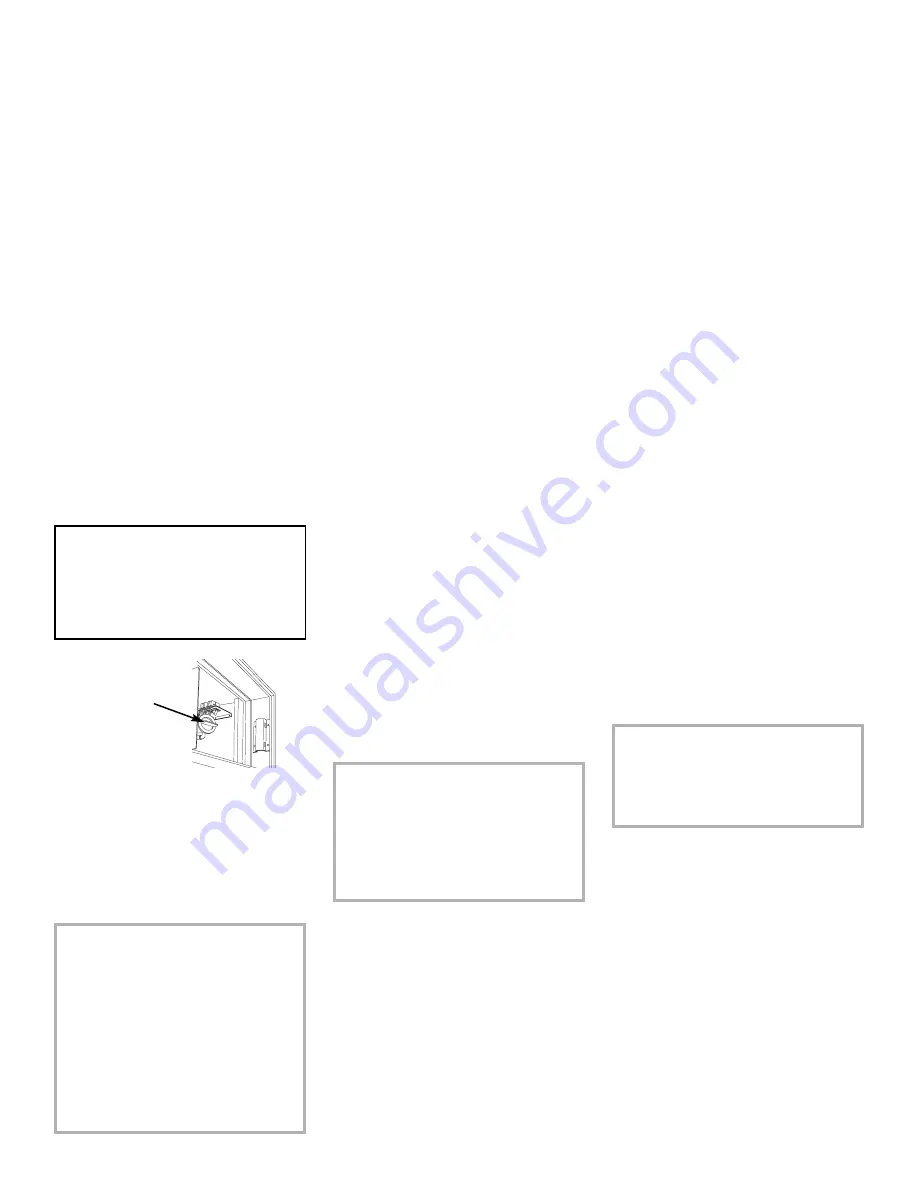
The water filter mounts in the machine
compartment above the refrigerator.
Your refrigerator was delivered from the
factory with a filter bypass in place. If the
filter was not installed for you when the
refrigerator was installed, the filter car-
tridge can be found packaged inside of the
refrigerator. It can be easily installed
without using any additional parts, screws
or fasteners.
If the home is equipped with a Reverse
Osmosis water treatment system, this
additional water filter is not necessary.
The filter bypass should remain installed.
R
EPLACING THE
F
ILTER
C
ARTRIDGE
1. Twist the filter cartridge
1
⁄
4
turn
counterclockwise to disengage from
the head. Twist gently until the
cartridge is free from the head, but
DO NOT pull.
2. Carefully remove the replacement
filter from its packaging.
3. Follow steps 4 through 8 under Initial
Filter Cartridge Installation.
Filter
Bypass
NOTE:
Filter life may be affected by abnormal
feed water conditions or unusual inci-
dents such as hydrant flushes, reservoir
turnover or varying local water condi-
tions.
P
ERIODS OF
N
ON
-U
SE
If the refrigerator has been out of use or
ice and water have not been dispensed for
more than 2 weeks, the filter should be
replaced when the refrigerator is put back
into service.
S
PECIAL
N
OTICES
It is essential that operation, maintenance
and filter replacement requirements be
carried out as scheduled. This product is
for cold-water use only.
Do not use with water that is microbio-
logically unsafe, or of unknown quality
without adequate disinfection before or
after the system. Systems certified for cyst
reduction may be used on disinfected
water that may contain filterable cysts.
For your own knowledge and safety, it is
recommended that your water quality be
periodically tested.
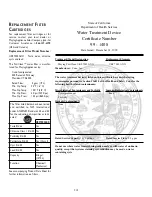
The contaminants or other substances
removed or reduced by this water treat-
ment system are not necessarily in your
water. The feed water connection must
conform to applicable plumbing codes.
NOTE:
A newly installed water filter cartridge
may cause water to temporarily spurt
from the dispenser.
IMPORTANT:
• In order for the water filter monitor
system to be set, power to the unit
must be
ON
when a new filter is
installed.
1. Remove the machine compartment
cover (see page 4).
2. Twist the filter bypass cap
1
⁄
4
turn
counter-clockwise to disengage. Re-
move the filter bypass from the filter
head apparatus.
3. Carefully remove the filter from its
packaging.
4. Remove the red cap from the filter.
5. Lubricate the O-ring with food-grade
vegetable oil.
6. Line up the cartridge ears so it can be
inserted into the filter head. Rotate
the cartridge into the head. Twist the
cartridge
1
⁄
4
turn clockwise to lock it
into place.You will feel a stop.
7. Dispense water through the dispenser
for 10 minutes to flush away any loose
particles.
8. Carefully check for leaks.
Содержание Luxury Series
Страница 13: ...13 16021730 Rev 0 Refrigerant Flow Side by Side Refrigerant Flow Diagram ...
Страница 14: ...16021730 Rev 0 14 Cabinet Air Flow Side by Side Cabinet Air Flow Diagram ...
Страница 16: ...16021730 Rev 0 16 Water Valves Diagram Bottom View Back View Primary Valve Secondary Valve Filter Head Bypass ...
Страница 46: ...A 1 ...
Страница 72: ...B 1 Appendix B ...

