Component Testing
!
WARNING
To avoid risk of electrical shock, personal injury, or death, disconnect electrical power source to unit, unless test
procedures require power to be connected. Discharge capacitor through a resistor before attempting to service.
Ensure all ground wires are connected before certifying unit as repaired and/or operational.
16021730 Rev. 0
5
Component
Description
Test Procedures
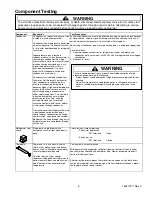
Condenser
Condenser is a tube and fin construction
located in machine compartment.
Condenser is on high-pressure discharge
side of compressor. Condenser function
is to transfer heat absorbed by refrigerant
to ambient.
Higher-pressure gas is routed to
condenser where, as gas temperature is
reduced, gas condenses into a high-
pressure liquid state. Heat transfer takes
place because discharged gas is at a
higher temperature than air that is
passing over condenser. It is very
important that adequate airflow over
condenser is maintained.
Condenser is air cooled by condenser
fan motor. If efficiency of heat transfer
from condenser to surrounding air is
impaired, condensing temperature
becomes higher. High liquid temperature
means liquid will not remove as much
heat during boiling in evaporator as
under normal conditions. This would be
indicated by high than normal head
pressures, long run time, and high
wattage. Remove any lint or other
accumulation that would restrict normal
air movement through condenser.
From condenser the refrigerant flows into
a post condenser loop which helps
control exterior condensation on flange,
center mullion, and around freezer door.
Refrigerant the flows through the drier to
evaporator and into compressor through
suction line.
Leaks in condenser can usually be detected by using an electronic leak detector
or soap solution. Look for signs of compressor oil when checking for leaks. A
certain amount of compressor oil is circulated with refrigerant.
Leaks in post condenser loop are rare because loop is a one-piece copper tube.
For minute leaks
1. Separate condenser from rest of refrigeration system and pressurize
condenser up to a maximum of 235 PSI with a refrigerant and dry nitrogen
combination.
2. Recheck for leaks.
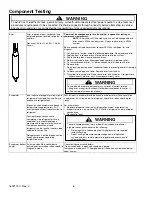
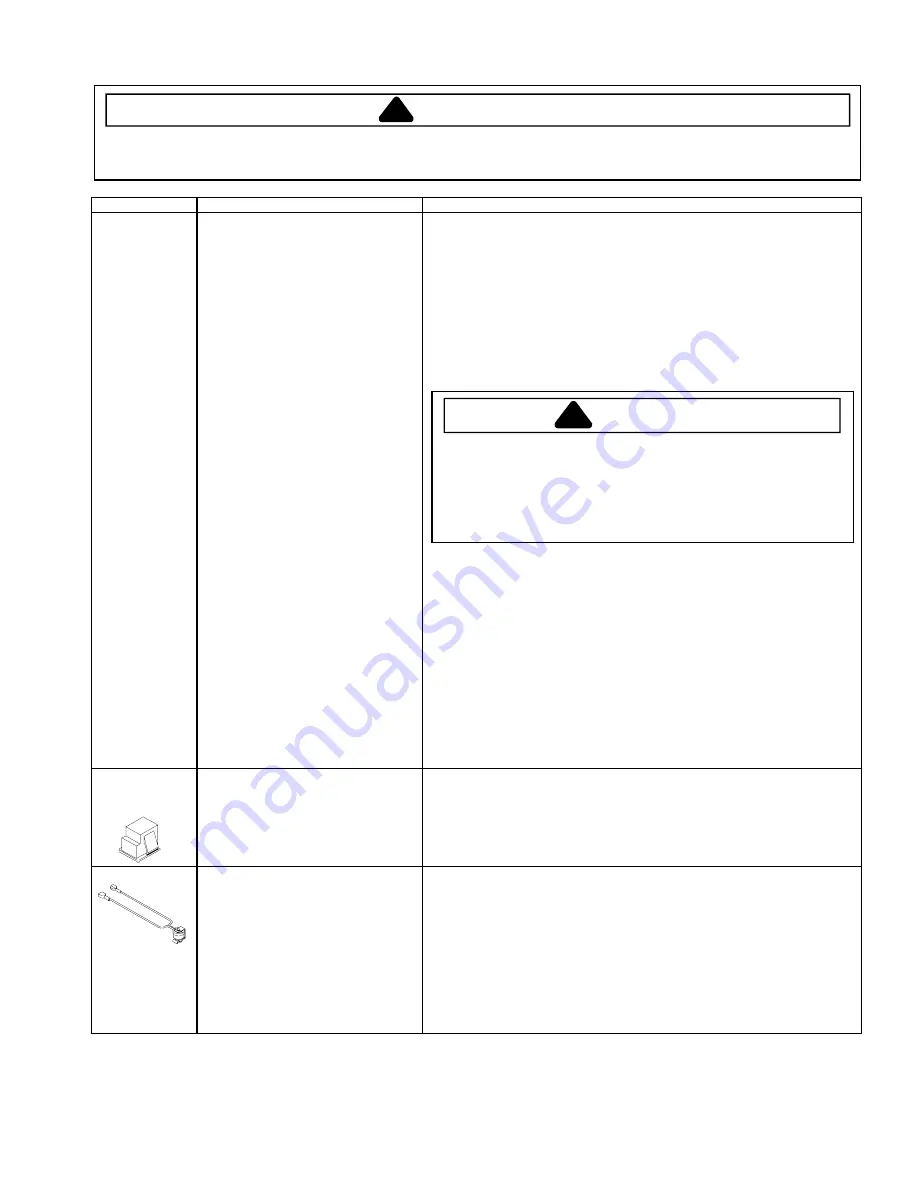
Refrigerator light
switch
Single pole, single throw switch
completes circuit for light when door is
open.
Check resistant across terminals.
Switch arm depressed
“NO” terminals
Open
Switch arm up
“NO” terminals
Closed
Thermostat
Thermostat is in a series circuit with
terminal 2 of defrost timer, and defrost
heater. Circuit is complete if evaporator
fan motor operates when cold.
Controls the circuit from freezer
thermostat through defrost terminator to
defrost heater. Opens and breaks circuit
when thermostat senses preset high
temperature.
Test continuity across terminals.
With power off and evaporator coil below freezing, thermostat should show
continuity when checked with ohmmeter. See “Heater, evaporator (defrost)”
section for additional tests.
After defrost thermostat opens, thermostat remains open until end of defrost
cycle and refrigerator starts cooling again. Defrost thermostat senses a preset
low temperature and resets (closes).
WARNING
!
To avoid severe personal injury or death from sudden eruption of high
pressures gases, observe the following:
Protect against a sudden eruption if high pressures are required for leak
checking.
Do not use high-pressure compressed gases in refrigeration systems
without a reliable pressure regulator and pressure relief valve in the
lines.
Содержание Luxury Series
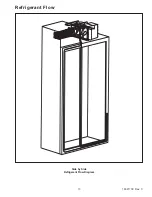
Страница 13: ...13 16021730 Rev 0 Refrigerant Flow Side by Side Refrigerant Flow Diagram ...
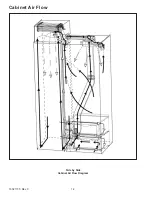
Страница 14: ...16021730 Rev 0 14 Cabinet Air Flow Side by Side Cabinet Air Flow Diagram ...
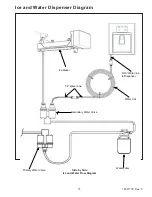
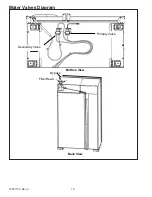
Страница 16: ...16021730 Rev 0 16 Water Valves Diagram Bottom View Back View Primary Valve Secondary Valve Filter Head Bypass ...
Страница 46: ...A 1 ...
Страница 72: ...B 1 Appendix B ...


