- 08 -
The maximum ambient temperature of 45°C must not be exceeded.
Do not operate the device until you have become familiar with its functions. Prevent operation by
persons who are not qualified to use the device. Most damage is the result of improper operation!
Please use the original packaging or specially adapted flight cases if the device is to be
transported. When using the original packaging, the tilt lock must not be closed!
ATTENTION: Allow a fixture distance of at least 0,5 meters from easily flammable
material and the distance between the light emission and the surface to be illuminat-
ed must be at least 2,0 meters.
ATTENTION: The front pane must be replaced if it is visibly damaged to the extent
that its function is impaired, e.g. by cracks or deep scratches!
ATTENTION: To avoid damaging the internal parts of the light head, never let sunlight
shine directly into the front pane.
!
!
!
5. Installation
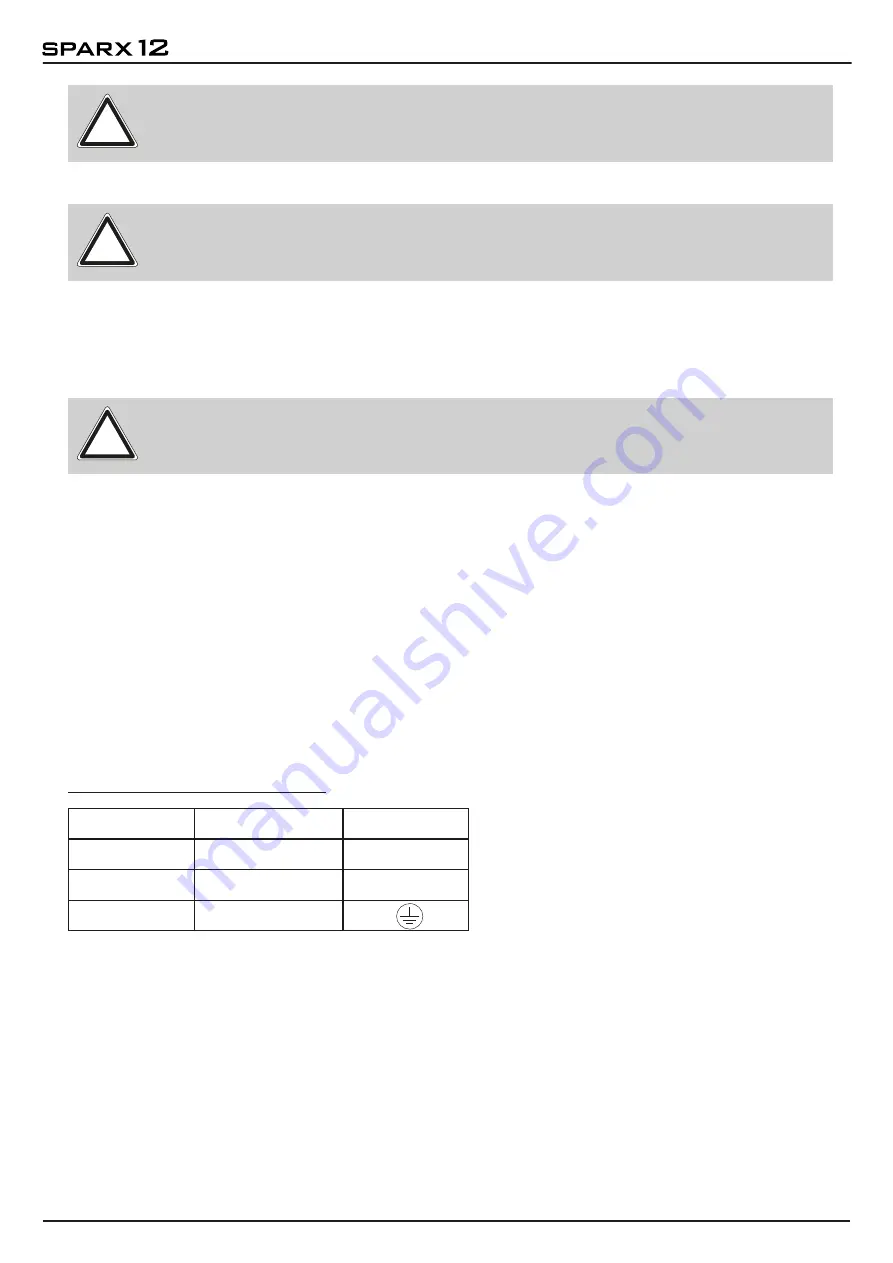
Wire colour
Function
Symbol
Brown
Phase
“L”
Blue
Neutral wire
“N”
Green/Yellow Protective earth
“PE”
3. Installation
3.1 Unpacking the device
Contents of the packaging: This spotlight, two Omega brackets with original Camloc fasteners,
powerCON-TRUE1 Schuko cable and a safety note. Open the packaging at the top and remove
the powerCON TRUE1 cable, the inlay and the safety instructions. The Omega brackets are
located under the spotlight. Check the Sparx 12 for possible transport damage. This should be
communicated immediately to the transport company.
The Sparx 12 is supplied with an assembled Schuko power cable with the powerCON-TRUE1
plug (only the powerCON-TRUE1 plug is included in the US version). The connection of the
Sparx 12 to the power supply (100-240 volts, 50 - 60 hertz) must comply with the connection
rules of the respective country.
Connection in Germany/Europe:
3.2 Connection of the fixture to the power supply


