Intake Marker Chain Assembly
TOOLS REQUIRED:
Pliers
STEP 1:
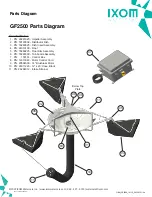
Locate the three marker chain sets.
These will provide the means to lowering and
raising the intake plate level.
STEP 2:
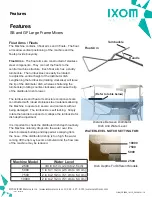
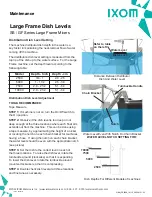
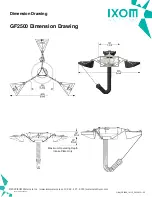
The marker chain has numbered
indicators represent the depth of the intake plate
when that numbered indicator is at water level.
For this reason, when attaching the marker chain,
the numbers should start highest value at the top
and the lowest value at the bottom. The numbers
are indicated in feet.
STEP 3:
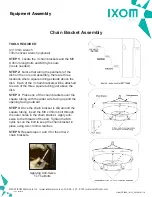
Locate the very lastlink in the chain
end having the highest numbered indicator. Use
a quick link to attach the link to the small hole
located on the chain bracket. Tighten the quick
link using a pliers.
STEP 4:
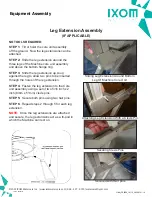
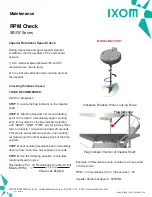
Find the last link on the end having
the lowest numbered indicator. This link should
attach to the welded link located directly below
the chain bracked on the hose flange connected
to the intake plate. Use a quick link to make this
attachment. Tighten the quick link using a pliers.
STEP 5:
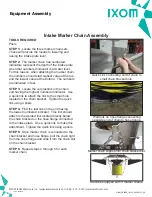
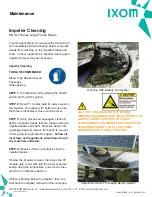
Once marker chain is connected to the
chain bracket and hose flange, pull the chain tight
from the nose flange and slide it into the chain slot
on the chain bracket.
STEP 6:
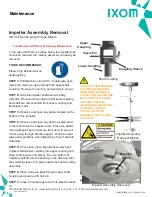
Repeat steps 2 through 5 for each
marker chain.
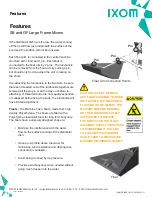
Quick Link connecting end of chain to
small chain bracket hole.
Weld link on hose flange connecting
opposite end of chain to hose flange.
Marker chain slipped into chain bracket slot.
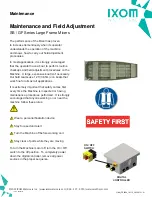
Machine equpped with 3 marker chains.
©2022 IXOM Watercare Inc. | www.ixomwatercare.com | 866 - 437 - 8076 | [email protected]
Equipment Assembly
10155_20220110
O&M_GF2500_10115_20220121 - 20

