


E081101X 14/11/08
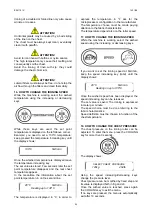
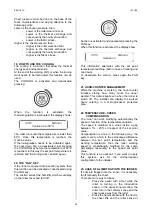
marked terminal on the ironer.
Following the kind of supplì written on the serial
number label, connect the cables to the teriminal
using a screwdriver :
: ground
L1, L2, L3: phases
N: neutral
When installing, or in case of supply cable
replacement, the ground cable bust be 5 cm
longer than the others.
As the fan are single-phase, and the roller motor
is started by an inverter, it is not necessary to
control the motor rotation sense.
The equipment must be connected to an effective
ground system: the manufacturer is not
responsible in case this connection is not duly
performed and in compliance with the relative
rules in force.
Before of any maintenance operation cut off the
electrical supply: for maintenance refer to the
electric diagram stored in the left side door or
available in the manufacturer web site.
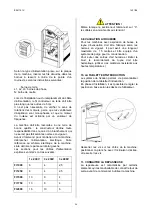
Section for the supply cables are the following (in
mm
2
):
1 x 230V
3 x 230V
3 x 400V
1000
6 4 2,5
1250
6 4 2,5
1500
10 6 4
1750
10 6 4
2000
16 10 6
WARNING!
Even when the main switch is positioned on “0”,
the cables before it have tension!
ATTENTION!
Machine connection must always be made
respecting the serial number label (power, supply
tension, frequency). For different supply tension,
ask for information to the manufacturer.
9. HUMID AIR EXAUST
The air exhaust duct (for ironer equipped with fan
system) must be realised in compliance with the
rules in force.
The exaust duct must have a maximum linear
length of 15 mt and must be equipped with a
condenses collector system, so that water return
to the suction fan are avoided.
In order to avoid humid air exits and noises,
exaust junctiona from the machine to outside must
be airtight thanks to material wich is high
temperature resistant (using filler, rubber solution,
silicone).
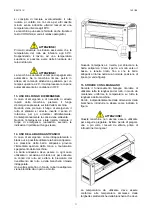
10. INTRODUCTION TABLE
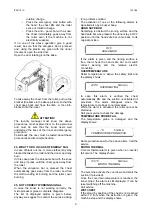
The introduction table fixing system allow to adjust
the table position.
At the installation moment, adjust the position
taking in consideration the user requests.
Unscrew the screw on both machine sides,
position the table with the wished inclination and
screw again the screw on both ironer sides.
11. KNOWING THE IRONER
The ironer has some special features that is
necessary to know before to start to use the
machine.
22