114
1-screen display
Live images from cameras can be displayed on a 1-screen.
Displaying images on a control screen
Step 1
When displaying in a multi-screen, click the 1-screen
button of the "Multiscreen select".
→
→
The image will be displayed on a 1-screen.
Step 2
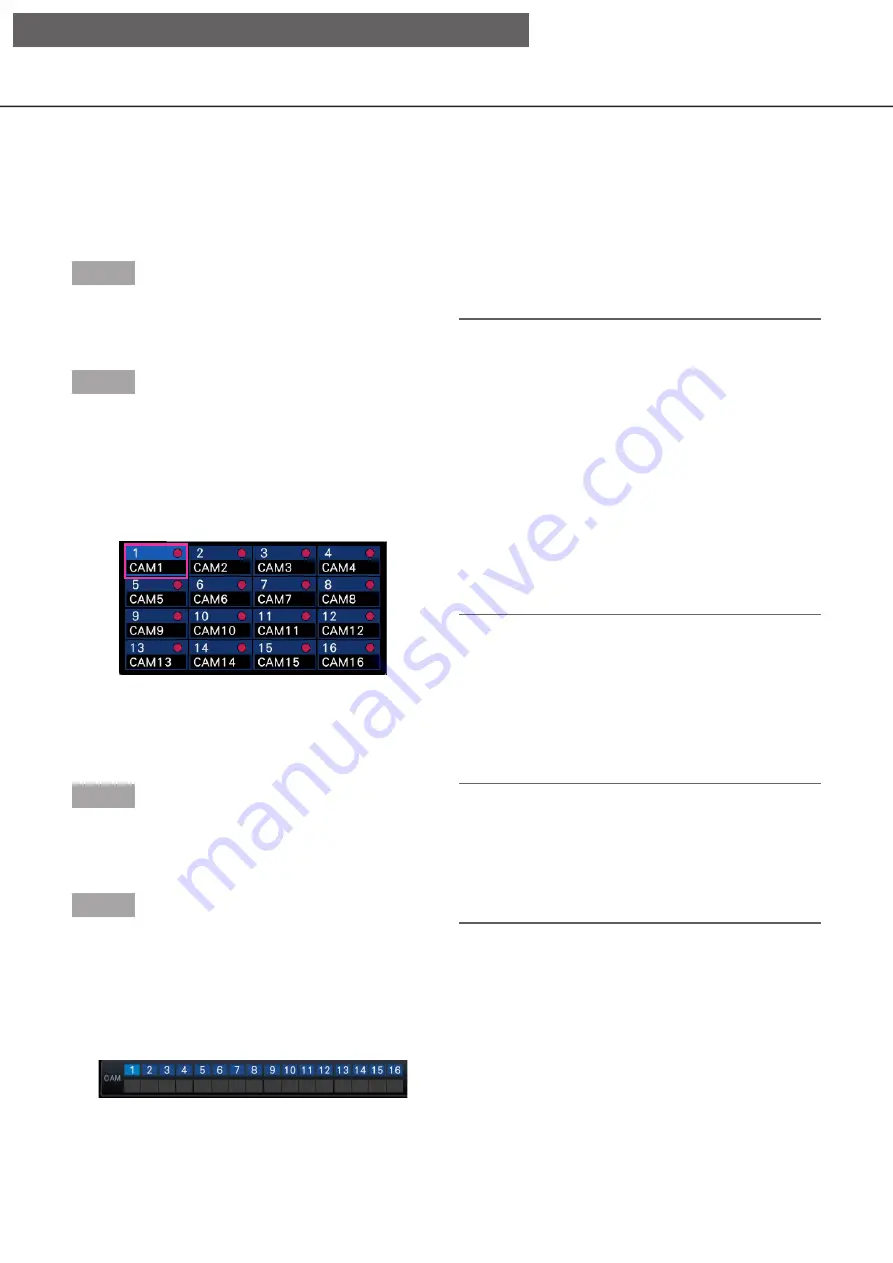
Click the camera number panel of the desired image
from the camera.
→
→
The background color of the selected camera
number will turn aqua, and live images will be
displayed.
Camera No. box in the control screen
If a camera that you want to display is not on the
camera number panel, select it on the camera
number tab and move to Step 2.
Note:
• Another way to display images on a 1-screen is to
double-click the camera number panel of the
camera to be selected in the image display area.
• In the multiscreen display area, double-clicking
the camera selection frame is also possible to
display an image on a 1-screen.
• The audio of the camera whose images are being
displayed will be output. (It is possible to fix audio
to be output on "Audio output camera" under
"Advanced setup" under "Monitor".)
• At the default, black zones will be displayed on
the top and bottom of images with the aspect
ratio of 16:9. Refer to page 52 for the setting to
enlarge the vertical size of displayed images.
Displaying images on a wide view
Step 1
When displaying in a multi-screen, click the 1-screen
button of the "Multiscreen select".
→
→
The image will be displayed on a 1-screen.
Step 2
Drag the camera No. to be displayed over the live
image and drop it.
→
→
The background color of the selected camera
number will turn aqua, and live images will be
displayed.
Camera No. box in the wide view screen
Note:
• The camera can be selected by the right-click
menu on the image display area.
• The audio of the camera whose images are being
displayed will be output. (It is possible to fix audio
to be output on "Audio output camera" under
"Advanced setup" under "Monitor".)
[Operation via recorder's main monitor]


