background image

12 - English

OPERATION

  Turn around and pull the unit along behind you to the 

desired location. 

  Lower the air compressor until it sits securely on a flat 

surface.

TRANSPORTING THE AIR COMPRESSOR UP 
OR DOWN STAIRS

See Figure 5, page 18.

To transport the air compressor down stairs:

  Using the carrying handle get a firm grasp of the unit.  Lift 

the unit into a safe and comfortable carrying position.


NOTE:  Use  good  lifting  techniques  and  get  help  if 

needed.

  With proper footing and balance, carry the unit down one 

step at a time.

  Use care in transporting the unit down or up stairs to avoid 

damage to the stairs, damage to the unit, and personal 
injury

  Lower the air compressor until it sits securely on a flat 

surface.

TOOL STORAGE

See Figure 6 - 7, page 18.

  Pneumatic accessories may be stored in the accessory 

compartment.

NOTE:  Always  disconnect  the  tools  from  the  air  hose 
and  securely  close  the  accessory  compartment  before 
storage.

  Certain pneumatic nailers can be mounted to the sides 

of  the  air  compressor  using  the  side  connect  storage 
areas. Framing and roofing nailers should not be stowed 
in these storage areas as they are too large.

NOTE: Never  rest  the  trigger  of  the  nailer/stapler  tool  on 
this storage mount.

  The  air  compressor  should  be  stored  on  a  stable  flat 

surface either in the horizontal or upright position.

NOTE: Do not suspend the air compressor as it may result 
in damage to the air compressor or personal injury. 

AUTO/OFF

See Figure 8, page 18.

  Connect  the  air  compressor  to  a  power  supply.  Turn 

the  power  switch  to  the 

AUTO  position  to  power  the 

compressor on, as shown in the start up section of the 
quick reference label.

NOTE: Do not run the compressor in the vertical position.

  To turn the air compressor off, turn the power switch to 

the 

OFF position.

NOTE: When the compressor is in the AUTO position, the 
air compressor will automatically turn back on when the tank 
air pressure drops below the preset pressure limit. It will also 
shut off again when the max pressure is reached.

RESETTING THE COMPRESSOR

When amperage into the air compressor exceeds the specified 
amperage, the air compressor will automatically shut off. 
To reset the air compressor:

  Turn the air compressor off.

  Unplug the air compressor to allow unit to cool and to 

trigger reset


NOTE: If the overload protector is actuated, the motor 
must be allowed to cool down for 30 minutes.

  Plug the air compressor into an approved outlet.

  Turn the air compressor on.

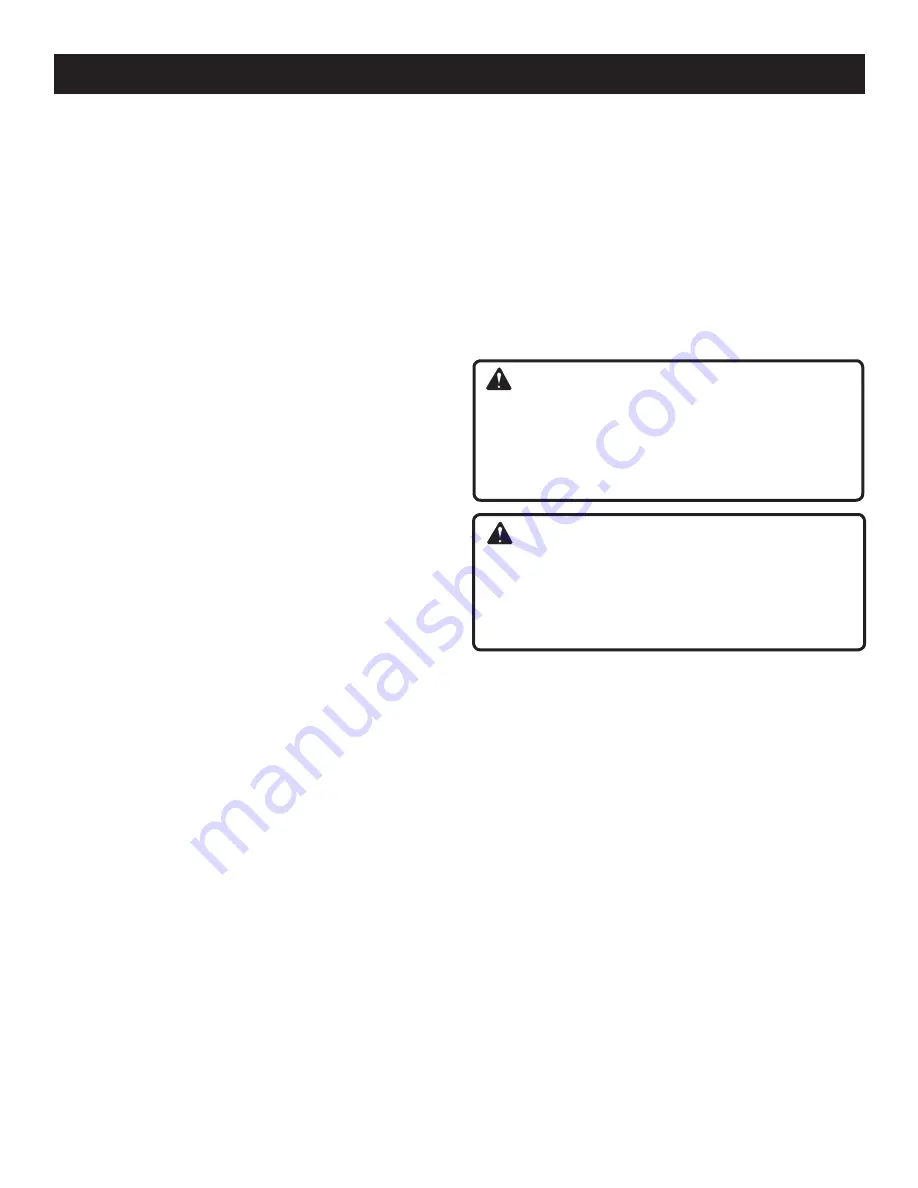
WARNING

Never  exceed  the  air  tool’s  pressure  rating  as 
recommended  by  the  manufacturer.  When  using  this 
air compressor as an inflation device, always follow the 
maximum inflation guidelines stated by the manufacturer 
of the item being inflated.

WARNING

Always  ensure  the  switch  is  in  the 

OFF  position  and 

the regulator pressure gauge reads zero (0) psi before 
changing air tools or disconnecting the hose from the air 
outlet. Failure to do so could result in possible serious 
personal injury. 

CONNECTING/DISCONNECTING HOSES TO 
THE AIR COMPRESSOR

See Figures 8 - 10, page 18.

When  connecting  a  pneumatic  air  nailer  or  other  air  tool 
always  follow  the  manufacturer’s  recommended  start-up 
procedure. 
When connecting/disconnecting a hose to the air compressor 

always do the following:

  Ensure 

AUTO/OFF switch is in the OFF position and the 

air compressor is unplugged.

  Confirm that the outlet pressure is at zero (0) psi by fully 

turning the regulator knob counterclockwise to fully re-

duce air pressure at the outlet.

  NOTE: Turning the knob clockwise increases air pressure 

at the outlet. Turning counterclockwise reduces air pres-
sure at the outlet.

 

Attach coiled air hose to coupler on the side of the air 

compressor

  Connect the air compressor to a power supply and turn 

power switch to the 

AUTO position.

Содержание H301PL

Страница 1: ...ank you for your purchase GUARDE ESTE MANUAL PARA FUTURAS CONSULTAS Su compresor de aire ha sido dise ada y fabricada de conformidad con nuestras estrictas normas para brindar fiabilidad facilidad de...

Страница 2: ...y la fiabilidad por lo cual se facilita su manejo y mantenimiento Introduction 2 Introducci n General Safety Rules 3 4 Reglas de seguridad generales Specific Safety Rules 4 5 Reglas de seguridad espec...

Страница 3: ...ront and side Always use eye protection which is marked to comply with ANSI Z87 1 Additional safety protection will be required in some environments For example the working area may in clude exposure...

Страница 4: ...pressure greater than marked maximum pressure of attachment and or the item being inflated Never use at pressure greater than 135 psi Use an air pressure gauge periodically while inflating an item to...

Страница 5: ...one heavy enough to carry the current your product will draw A wire gauge size A W G of at least 14 is recommended for an extension cord 25 feet or less in length A cord exceeding 50 feet is not recom...

Страница 6: ...uid in a confined area Spray area must be well ventilated Do not smoke while spraying or spray where spark or flame is present Keep compressors as far from the spraying area as possible at least 15 fe...

Страница 7: ...ary to properly filter and purify the air to meet minimal specifications for Grade D breathing as described in Compressed Gas Association Commodity Specification G 7 1 1966 OSHA 29 CFR 1910 134 Compre...

Страница 8: ...roduct is powered by a precision built electric motor It should be connected to a power supply that is 120 V AC only normal household current 60 Hz Do not operate this product on direct current DC A s...

Страница 9: ...Pounds Per Square Inch Measurement of the pressure exerted by the force of the air The actual psi is measured by a pressure gauge on the compressor Pump Produces the compressed air with a reciprocatin...

Страница 10: ...PUMP The oil free pump reduces the need for maintenance pressure regulator knob Use the pressure regulator knob to adjust the amount of air being delivered through the hose Pressing down on the knob...

Страница 11: ...duct for the purposes listed below Operating some air powered tools Operating air accessories such as air nozzles and inflators TRANSPORTING THE AIR COMPRESSOR See Figure 3 4 page 18 The air compresso...

Страница 12: ...F position NOTE When the compressor is in the AUTO position the air compressor will automatically turn back on when the tank air pressure drops below the preset pressure limit It will also shut off ag...

Страница 13: ...allow pressurized air to escape Release the ring The safety release valve must reset and hold n Allow unit to reach max pressure as indicated on the tank pressure gauge n Set regulator to desired pre...

Страница 14: ...g has been released or if the valve is stuck and cannot be actuated by the ring Do not use the air compressor until the safety valve has been replaced Use of the air compressor in this condition could...

Страница 15: ...n room temperature too high Wronggaugewireorlengthofextension cord Check with voltmeter Move compressor to well ventilated area Unit must be unplugged and allowed to cool for 30 minutes to initiate re...

Страница 16: ...ed in this operator s manual This warranty does not apply to any damage to the One World Technologies Inc product that is the result of improper maintenance or to any One World Technologies Inc produc...

Страница 17: ...n contra sujetadores y desechos que salgan disparados los cuales pueden causar lesiones oculares serias Tanto el patr n como el operador deben asegurarse de que se use protecci n ocular adecuada Recom...

Страница 18: ...rlo podr a resultar en da os a la herramienta Antes de usar la unidad revise las mangueras para ver muestran da os o desgaste asegur ndose de que est n seguras todas las conexiones No utilice la unida...

Страница 19: ...ineaci n de las partes m viles que no haya atoramiento de las mismas que no haya piezas rotas el montaje de las piezas y cualquier otra condici n que pudiera afectar su funcionamiento Toda protecci n...

Страница 20: ...ea de rociado debe estar bien ventilada No fume mientras est rociando con pistola ni roc e donde haya presentes chispas o flamas Mantenga los compresores tan lejos del rea de pintura y de vapores expl...

Страница 21: ...la cual si no se evita causar la muerte o lesiones serias ADVERTENCIA Indica una situaci n peligrosa posible la cual si no se evita podr a causar la muerte o lesiones serias PRECAUCI N Indica una sit...

Страница 22: ...de corriente como la mostrada en la figura 1 Tambi n dispone de una patilla de conexi n a tierra como la mostrada Este producto debe conectarse a tierra Cordones de extensi n S lo utilice cordones de...

Страница 23: ...rada psi Son las unidades de medida de la presi n ejercida por la fuerza del aire La presi n real en psi es medida por el man metro del compresor Bomba Es el dispositivo que produce el aire comprimido...

Страница 24: ...duce la necesidad de realizar tareas de mantenimiento PERILLA DEL REGULADOR DE PRESI N Uselaperilladelreguladordepresi nparaajustarlacantidad de aire que se suministra a trav s de la manguera Si se pr...

Страница 25: ...deben corresponder a la capacidad del compresor de aire Este producto puede emplearse para los fines siguientes Accionamiento de algunas herramientas de aire Utilizaci n de accesorios de aire como boq...

Страница 26: ...der el compresor Como se muestra en la secci n de puesta en marcha de la etiqueta de referencia r pida NOTA El compresor no debe ponerse en funcionamiento si est en posici n vertical n Para apagar el...

Страница 27: ...servicio a la unidad Si no se purga la presi n de los tanques antes de intentar retirar las v lvulas pueden producirse lesiones serias n Aseg rese de que la presi n de salida sea cero 0 psi girando la...

Страница 28: ...res o cinco segundos para permitir el escape del aire presur izado Suelte el anillo La v lvula de descarga de seguri dad debe reajustar y mantener el nivel de la presi n antes de que todo el aire comp...

Страница 29: ...nsuficiente temperatura ambiental demasiado elevada Cord n de extensi n de calibre o longitud equivocados Revise con volt metro Lleve el compresor a un lugar bien ventilado se debe permitir que el mot...

Страница 30: ...seg n se especifica en este manual del operador Esta garant a no aplica a los da os en el producto de One World Technologies Inc que resulten de un mantenimiento indebido ni a producto alguno de One...

Страница 31: ...atory knob mando de regulaci n de presi n Q Quick coupler acoplador r pido R Bungee wrap cordon lastique D Safety Valve boquilla de la seguridad F Indicates an item on the quick reference label indiqu...

Страница 32: ...ompartimiento para accesorios A Coiled Hose manguera de aire A Auto Off switch interruptor de encendido apagado B Tank pressure gauge man metro del tanque C Regulatory pressure gauge regulador de pres...

Страница 33: ...lo a b Fig 11 d A Auto Off switch interruptor de encendido apagado B Tank pressure gauge man metro del tanque C Regulatory pressure gauge regulador de presi n manom trica D Pressure regulator knob man...

Страница 34: ...15 NOTES NOTAS...

Страница 35: ...15 NOTES NOTAS...

Страница 36: ...AIR COMPRESSOR 3 galones Compresor de aire H301PL ONE WORLD TECHNOLOGIES INC Hwy 8 Pickens SC 29671 Phone 1 866 340 3912 SERVICIO Ahora que ha adquirido este producto si alguna vez llega a necesitar...

Отзывы: