39
Set up Sonar
Select an Imaging Frequency (Down Imaging models only)
Use the following instructions to choose an imaging frequency that will be used for the Down Imaging View. For the best overall image
quality and depth, select 455 kHz. For the sharpest image (but limited depth capability), select 800 kHz.
1.
Main Menu:
Press the MENU key twice. Select the
Sonar
tab.
2. Select Imaging Display Frequency.
3. Select 455 kHz or 800 kHz.
Set the Down Imaging Beam Width (HELIX CHIRP SI GPS G2 only)
In the HELIX CHIRP SI GPS G2, you can set the width of the beam (side to side) used for the Down Imaging View. To see only the data
directly under your boat, select Narrow. Medium reveals more information, while Wide displays the maximum information available
from the Down Imaging beam width. See
Understand the Down Imaging View
for more information.
1.
Main Menu:
Press the MENU key twice. Select the
Sonar
tab.
2. Select Down Imaging Beam Width.
3. Press the RIGHT or LEFT Cursor keys to select a width.
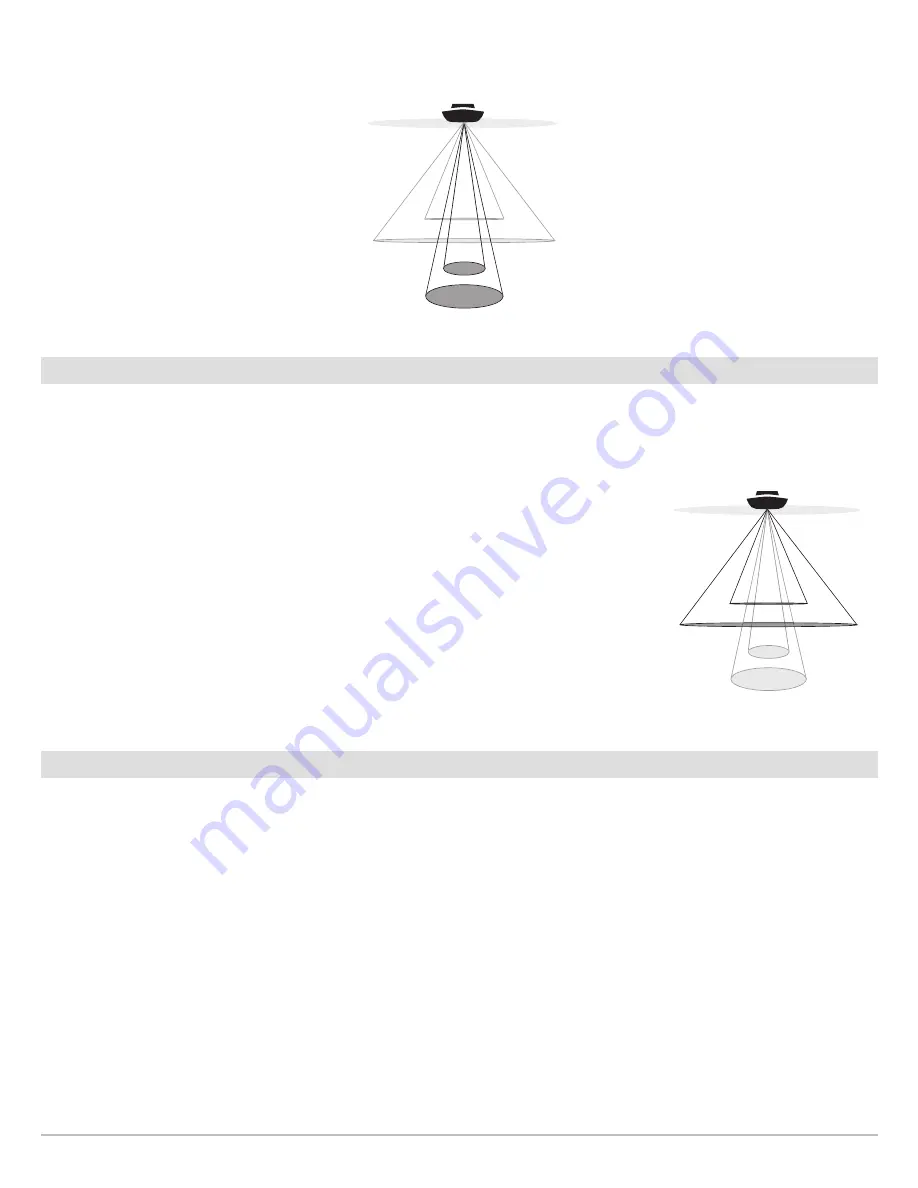
HELIX DI G2, HELIX CHIRP DI GPS G2 Display
Frequency Options for the Sonar View
16°
28°
455kHz
200kHz
75°
455kHz
45°
800kHz
16°
28°
455kHz
200kHz
75°
455kHz
45°
800kHz
Imaging Display Frequency Options
for the Down Imaging View
Содержание HELIX 5 G2 SERIES
Страница 1: ...HELIX 5 AND HELIX 7 G2 Series Operations Manual 532509 1EN_A...
Страница 6: ...6...
Страница 9: ...9 Using the Manual search for key words Ctrl F bookmarks panel Introduction...
Страница 21: ...21 Removing the Card Slot Cover Installing a microSD Card magnified view notch facing down The Control Head...
Страница 97: ...97 Side Imaging Sonar Decrease Sensitivity Increase Sensitivity Adjusting the Sensitivity using the ZOOM Keys...
Страница 213: ...213 Specifications HELIX 7 In Dash Mount 10 54 in 267 72 mm 5 44 in 138 18 mm 2 17 in 55 12 mm 2 97 in 75 44 mm...


