Using iLO 2 109
3.
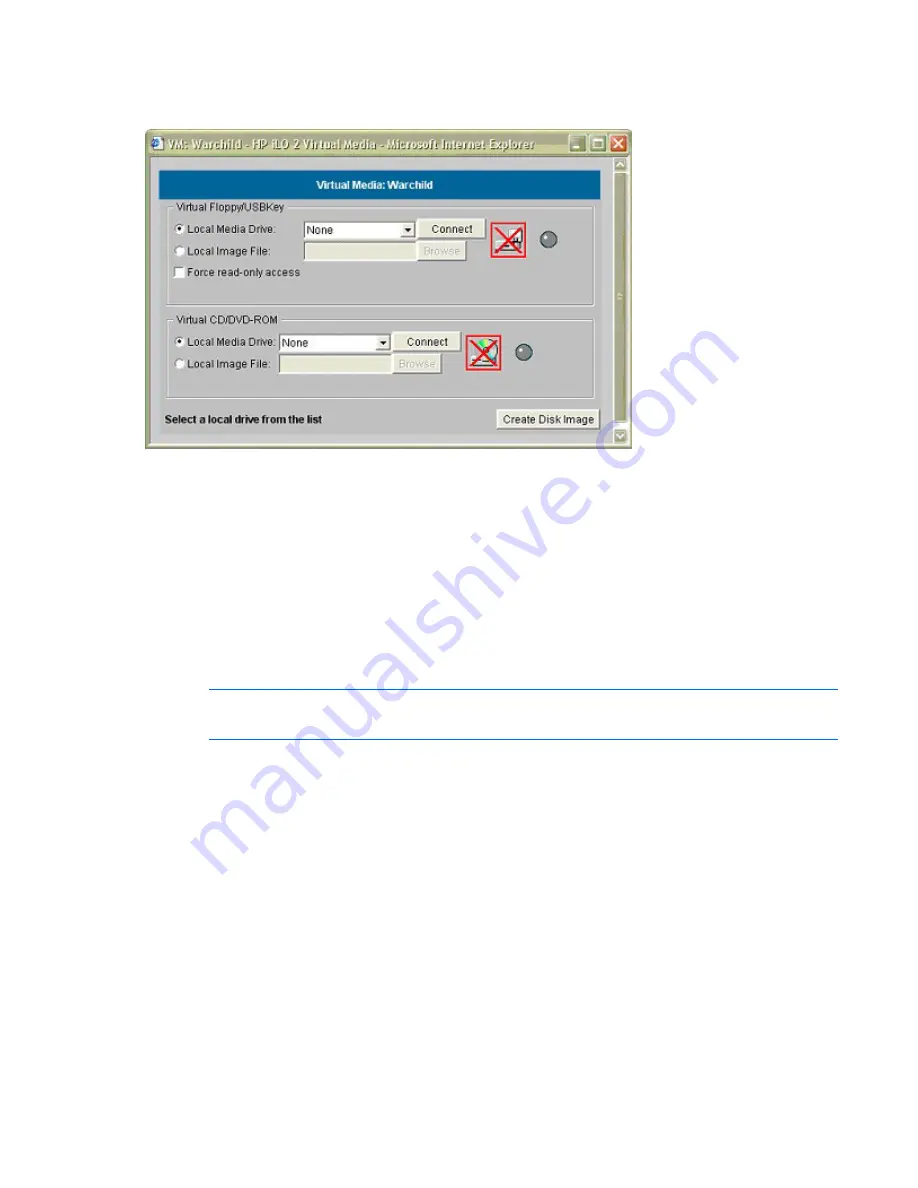
Click
Connect.
The connected drive icon and LED will change state to reflect the current status of the Virtual Floppy Drive.
To use an image file:
1.
Select
Local Image File
within the Virtual Floppy/USBKey section of the Virtual Media applet.
2.
Enter the path or file name of the image in the text-box, or click
Browse
to locate the image file using
the Choose Disk Image File dialog. To ensure the source diskette or image file is not modified during
use, select the
Force read-only access
option.
3.
Click
Connect.
The connected drive icon and LED will change state to reflect the current status of the Virtual Floppy, USB
key drive, or secure digital device. When connected, the devices are available to the host server until you
close the Virtual Media applet. When you are finished, you can either select to disconnect the device
from the host server or close the applet.
NOTE:
The Virtual Media applet must remain open in your browser as long as you continue to
use a Virtual Media Device.
iLO 2 Virtual Floppy/USBKey is available to the host server at run time if the operating system on the host
server supports USB floppy or key drives. Refer to "Operating System USB Support (on page
110
)" for
information on which operating systems support USB mass storage at the time of the publication of this
manual.
To your operating system iLO 2 Virtual Floppy/USBKey appears just like any other drive. When using iLO
2 for the first time, the host operating system might prompt you to complete a New Hardware Found
wizard.
When you are finished using iLO 2 Virtual Media and disconnect it, you might receive a warning
message from the host operating system regarding unsafe removal of a device. This warning can be
avoided by using the operating system-provided feature to stop the device before disconnecting it from the
Virtual Media.
Virtual Floppy/USB Key operating systems notes
•
MS-DOS


