Installation 40
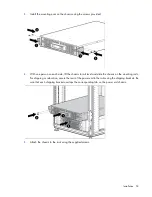
4.
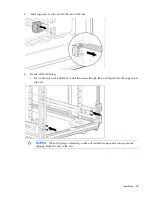
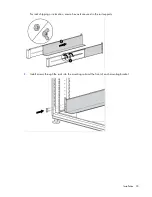
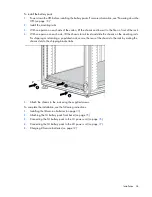
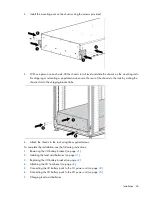
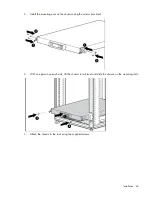
Install the mounting ears on the chassis using the screws provided.
5.
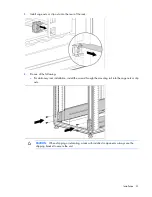
With one person on each side, lift the chassis to rail level and slide the chassis on the mounting rails.
For shipping or relocating a populated rack, secure the rear of the chassis to the rails by mating the
chassis slots to the shipping bracket tabs.
6.
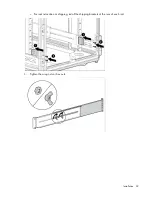
Attach the chassis to the rack using the supplied screws.
To complete the installation, see the following instructions:
1.
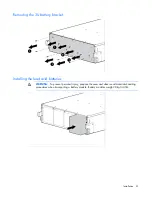
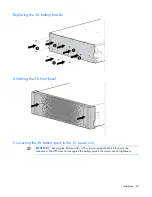
Removing the 3U battery bracket (on page
41
)
2.
Installing the lead acid batteries (on page
41
)
3.
Replacing the 3U battery bracket (on page
42
)
4.
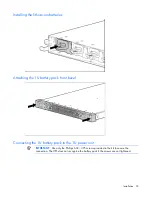
Attaching the 3U front bezel (on page
42
)
5.
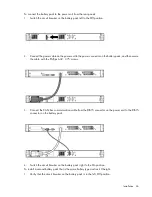
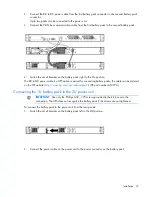
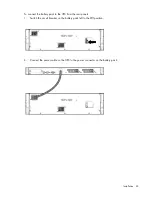
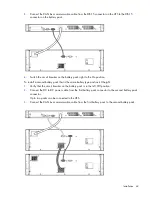
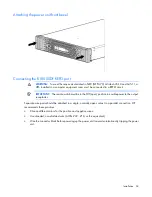
Connecting the 3U battery pack to the 1U power unit (on page
42
)
6.
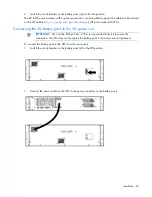
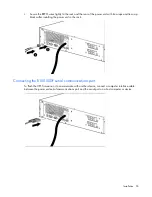
Connecting the 3U battery pack to the 2U power unit (on page
45
)
7.
Charging lead acid batteries
Содержание R12000 XR
Страница 17: ...Overview 17 o Two 3U DirectFlow Battery Packs o Two 1U DirectFlow Battery Packs ...
Страница 98: ...Troubleshooting 98 ...
Страница 99: ...Troubleshooting 99 ...
Страница 100: ...Troubleshooting 100 ...
Страница 101: ...Troubleshooting 101 ...
Страница 102: ...Troubleshooting 102 ...
Страница 103: ...Troubleshooting 103 ...
Страница 104: ...Troubleshooting 104 ...
Страница 105: ...Troubleshooting 105 ...
Страница 106: ...Troubleshooting 106 ...
Страница 107: ...Troubleshooting 107 ...
Страница 108: ...Troubleshooting 108 ...
Страница 109: ...Troubleshooting 109 ...
Страница 110: ...Troubleshooting 110 ...
Страница 111: ...Troubleshooting 111 ...

