Section 1: Conventional Wing Assembly
7
Step 4
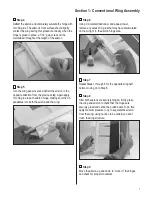
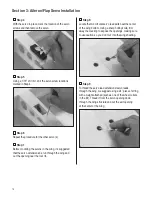
Deflect the aileron and completely saturate the hinge with
thin CA glue. The aileron’s front surface should lightly
contact the wing during this procedure. Ideally, when the
hinge is glued in place, a 1/32" gap or less will be
maintained throughout the length of the aileron.
Step 5
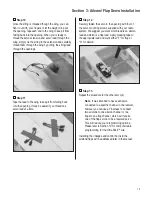
Turn the wing panel over and deflect the aileron in the
opposite direction from the previous step. Again apply
thin CA glue to each aileron hinge, making sure the CA
penetrates into both the aileron and the wing.
Step 6
Using CA remover/debonder and a paper towel,
remove any excess CA glue that may have accumulated
on the wing or in the aileron hinge area.
Step 7
Repeat Steps 1 through 6 for the opposite wing half
before moving on to Step 8.
Step 8
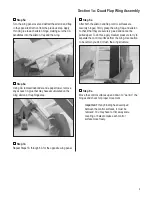
After both ailerons are securely hinged, firmly grasp
the wing and aileron to check that the hinges are
securely glued and cannot be pulled apart. To do this,
apply medium pressure to try to separate the aileron
from the wing, using caution to be certain you don’t
crush the wing structure.
Step 9
Move the aileron up and down to “work in” the hinges
and check for proper movement.


