


Section 13: Radio System Installation
35
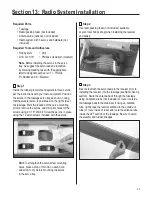
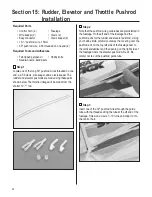
Required Parts
• Fuselage
• Radio packing foam (not included)
• Antenna tube (optional, not included)
• Radio system with 3 servos and hardware (not
included)
Required Tools and Adhesives
• Hobby knife
• Drill
• Drill bit: 1/16"
• Phillips screwdriver (medium)
Note
: Before installing the servos in the servo
tray, we suggest the servo leads be identified
by marking masking tape with the appropriate
letter to designate each servo: T = Throttle,
R = Rudder and E = Elevator).
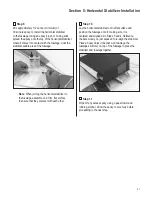
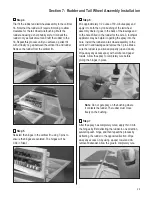
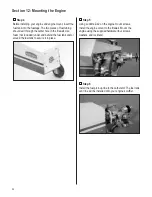
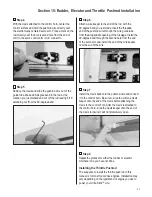
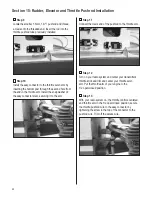
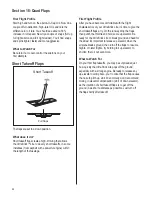
Step 1
Install the rubber grommets and eyelets in three servos,
per the instructions with your radio equipment. Position
the servos in the fuselage servo tray as shown, noting
that the elevator servo is positioned on the right side of
the fuselage. Mark the location of the servo mounting
screws, remove the servos, and drill pilot holes for the
screws using a 1/16" drill bit. Screw the servos in place
using the 12 servo screws included with the servos.
Hint
: To strengthen the servo screw mounting
holes, place a drop of thin CA on each hole
and allow to dry before mounting the servos
to the servo tray.
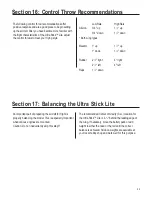
Step 2
Use radio packing foam (not included, available
at your local hobby shop) when installing the receiver
and battery.
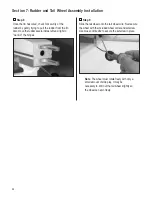
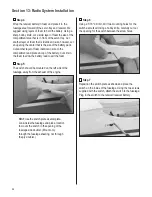
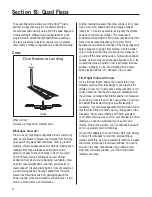
Step 3
Be sure to attach the servo leads to the receiver prior to
installing the receiver into the fuselage (see Radio Set-Up
section). Route the antenna back through the fuselage
using an antenna tube (not included) or route it outside
the fuselage back to the stabilizer. If using an antenna
tube, lightly tape the receiver antenna to the outside of
tube (or route inside of tube) and route the antenna tube
inside the AFT section of the fuselage. Be sure to avoid
the elevator and rudder linkages.


