38
Section 14: Aileron and/or Quad-Flap Linkage Installation
Step 3
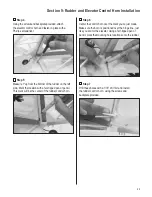
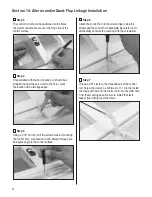
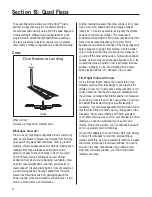
The control horn should be positioned so the holes
the clevis connects into are over the hinge line of the
control surface.
Step 4
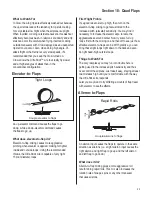
Once satisfied with the horn location, (it should be a
straight line from the servo arm to the horn), mark
the location with a felt-tipped pen.
Step 5
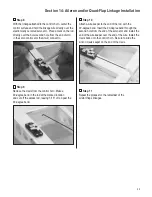
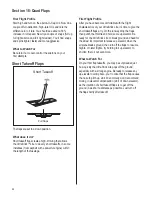
Using a 1/16" drill bit, drill the screw holes for mounting
the control horn. Use caution to drill straight through at a
90-degree angle to the control surface.
Step 6
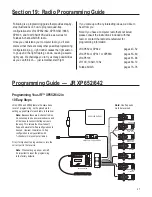
Attach the control horn to the aileron (flap) using the
screws and the control horn backplate. Be careful not to
accidentally puncture the covering with the screwdriver.
Step 7
Thread a 2-56 clevis on the threaded end of the control
rod. Screw the clevis on a minimum of 7-10 turns. Install
the clevis with wire on the control horn into the third hole
from the mounting base. Be sure to install the clevis
keeper (fuel tubing) over the clevis.

