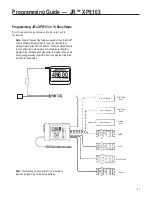

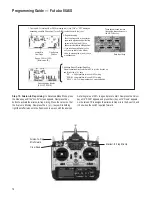


Programming Guide — Futaba 8UA/S
75
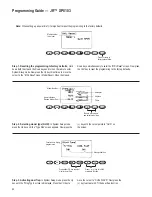
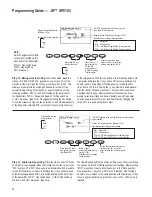
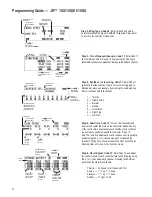
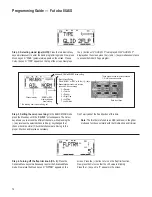
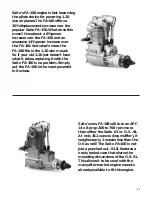
Channel Being
Set (Aileron)
This number is the
subtrim value (allowed
to be -120 to +120)
(Default value = 0).
Choose channels 1-8 with these keys.
Use these keys to set subtrims.
Setting Sub-Trims
• Begin with the Aileron subtrim. Use the (+)
and (-) keys to neutralize the control surface.
• Adjust the remaining controls (when used)
in a similar fashion: Elevator, Throttle
and Rudder.
If you’re unhappy with subtrim value, you may
reset it to zero by pressing the (+) and
(-) keys simultaneously.
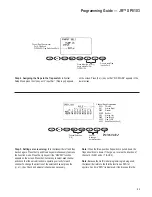
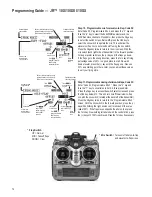
Step 4. Adjusting sub-trims:
With the transmitter and receiver
turned on and the trims centered on the transmitter, reposition the
servo arms as necessary so that all control surfaces are as close to
neutral as possible. Now press the two
Basic Menu
keys to enter
Basic mode. Press the
Mode
key to access the “SUBTRM” screen.
While in the “SUBTRM” screen, pressing the
Cursor
key will scroll
through channels and then pressing the (+) or (-) key will adjust the
sub-trim values. Adjust the sub-trims for each channel until each
control surface is perfectly neutralized.
Note:
The throttle channel is referred to as ABK (air brake)
in the glider mode and functions normally with the throttle
stick and trim.
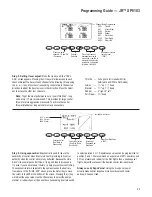
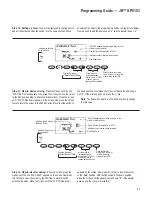
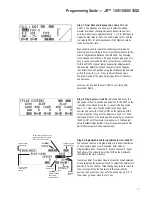
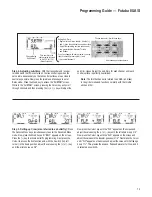
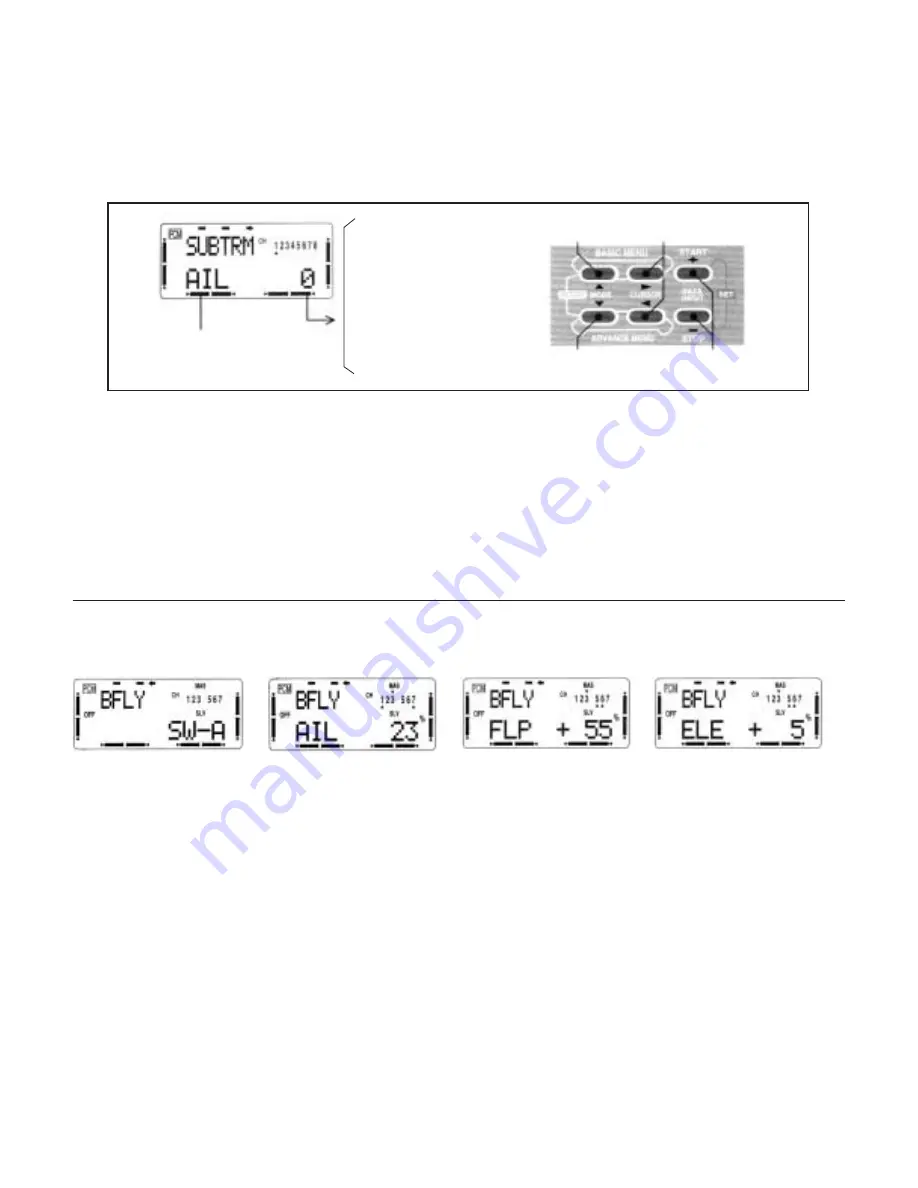
Step 5. Setting up Crow (also referred to as butterfly):
Press
the
Advance Menu
keys simultaneously to enter the Advanced Menu
mode. Now press the
Mode
key until “BFLY” appears on the screen.
Press the (+) key to activate butterfly programming. Next press the
Cursor
to access the AIL function and, with the A switch (top left
corner) in the down position, adjust the value using the (+) or (-) key
until the ailerons are up 3/4".
Now press the
Cursor
key until the “FLP” appears on the screen and
adjust the value using the (+) or (-) key until the left aileron is up 3/4".
Now press the
Cursor
key until the “ELE” appears on the screen and
adjust the value until the elevator goes down 1/4". Next press the
Cursor
until "FLP" appears on the screen and adjust the value until the flaps go
down 1
1
/
2
". This presets the ailerons, flaps and elevator for Crow and it
is activated on switch A.


