Section 12: Mounting the Engine
33
Required Parts
• Throttle pushrod tube
• Fuselage
• Engine
• Assembled fuel tank
• Hangar 9™ engine mount w/hardware
• Protective foam (not included)
Required Tools and Adhesives
• 6-minute epoxy
• Phillips screwdriver
• Threadlock
Note
: When the engine is properly mounted
to the Ultra Stick™ Lite, the distance from the
firewall to the front of the engine drive washer
should be 5
1
⁄
4
" to 5
1
⁄
2
".
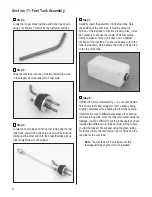
Step 1
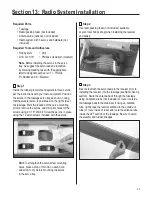
Locate the nylon engine mount rails and temporarily
install the mounts using the four engine mount screws
and washers as shown. Note that the engine is mounted
with the cylinder head to the right of the fuselage.
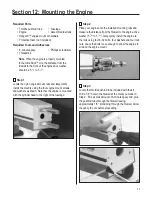
Step 2
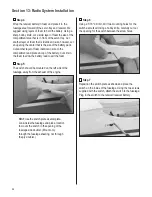
Place your engine onto the installed mounting rails and
measure the distance from the firewall to the engine drive
washer (5
1
⁄
4
" to 5
1
⁄
2
"). Temporarily install the engine to
the rails using four 8-32 bolts, four washers and four lock
nuts. Leave the bolts loose enough to allow the engine to
slide on the engine mount.
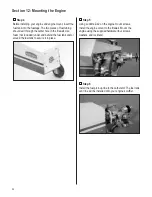
Step 3
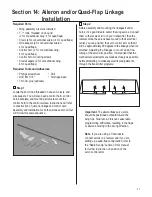
Locate the throttle pushrod tube included with the kit.
Drill a 1/8" hole in the firewall at the mark you made in
Step 2. Mix a small amount of 6-minute epoxy and glue
the pushrod tube through the firewall leaving
approximately 1/8” protruding through the firewall. Allow
the epoxy to cure before proceeding.

