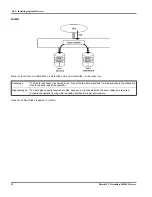


Ch 3: Installing Optional Devices
66
Hitachi PC VisionBase 8450H/R Server
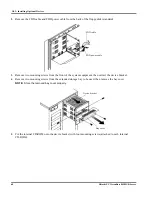
5.
Stick labels on the configuration table on the back of the storage bay door.
Stick hard disk type labels (attached to each internal hard disk) in the corresponding positions on the extended
storage bay onto which you installed the hard disks.
NOTE:
See the attached “Disk Array Maintenance Utility Handbook” for disk array settings.
Example of configuration table:
9GB hard disk x 2 (extended storage bays 1 and 2)
18GB hard disk x 4 (extended storage bays 3 to 6)
6.
Close the storage bay door.
The next step is connecting cables. See “Connecting Cables” on page 78.
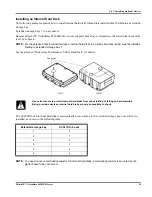
Installing Internal CD-ROM (Standard)
This section explains how to install an internal CD-ROM onto extended storage bays. Extended storage bays 7 and 8
are usable.
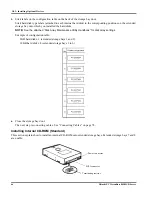
Power connector
Terminating resistor
SCSI connector
Содержание VisionBase 8450H
Страница 1: ...Hitachi PC VisionBase 8450H R Server Product Guide ...
Страница 40: ...Ch 2 Installation and Use of Devices 36 Hitachi PC VisionBase 8450H R Server ...
Страница 100: ...Ch 3 Installing Optional Devices 96 Hitachi PC VisionBase 8450H R Server ...
Страница 126: ...Ch 4 System Environment Settings 122 Hitachi PC VisionBase 8450H R Server ...


