●
Ink Filter Replacement 7-26
11
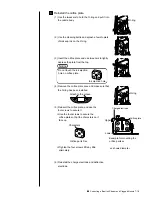
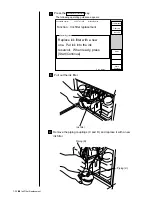
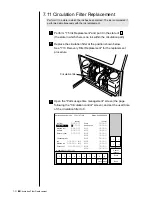
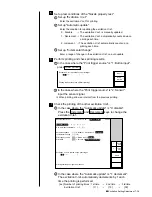
Set the ink filter as follows (piping D is the upside).
P i p i n g ( D )
Ink filter
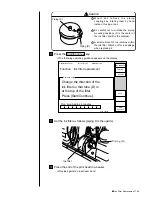
Mount and remove the piping
couplings by rotating them by hand
instead of using a tool.
Be careful not to mistake the piping
mounting positions (C is the center of
the ink filter, and D is the outside).
A small amount of ink remains within
the ink filter. Watch out for ink spillage
when replacing it.
Caution
1
2
3
Piping (C)
Piping (D)
10
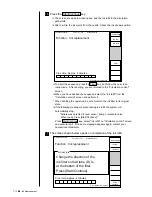
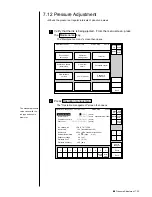
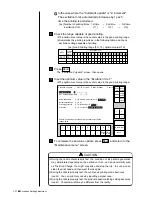
Press the Start/Continue key.
¡
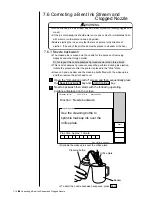
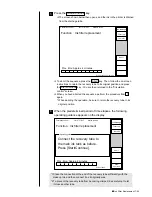
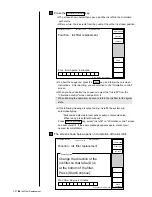
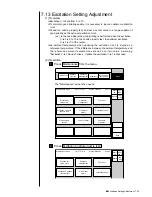
The following operating guidance appears on the display.
Circulation control
2011.07.07 12:45
Proc. status:
Function
:
Ink filter replacement
Proc. time: Approx. 4 minutes.
Operating guide
Change the direction of the
ink filter so that tube (D) is
at the top of the filter.
Press [Start/Continue].
Status:Service
Start/
Continue
Abort
Ink drainage
Filter rep.
Ink refill
12
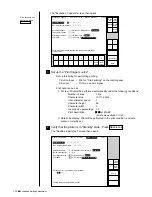
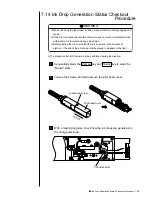
Place the end of the print head in a beaker.
¡
Provide against an ink stream bend.
Содержание PXR-D
Страница 302: ... Outside Dimensions 13 1 13 Schematic Diagrams 13 1 Outside Dimensions Fig 13 1 Model PXR IJ printer outside dimensions ...
Страница 306: ... Electrical Connection Diagram 13 5 13 2 Electrical Connection Diagram Fig 13 5 Electrical connection diagram ...
Страница 307: ...13 6 Circulation System Diagram 13 3 Circulation System Diagram Fig 13 6 Circulation system diagram ...
Страница 319: ...3S23L1307 3B PXR D E7 HEC ...


