

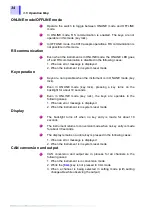


3.3 Setting Mode
26
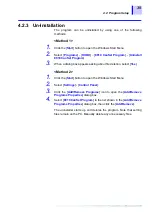
3.3.2
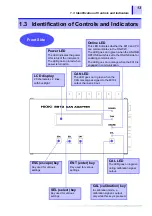
Contents of display in setting mode
When the data to be output is assigned, the label name and D/A
conversion format ([
B
] or [
M
]) of CAN definition data are indicated for
an analog channel; the label name and bit position are indicated for a
logic channel.
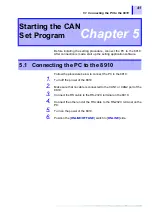
3.3.3
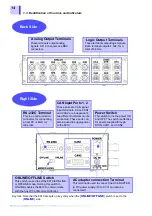
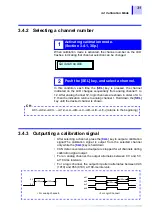
Selecting a channel number
When setting mode is activated, the channel number on the LCD
flashes, indicating that the channel selection can be changed.
In this condition, each time the [
SEL
] key is pressed, the channel
indicated on the LCD changes sequentially from analog channel 1 to
12. After analog channel 12, logic channels are shown in order of [
A0
]
to [
F3
], then the indication returns to analog channel 1. Hold down the
[
SEL
] key until the desired channel is shown.
After selecting a channel, press the [
ENT
] key. This enters the new
setting.
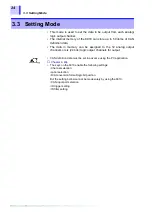
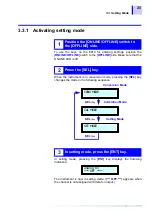
<Example of display for analog channel>
Analog 01
labelname M
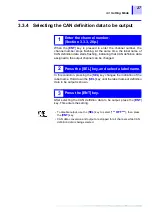
Logic A0
labelname 0
<Example of display for logic channel>
1
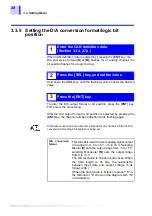
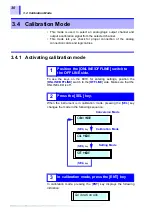
Activating setting mode (Section 3.3.1, 25p.)
2
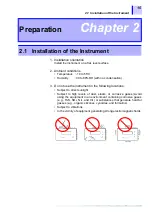
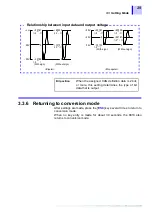
Push the [SEL] key, and select a channel.
01
→
02
→
03
…
12
→
A0
→
A1
→
A2
→
A3
→
B0
→
B1
→
B2
→
B3
→
C0
→
C1
→
C2
→
C3
→
D0
→
D1
→
D2
→
D3
→
E0
→
E1
→
E2
→
E3
→
F0
→
F1
→
F2
→
F3
→
(returns to the beginning)
CH
3
Push the [ENT] key.
Since CAN data conversion and output are in process for all channels
during channel number selection, the setting can be changed while
observing the output.
Содержание 8910
Страница 1: ...8910 Instruction Manual CAN ADAPTER EN Aug 2018 Revised edition 7 8910A981 07 18 08H ...
Страница 2: ......
Страница 8: ...Contents vi ...
Страница 18: ...Notes on Use 10 ...
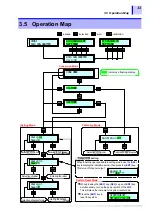
Страница 44: ...3 5 Operation Map 36 ...
Страница 48: ...4 2 Program Setup 40 ...
Страница 56: ...5 4 Operation Flowchart 48 ...
Страница 78: ...6 6 Editing in Another Window 70 ...
Страница 90: ...7 4 Setting the ID Filter 82 ...
Страница 99: ...91 9 2 Setting Data Printout ...
Страница 130: ...10 2 Using the 8910 with the 8841 8842 MEMORY HiCORDER 122 ...
Страница 147: ......
Страница 148: ......
Страница 149: ......
Страница 150: ......