10
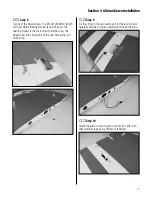
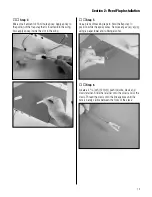
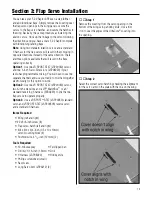
Step 4
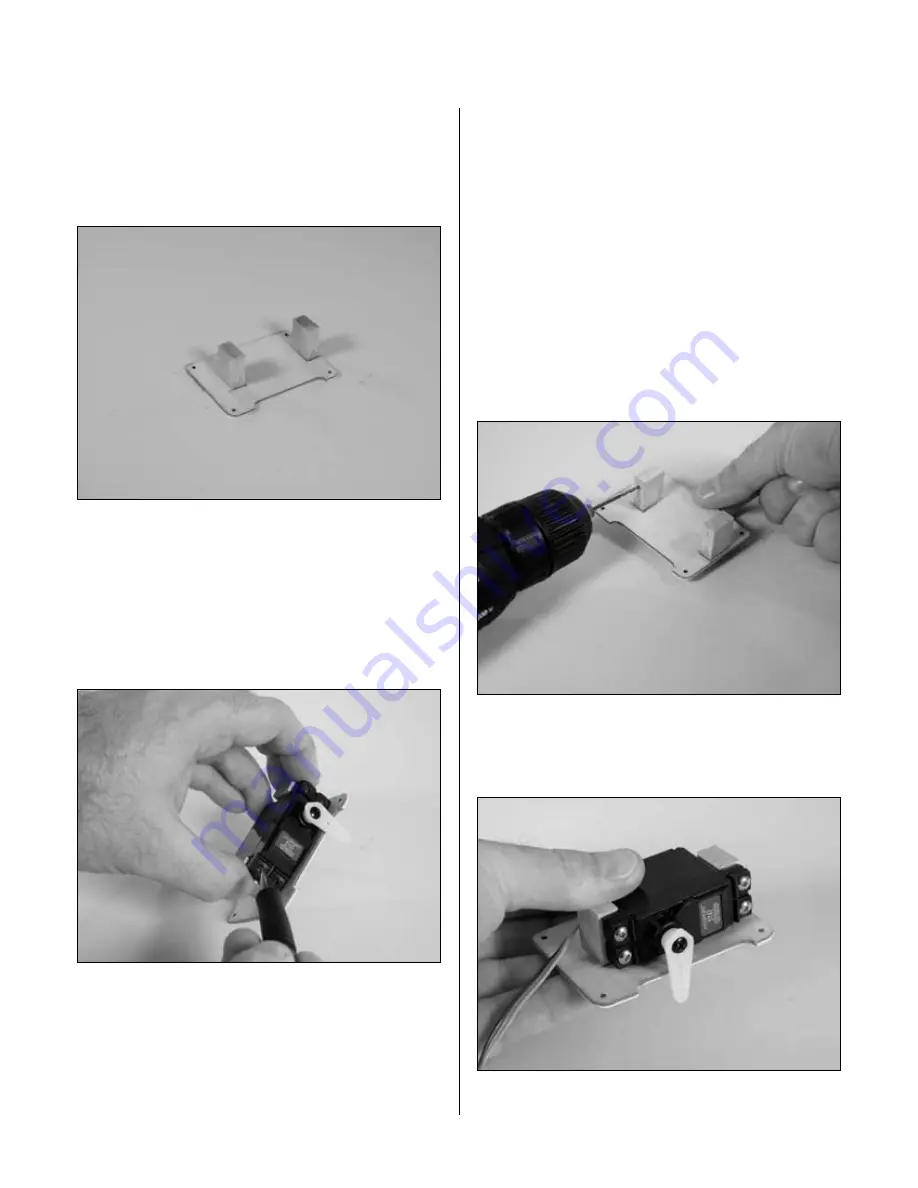
Locate two 3/8 x 3/4 x 3/4-inch (9.5 x 19 x 19mm) servo
mounting blocks. Use 12-minute epoxy to glue the blocks
to the hatch. Let the epoxy fully cure before proceeding to
the next step.
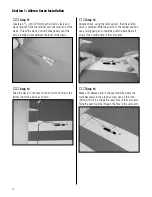
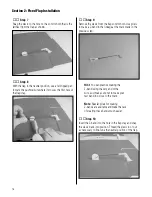
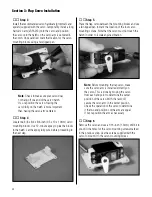
Step 5
Remove the standard servo arm on the servo and
replace it with a long servo arm. Place the aileron servo
between the mounting blocks and use a felt-tipped pen
to mark the location of the four servo mounting screws.
Note the servo must not touch the hatch in order to
isolate engine vibration.
Note
: Before mounting the aileron servo,
make sure the servo arm is installed correctly
on the servo. This is done by moving the
servo from each end point to determine the
center position of the servo. With the radio off,
secure the servo arm in the center position.
Check the operation of the servo to determine
if the two end positions of the arm are equal.
If not, reposition the arm as necessary.
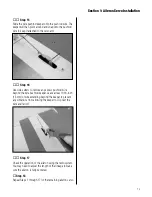
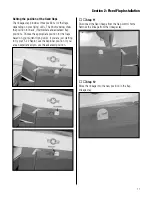
Step 6
Remove the servo and use a 1/16-inch (1.5mm) drill bit to
pre-drill the holes for the servo mounting screws marked
in the previous step.
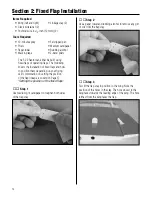
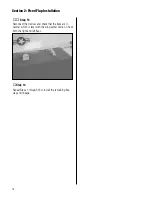
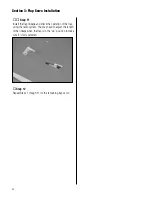
Step 7
Use the screws supplied with the servo to mount it to the
servo mounting blocks.
Section 1: Aileron Servo Installation


