9
Items Required
• Wing (left and right)
•#2 x 3/8-inch screw (8)
• Aileron servo hatch (left and right)
• Wire pushrod keeper (2)
• Clevis w/retainer (2)
• Pushrod wire, 4
3
/
4
-inch (121mm) (2)
• 3/8 x 3/4 x 3/4-inch (9.5 x 19 x 19mm)
servo mounting block (4)
Tools Required
• 12-minute epoxy
• Felt-tipped pen
• Drill
• Hobby knife
• Side cutters
• String
• Servo extension, 6-inch (152mm) (2)
• Drill bit: 1/16-inch (1.5mm) 5/64-inch (2mm)
• Phillips screwdriver (small)
• Long Servo Arm (JRPA212) (2)
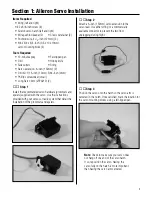
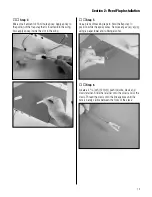
Step 1
Install the recommended servo hardware (grommets and
eyelets) supplied with the servo. Use the instructions
provided with your servos or radio system that detail the
installation of the grommets and eyelets.
Step 2
Attach a 6-inch (152mm) servo extension to the
servo lead. Use either string or a commercially
available connector to prevent the two from
unplugging during flight.
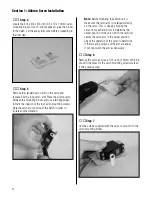
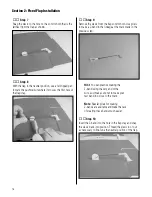
Step 3
Position the servo onto the hatch so the servo arm is
centered in the notch. Once satisfied, mark the location for
the servo mounting blocks using a felt-tipped pen.
Note
: Check to make sure your servo does
not hang off one end of the servo hatch.
If so, reposition the servo. Having the
servo fully on the hatch is more important
than having the servo arm centered.
Section 1: Aileron Servo Installation


