


16
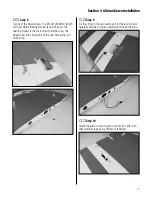
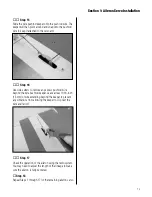
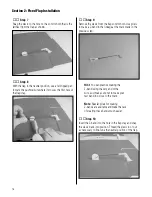
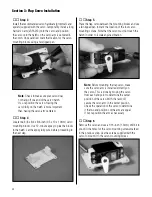
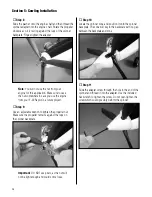
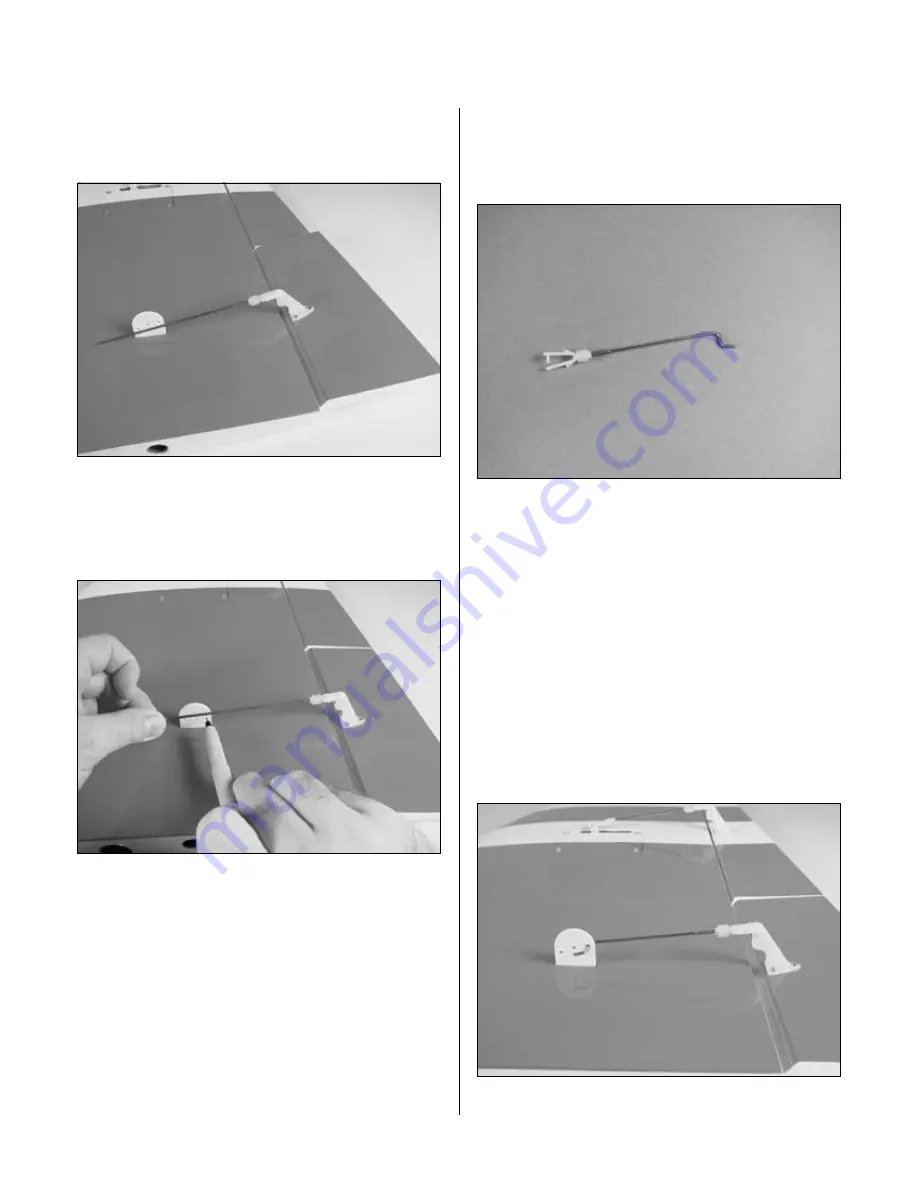
Step 7
Snap the clevis to the hole on the control horn that is the
farthest from the flap as shown.
Step 8
With the flap in the neutral position, use a felt-tipped pen
to mark the pushrod wire where it crosses the first hole of
the flap stay.
Step 9
Remove the clevis from the flap control horn. Use pliers
to make a Z-bend in the linkage at the mark made in the
previous step.
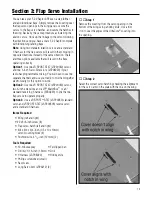
Hint
: You can practice making the
Z-bend using the very end of the
wire. Just make sure not to make your
test bend too close to the mark.
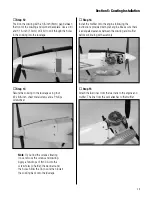
Note
: Special pliers for making
Z-bends are available and make the task
of creating these bends much easier.
Step 10
Insert the Z-bend into the hole in the flap stay and snap
the clevis back into position. Thread the clevis in or out
as necessary to fine-tune the neutral position of the flap.
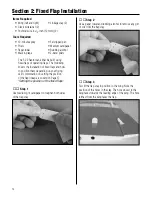
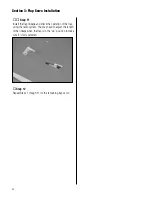
Section 2: Fixed Flap Installation


