23
Items Required
• 8-32 x 3/4-inch machine screw (4)
• 8-32 x 1-inch machine screw (4)
• Assembled fuel tank
• Plywood fuel tank brace
• 8-32 lock nut (4)
• Engine mount
• Engine mount plate (2) • Clevis w/retainer
• Linkage wire, 22
7
/
8
-inch (581mm)
Tools Required
• Phillips screwdriver
• Threadlock
• Medium CA
Step 1
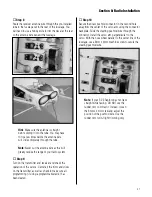
Locate four 8-32 x 3/4-inch machine screws. Apply two
drops of threadlock to each of the screws.
Step 2
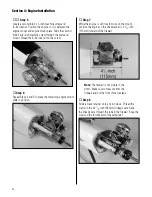
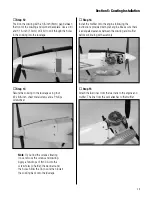
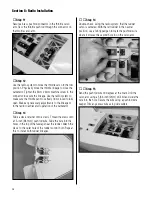
Attach the engine mount to the firewall using the
8-32 x 3/4-inch machine screws. Note the direction
of the mount in relationship to the fuselage.
Step 3
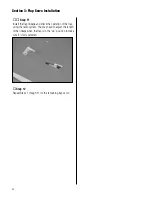
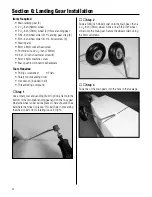
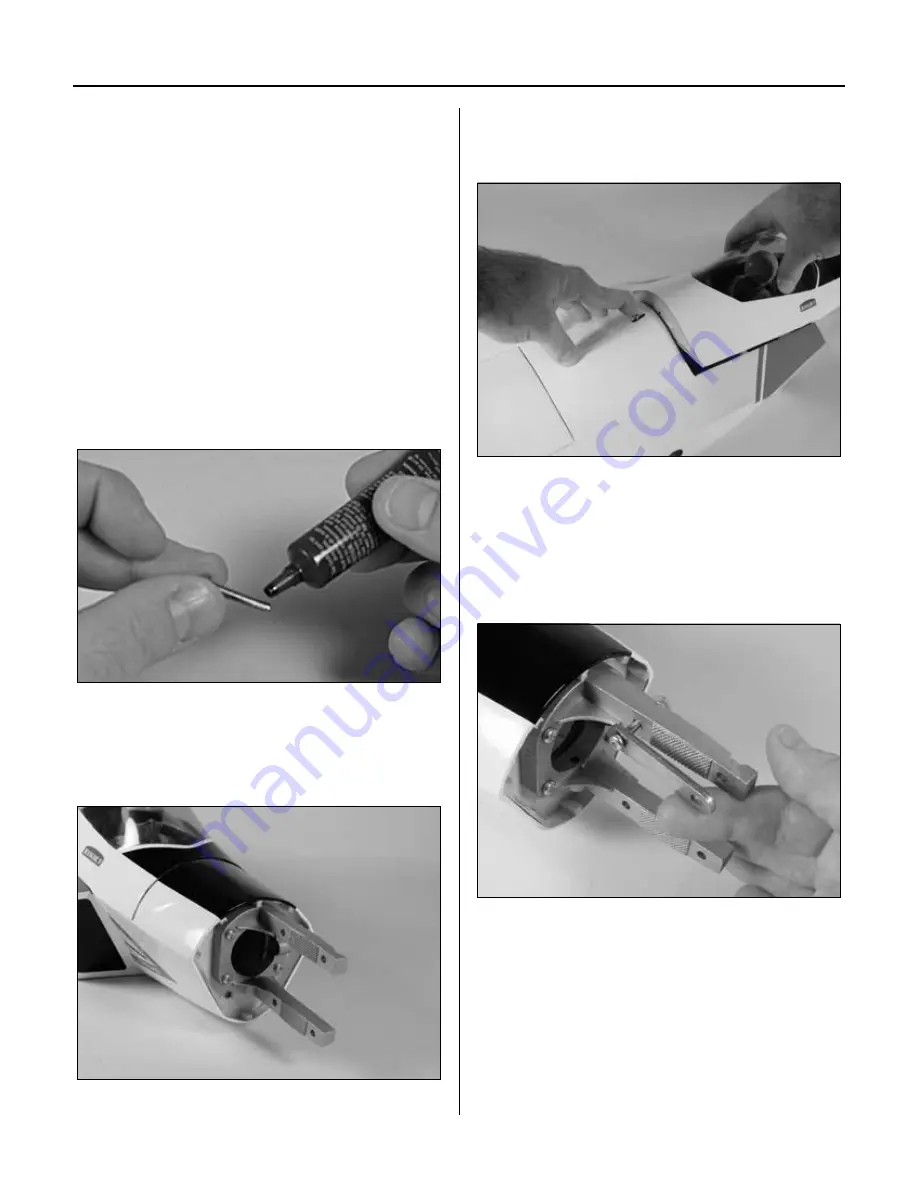
Slide the cockpit lever rearward and lift the cockpit from
the fuselage.
Step 4
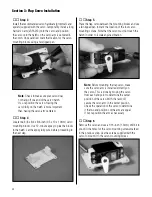
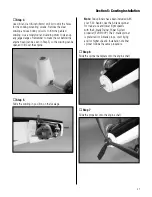
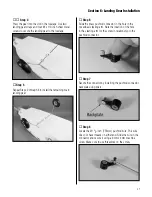
Locate an 8-32 x 1-inch machine screw, 8-32 locknut and
one of the engine mount plates. Pass the screw through
the plate then through the engine mount. Thread the 8-32
lock nut on the screw a few turns by hand so the plate will
remain attached to the mount.
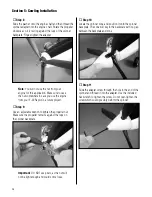
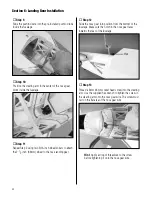
Note
: The engine mount plate has
texture on one side. This texture will
face towards the engine mount lugs.
Section 4: Engine Installation

