Operation
58
96-8000 rev R June 2007
Method 2
Although the previous method is recommended, the pallet changer can also be operated without automatic se-
quencing or PST inputs. This is done using M50 with a P code. For proper operation M50 must be preceded by
M36. M36 P1 before the M50 P1 will check that pallet #1 is ready.
Pallets can be changed without automatic sequencing or PST inputs. This is done using M50 with a P code. M50
P1 will load pallet #1 without checking to see if it is scheduled. If the PART READY button has been pressed, then
pallet #1 will be loaded. If the PART READY button for pallet #1 has not been pressed, the indicator light on the
button will flash and the message, “Schedule Pal#1” is displayed.
Pallet Schedule Table
The pallet schedule table incorporates a number of features to help the user with their routine.
Load Order and Pallet Status These two features work together to show which pallet is currently in the machining
area.
Pallet Usage This feature gives the number of times the specific pallet has been loaded into the machining area.
The counter will turn over to 0 after 32767 pallet changes.
Program Number This detail shows which program number has been assigned to the pallet.
Program Comment This area displays the comments that are written in the part program.
There are 30 different pallet status values to use. The first four: Unscheduled, Scheduled, Loaded, and Completed,
are fixed and cannot be changed. The remaining 26 can be modified and used as needed.
Changing or adding status text can be done in the PST. Use the arrow keys to move the cursor to the “Pallet
Status” column, and press the F1 key. A selection menu will appear over the “Pallet Status” column (Pressing F1
again or Reset will close the menu.) The number to the left of the text is the status number. This number is used
with the M49 command to set the status from the part program. The items in the menu can be selected with the Up
and Down arrow keys, or the jog handle. Enter the text, then press F3. Note: All pallets use the same list of status
items. Pressing F1 closes the menu without changing the status of any of the pallets.
Resetting a status item to "User" is done by selecting an item from the menu and pressing F4. All status items can
be reset at the same time with the Origin key.
Changing the status of an individual pallet can be done from the PST or with the M49 command. In the PST, move
the table cursor to the “Pallet Status” column for the pallet desired. Press F1 for the status item menu. Use the
arrow keys to select the status, then press F2 or Write/Enter. See the previous description of M49 and in the
following examples for setting the pallet status from a program.
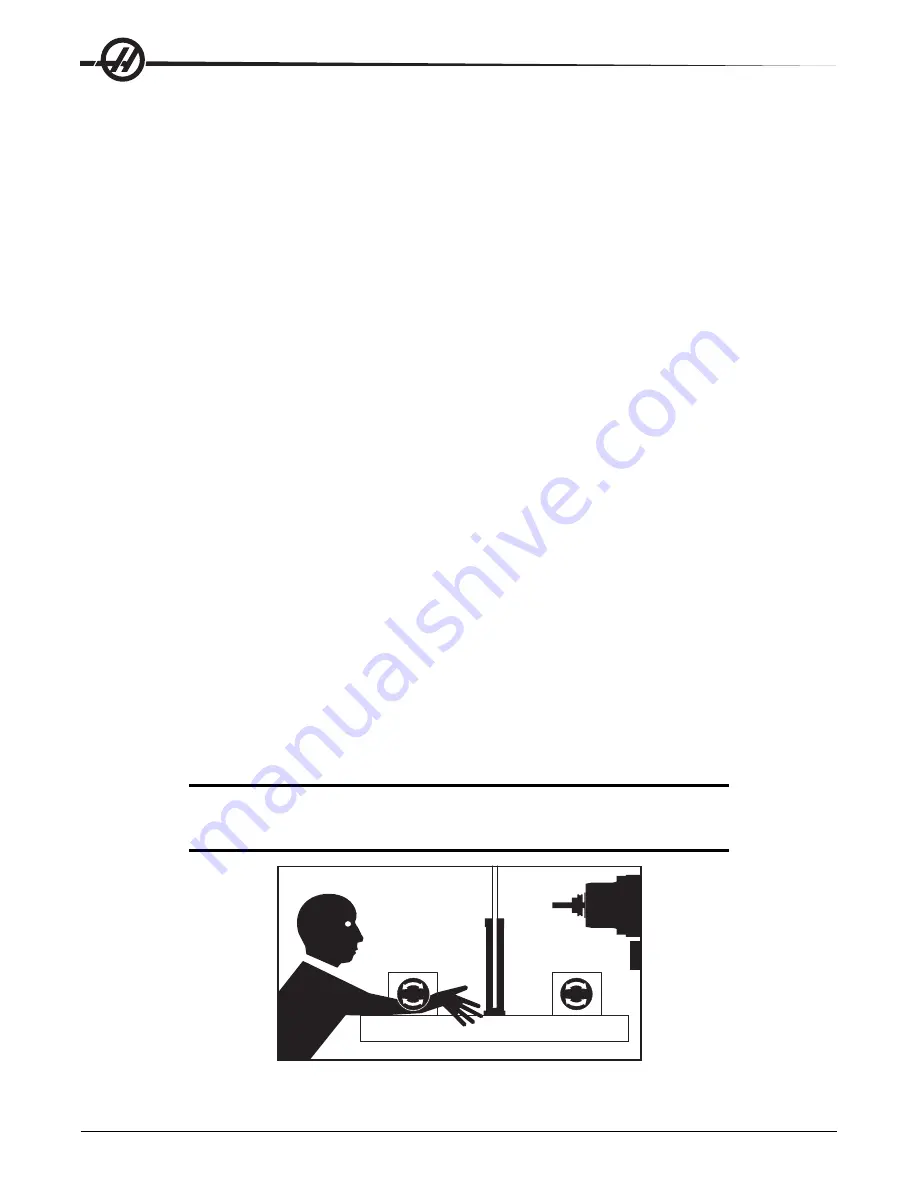
Caution: The following commands can cause either rotary products to move:
Zero Return
Handle Jog
Load
Area
Machining
Area
Содержание Mill
Страница 12: ...96 8000 rev R June 2007 Safety 5 ...
Страница 14: ...96 8000 rev R June 2007 Safety 7 LATHE WARNING DECALS ...
Страница 15: ...8 Safety 96 8000 rev R June 2007 ...
Страница 17: ...10 Introduction 96 8000 rev R June 2007 ...
Страница 117: ...110 4 5 Axis Programming 96 8000 rev R June 2007 ...
Страница 199: ...Settings 192 96 8000 rev R June 2007 ...
Страница 213: ...206 Maintenance 96 8000 rev R June 2007 ...


