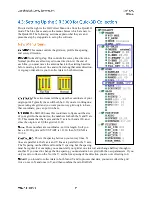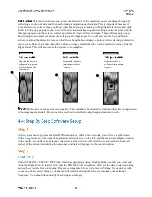
If you are using the 1500 MHz or the 1600 MHz antenna with the blue metal minicart, use
setup 1500BlueCart or 1600BlueCart.
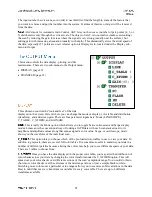
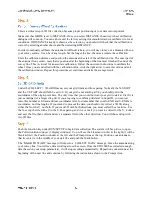
Make sure that MODE is set to DISTANCE. Once you select DISTANCE, the survey wheel calibration
dialogue will come up. You can either enter the factory setting (for smooth terrain) or calibrate it to local
conditions. If DISTANCE already is shown as the selection, you should still check that the calibration is
correct by selecting another choice and then selecting DISTANCE.
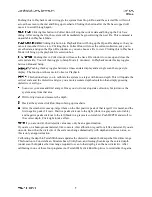
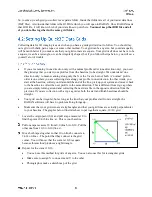
In order to manually calibrate the antenna for difficult terrain, you will need to lay out a measured line on
your survey surface. It can be of any length, but the longer the line, the more accurate the calibration.
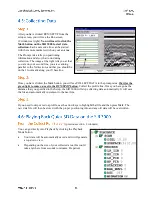
Enter the calibration distance and position the antenna at the start of the calibration line. The exact part of
the antenna (front, center, rear) that is positioned at the beginning of the line must finish at the end of the
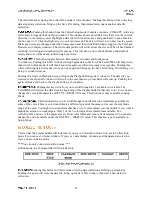
survey line. This is critical for an accurate calibration. Follow the onscreen instructions to calibrate the
wheel. Once you are satisfied with the calibration value, click the right arrow to save this value and exit
the calibration window. Repeat this procedure several times and take the average result.
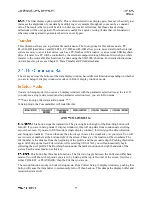
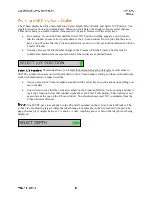
If you prefer to enter in the value manually, click the mark button to highlight the New Calibration Value
choice and use the up and down arrows to enter in the correct value. Then click the right arrow to save
and exit.
These default values are provided for convenience, but it is always advisable to calibrate
your survey wheel to obtain a more accurate value.
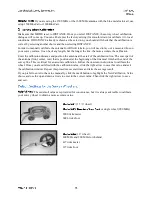
(3 5/6’ wheel):
or single wheel (900 MHz)
2000 ticks/meter
609.6 ticks/foot
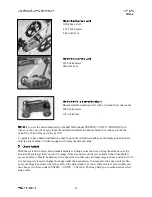
(16” wheel ):
400 MHz and 200 MHz tow-behind
417 ticks/meter
127 ticks/foot

