Advanced
Advanced
Advanced Display
Display
Display Module
Module
Module (ADM)
(ADM)
(ADM)
ADM
ADM
ADM Display
Display
Display
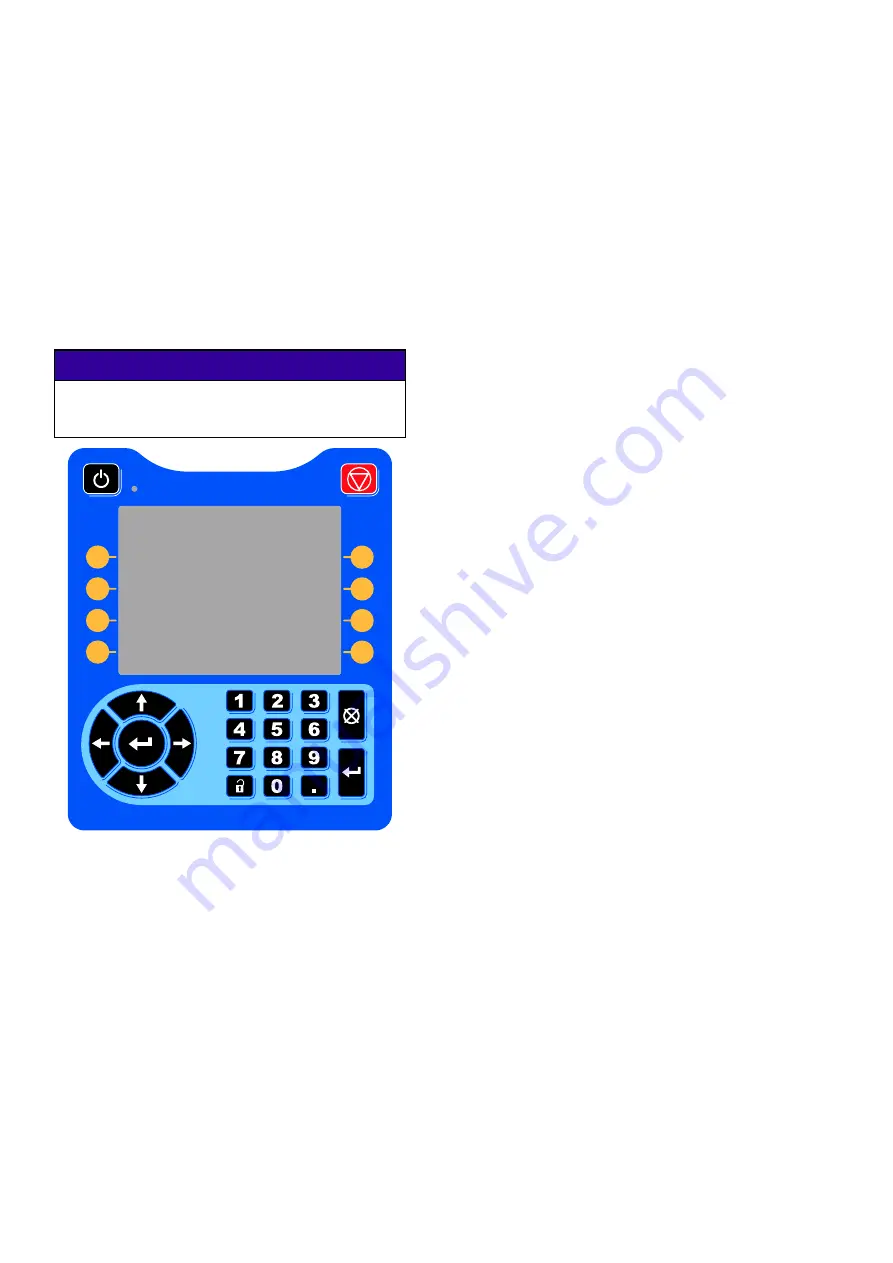
The ADM display shows graphical and text
information related to setup and spray operations.
For detail on the display and individual
screens, see
, or
Keys are used to input numerical data, enter setup
screens, navigate within a screen, scroll through
screens, and select setup values.
NOTICE
NOTICE
NOTICE
To prevent damage to the softkey buttons, do not
press the buttons with sharp objects such as pens,
plastic cards, or fingernails.
1
2
3
4
5
6
7
8
9
0
.
Figure 9 Advanced Display Module
USB
USB
USB Download
Download
Download Procedure
Procedure
Procedure
Use the USB port on the ADM to download or upload
data.
1.
Enable USB downloads.
See
2.
Remove the cover from the USB port on the
bottom of the ADM. Insert the USB drive.
3.
During the download, USB BUSY appears on the
screen.
4.
When the download is complete, USB IDLE
appears on the screen. The USB drive may then
be removed.
NOTE:
NOTE:
NOTE: If the download operation takes longer
than 60 seconds, the message disappears. To
determine if the USB is busy or idle, check the
Error Status bar on the screen. If idle, remove
the USB.
5.
Insert the USB flash drive into the USB port of
the computer.
6.
The USB flash drive window automatically opens.
If it does not, open the USB flash drive from
within Windows® Explorer.
7.
Open Graco folder.
8.
Open system folder. If downloading data from
more than one system, there will be more than
one folder. Each folder is labeled with the
corresponding serial number of the ADM. (The
serial number is on the back of the ADM.)
9.
Open DOWNLOAD folder.
10. Open LOG FILES folder labeled with the highest
number. The highest number indicates the most
recent data download.
11. Open log file. Log files open in Microsoft®
Excel® by default if the program is installed.
They also can be opened in any text editor of
Microsoft® Word.
NOTE:
NOTE:
NOTE: All USB logs are saved in Unicode
(UTF-16) format. If opening the log file in
Microsoft Word, select Unicode encoding.
12. Always reinstall the USB cover after removing
the USB, to keep the drive free of dirt and dust.
3A6287E
13


