


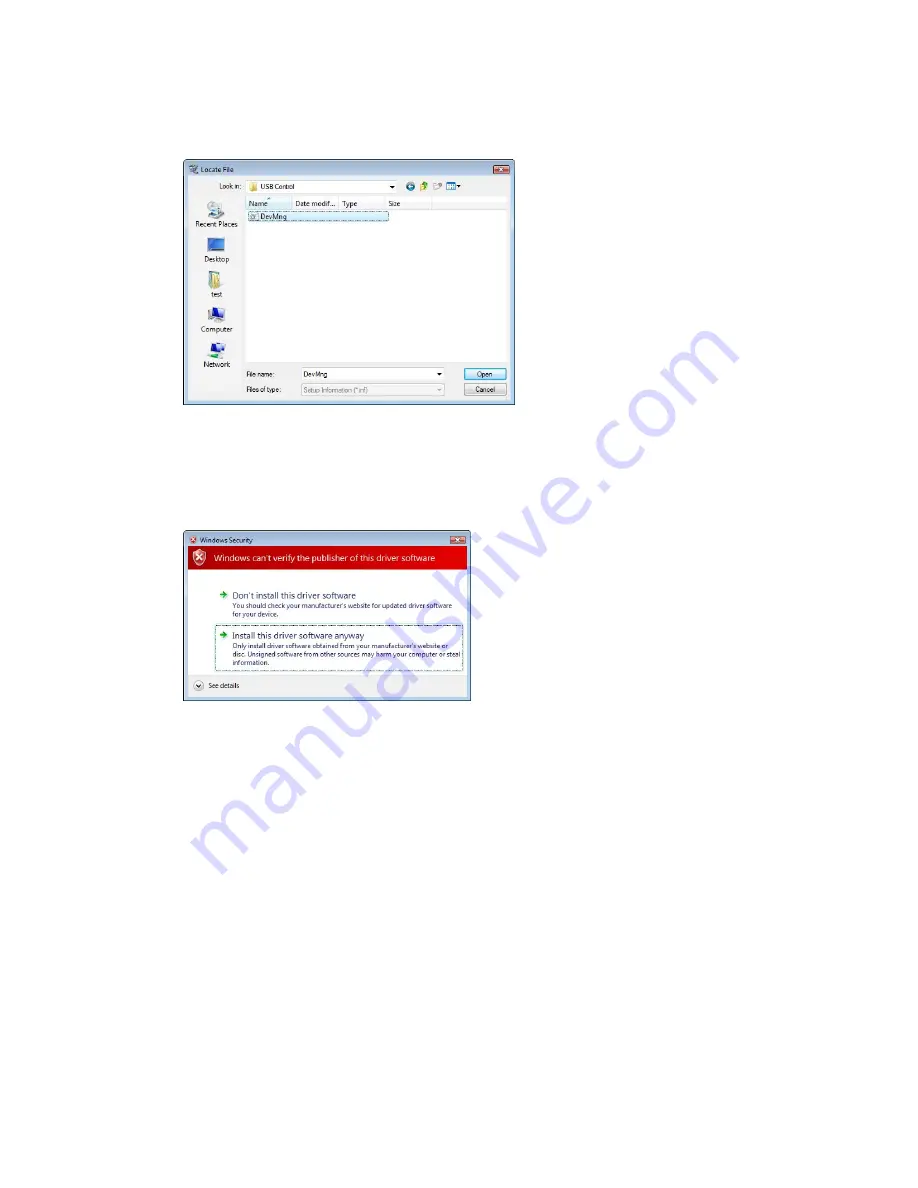
10 Select the file DevMng and click the Open button.
11 Click the OK button in the Install From Disk dialog.
12 Click the Next button in the Add Hardware dialog.
13 Click the Next button once more in the Add Hardware dialog.
14 Click Install this driver software anyway.
15 Click the Finish button.
3.4.2.2 Installation of the USB Function driver (Windows VISTA)
Note:
During software installations, you may be asked to confirm your actions in a dialog with
the text Windows needs your permission to continue. Enter an administrator password,
if prompted, then click Continue to proceed with the installation.
1 Connect the computer and the ImageQuant LAS 4000 with a USB cable and turn ON the power
switch of ImageQuant LAS 4000.
Result: The ImageQuant LAS 4000 will automatically be detected by the computer and the Plug and
Play function in Windows Vista starts.
2 In the Found New Hardware dialog, select Locate and install driver software (recommended).
3 Insert the ImageQuant LAS 4000 Control Software CD and click the Next button in the Found New
Hardware dialog.
32
Getting Started with ImageQuant LAS 4000 28-9607-59 AB
3 Installation
3.4 Installation of the software
3.4.2 Installation (Windows Vista)
Содержание ImageQuant LAS 4000
Страница 1: ...GE Healthcare Getting Started with ImageQuant LAS 4000 Original instructions...
Страница 2: ......
Страница 85: ......


