GE
Direction 5370626-100, Revision 18 LOGIQ e/LOGIQ e Vet/LOGIQ i/Vivid e Basic Service Manual
Chapter 4 Functional Checks
4-31
4-3-16-4
Archiving Images
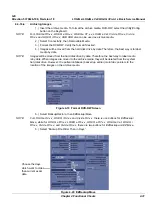
1.) Insert the archive media. To format the archive media, DVD-RW, select the Utility/Config
button on the Keyboard.
NOTE:
For LOGIQ e R5.x.x, LOGIQ e R6.x.x, LOGIQ e R7.x.x, LOGIQ e Vet, Vivid e R5.x.x, Vivid e
R6.x.x and LOGIQ i R5.x.x, USB HDD also can be used as archive media.
2.) Select Connectivity, then Removable Media.
3.) Format the DVD-RW. Verify the format if desired.
4.) Images will be moved from the hard disk drive by date. Therefore, the best way is to label
media by date.
NOTE:
Images will be moved from the hard disk drive by date. Therefore, the best way to label media
is by date. When images are moved to the archive media, they will be deleted from the system
hard disk drive. However, the patient database (backed up earlier) maintains pointers to the
location of the images on the archive media.
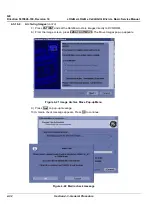
5.) Select Backup/Restore, then EZBackup/Move.
NOTE:
For LOGIQ e R4.x.x, LOGIQ i R4.x.x and Vivid e R4.x.x, there is one buttons for EZBackup/
Move, while for LOGIQ e R5.x.x, LOGIQ e R6.x.x, LOGIQ e R7.x.x, LOGIQ e Vet, LOGIQ i
R5.x.x, Vivid e R5.x.x, and Vivid e R6.x.x, there are two buttons for EZBackup and EZMove.
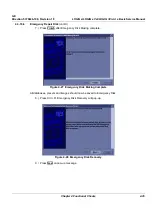
6.) Select “Backup File Older Than in Days”.
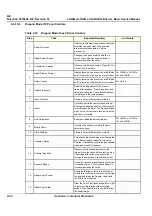
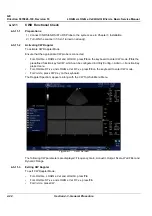
Figure 4-19 Format DVD-RW Screen
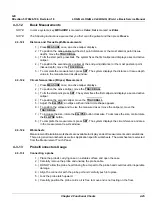
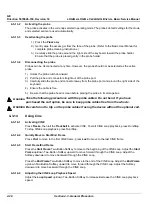
Figure 4-20 EZBackup/Move
Choose the days
which want to older
than current exam
date.


