52
232001840G(08)
Main Work Page
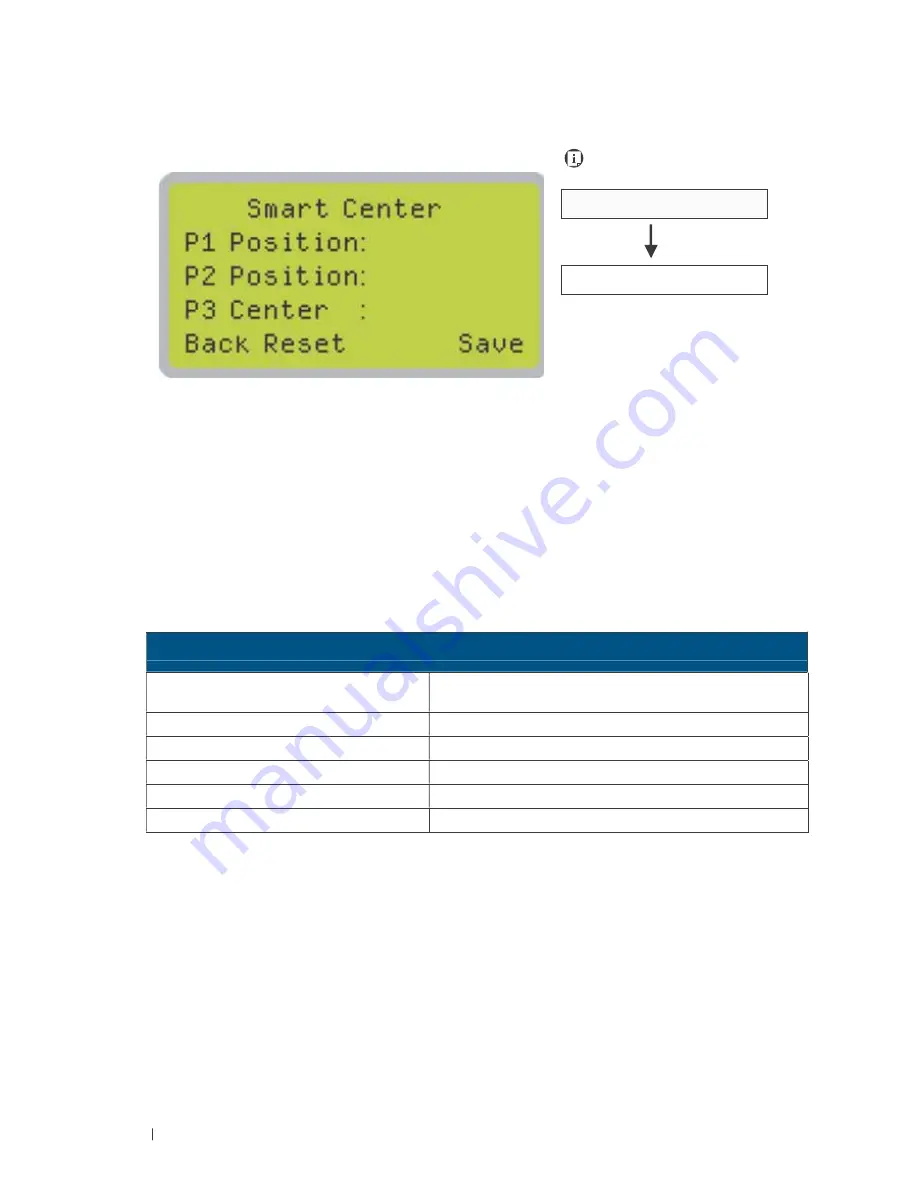
SmartCENTER Page
Navigating to this page:
Main Work Page
press F3
SmartCENTER Page
Under SmartCENTER mode the job will begin after the system positions the carriage to the center
position between two points or four points indicated by the user. The SmartCENTER mode has to be
enabled through the driver.
Enter SmartCENTER page by pressing the F3 button. You will be prompted to indicate and store
the position points. The positions can be indicated by moving the carriage by hand and pressing
enter to save the positions indicated by the red pointer. After all points are set, the carriage will move
to the center of the stored positions and the job will begin.
SmartCENTER Page
Relevant Buttons
Function
F1 (Back)
Back to previous page
F2 (Reset)
Reset all saved positions
F4 (Save)
Save current lens carriage position
Auto Focus
Initiate the auto focus function
▲/ ▼ Manual Focus Buttons
Manually adjust the height of the work table (Z-axis)
Содержание LaserPro C180II
Страница 1: ...232001840G 08 ...
Страница 15: ...232001840G 08 15 Chapter 2 Unpacking Contents Unloading and Unpacking Contents and Accessories Checklist ...
Страница 20: ...20 4 Place the machine into the package box 5 Cover the lid and tighten by rope ...
Страница 22: ...232001840G 06 Chapter 3 Mechanical Overview Front View Top View Right Profile View Left Profile View Rear View ...
Страница 29: ...232001840G 08 ...
Страница 34: ...232001840G 06 ...
Страница 35: ...232001840G 08 ...
Страница 41: ...41 232001840G 08 11 Select CD ROM drive with the Windows installation CD 12 Enter the Windows OS product key ...
Страница 107: ...107 232001840G 08 ...
Страница 109: ...109 232001840G 08 ...
Страница 114: ...114 232001840G 08 8 Now you are ready to output the modified image by clicking File Print ...
Страница 137: ...137 232001840G 08 Chapter 9 Basic Troubleshooting ...
Страница 139: ...139 232001840G 08 Chapter 10 Appendix Glossary LaserPro C180II Series Specification Sheet ...


