TR-CL180 Lens Controller - User Manual
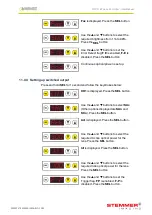
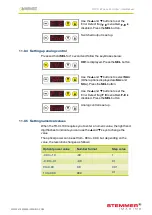
Use the
p
and
q
buttons to set the
Error Detect flag:
F E
is enabled,
F-E
is
disabled. Press the
SEL
button.
Switched output is set up.
11.0.4 Setting up analog control
Press and hold
SEL
for 1 second and follow the keystrokes below:
CH1
is displayed. Press the
SEL
button.
Use the
p
and
q
buttons to select
SAn
(Other options displayed are
SAc
and
SCo
). Press the
SEL
button.
Use the
p
and
q
buttons to set the
Error Detect flag:
F E
is enabled,
F-E
is
disabled. Press the
SEL
button
Analog control is set up.
11.0.5 Setting numerical values
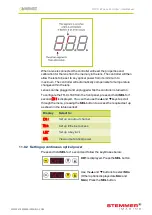
When the TR-CL180 requires you to enter a numeric value, the right hand
digit flashes to indicate you can use the
p
and
q
keys to change the
value.
The optical power can be set from -99 to +99.9, but depending on the
value, the resolution changes as follows:
Optical power value
Number format
Step value
-99 to -10
-99
1
-9.9 to -0.1
-9.9
0.1
0 to 9.99
9.9
0.01
10 to 99.9
99.9
0.1
—
20
—
TR-CL180 Lens Controller - User Manual
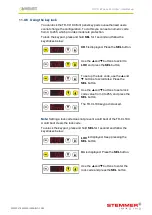
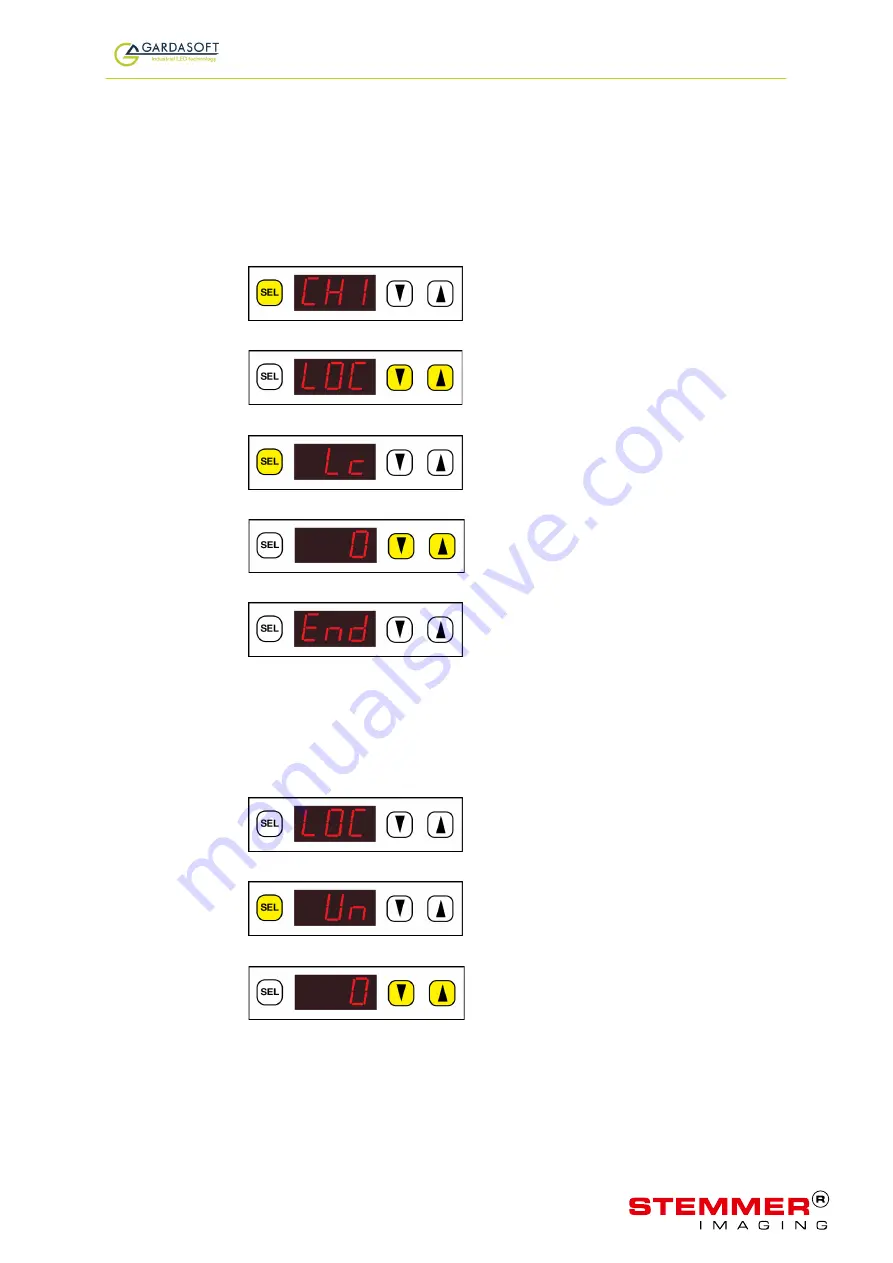
11.0.6 Using the key lock
You can lock the TR-CL180 front panel keypad so unauthorised users
cannot change the configuration. To do this you can set a numeric code
from 0 to 255, which provides moderate protection.
To lock the keypad, press and hold
SEL for 1 second and follow the
keystrokes below:
CH1 is displayed. Press the SEL button.
Use the
p
and
q
buttons to scroll to
LOC and press the SEL button.
To set up the lock code, use the
p
and
q
buttons to scroll to
Lc. Press the
SEL button.
Use the
p
and
q
buttons to set a lock
code value from 0 to 255, and press the
SEL button.
The TR-CL180 keypad is locked.
Note:
Setting a lock code does not prevent a cold boot of the TR-CL180.
A cold boot clears the lock code.
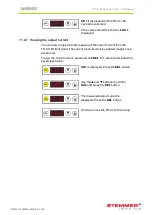
To unlock the keypad, press and hold
SEL for 1 second and follow the
keystrokes below:
LOC is displayed. Keep pressing the
SEL button.
Un is displayed. Press the SEL button.
Use the
p
and
q
buttons to enter the
lock code and press the SEL button.
—
21
—
WWW.STEMMER-IMAGING.COM

