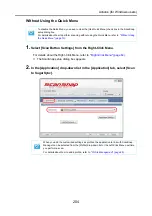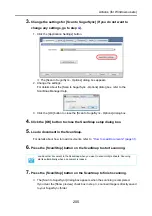
Actions (for Windows users)
206
8.
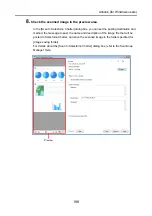
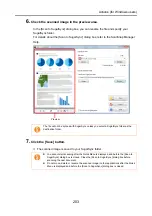
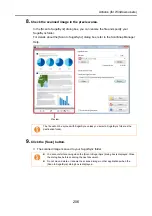
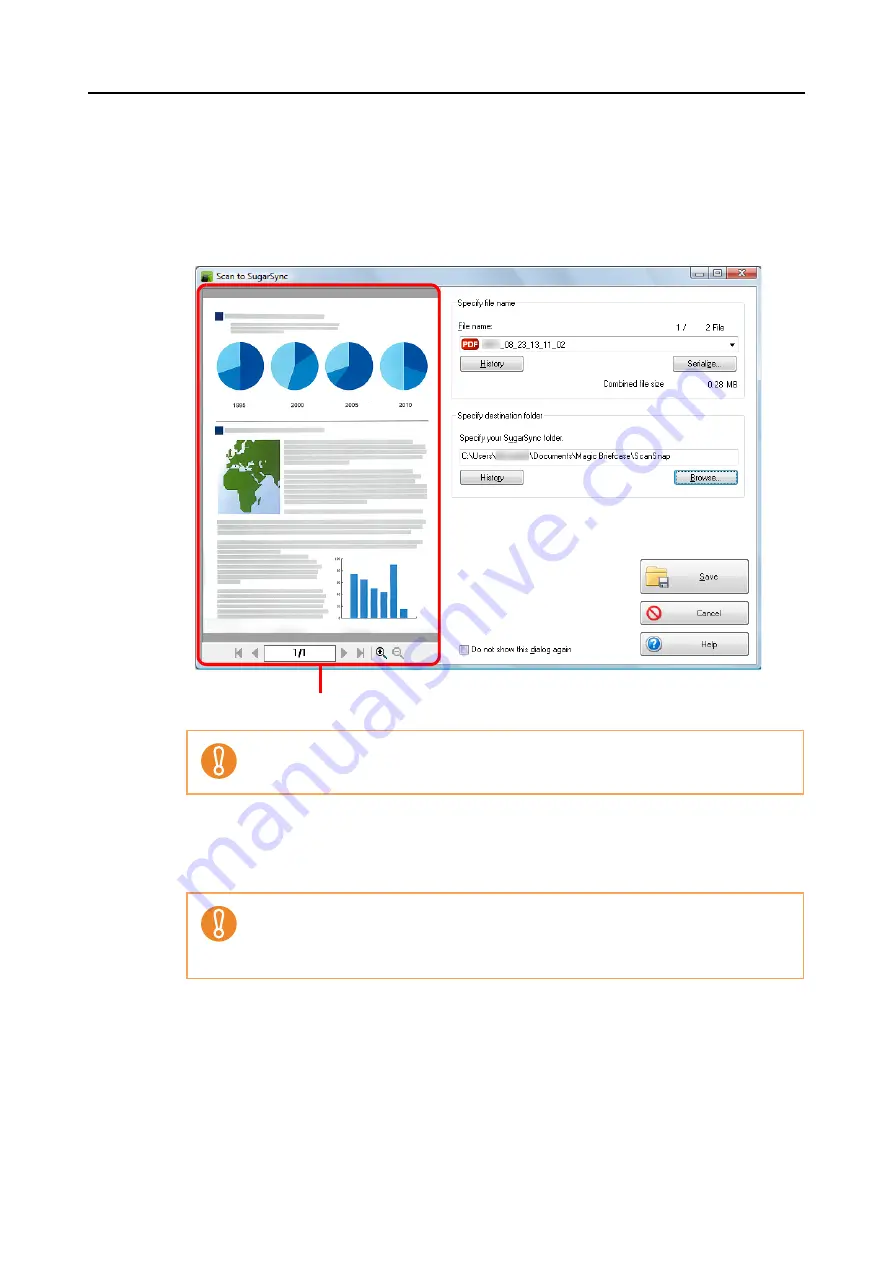
Check the scanned image in the preview area.
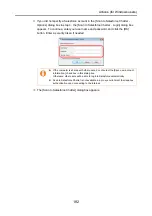
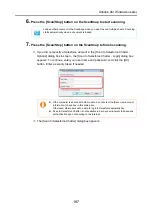
In the [Scan to SugarSync] dialog box, you can rename the file and specify your
SugarSync folder.
For details about the [Scan to SugarSync] dialog box, refer to the ScanSnap Manager
Help.
9.
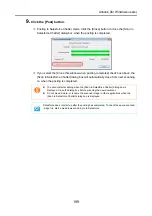
Click the [Save] button.
D
The scanned image is saved to your SugarSync folder.
The file will not be synced with SugarSync unless you select a SugarSync folder as the
destination folder.
z
You cannot start scanning when the [Scan to SugarSync] dialog box is displayed. Close
the dialog box before scanning the next document.
z
Do not move, delete or rename the scanned image in other applications when the
[Scan to SugarSync] dialog box is displayed.
Preview

