49
4. Adjustment
FinePix S2 Pro (U/E) SERVICE MANUAL
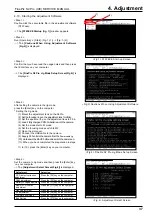
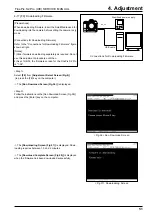
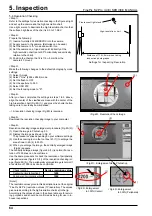
--> A picture of the AF solid chart is taken and
displayed in the "Preview" window (Fig.29).
<Step 8>
Enlarge the preview window and make a note of the number
of the most sharply focused image. Here, "40" is the number
of the best image. (Values between -50 and 50 can be used.)
[Note]
If you are unsure which image is best, select the number that is
closer to "0" and make a note of that number. So, if you cannot
decide between "40" and "50", choose "40". Similarly, if you cannot
decide between "-20" and "-30", choose "-20".
<Step 9>
When you have made a note of the correction data, exit the
Camera Shooting Software.
<Step 10>
Press the "Enter" key on your computer, as directed by the
instructions in the "Correction data acquisition method"
window (3).
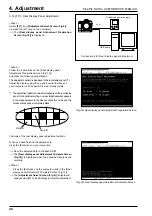
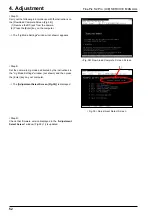
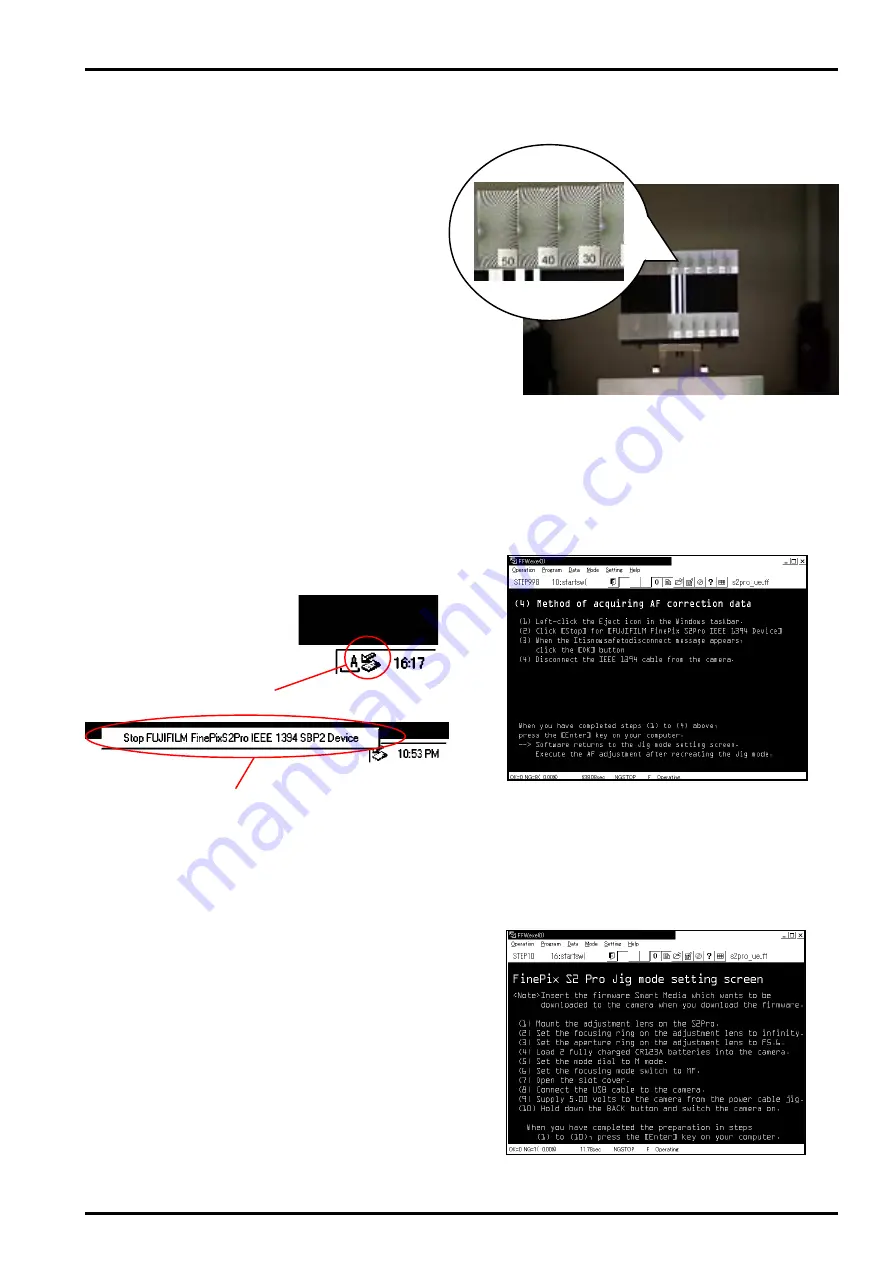
--> The
"Correction data acquisition method (4)"
window
(Fig.30) appears.
<Step 11>
Perform the following, as directed by the instructions in the
"Correction data acquisition method (4)" window (Fig.30).
(1) Left-click the Eject icon in the Windows taskbar.
(2) Click "Stop" for "FUJIFILM FinePix S2Pro IEEE 1394 Device".
(3) When the "It is now safe to disconnect" message appears,
click the [OK] button (not shown).
(4) Disconnect the IEEE 1394 cable from the camera.
[NOTE]
If the IEEE 1394 cable is disconnected from the camera
without first stopping the device, an error message appears
on the computer. In some cases this may cause the computer
to hang.
(5) When you have completed steps (1) to (4) above, press
the [Enter] key on your computer.
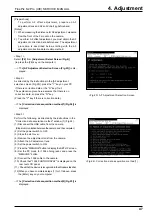
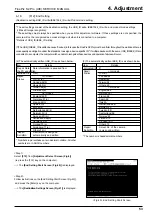
--> The
[FinePix S2 Pro Jig Mode Setup Screen(Fig.31)]
is
displayed.
<Step 12>
Set the camera to Jig mode again as directed by the
instructions in the "Jig Mode Settings" window (figure 29)
and press the [Enter] key on your computer.
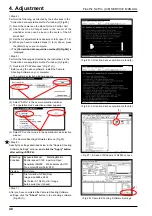
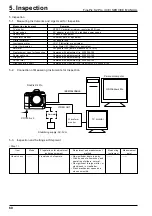
--> The
[Adjustment Select Screen (Fig.32)]
is displayed.
<Fig.31> FinePix S2 Pro Jig Mode Setup Screen
<Fig.30> Correction data acquisition method(4)
scaled-up
<Fig.29> Preview screen


