4. Adjustment
44
FinePix S2 Pro (U/E) SERVICE MANUAL
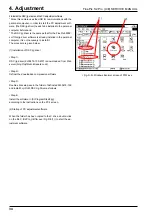
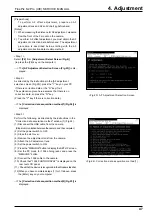
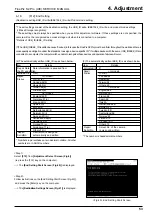
<Fig.19> Rear display panel Adjustment Complete Screen
4-14.[F11]: Rear Display Panel Adjustment
<Step 1>
Select
[F11]
from
[Adjustment Select Screen (Fig.4)]
(ie press the [F11] key on the computer).
---> The
[Rear display panel Adjustment Preparation
Screen (Fig.18)]
is displayed.
<Step 2>
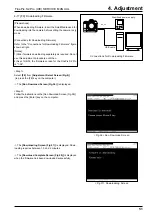
Follow the instructions on the [Rear display panel
Adjustment Preparation Screen (Fig.18)],
and make the following preparations.
The adjustment pattern is displayed in the rear display panel (*1).
Adjust the display using the up and down arrow keys on
your computer until the pattern is most clearly visible.
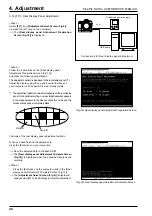
*1 The adjustment pattern shown below appears on the rear display
panel. In the optimum setting, no cross talk(shadowing) appears
in the areas adjacent to the black sections (A and B), and the
black sections appear completely black.
<Sample of the rear display panel adjustment pattern>
When you have finished the adjustments,
press the [Enter] key on your computer.
---> Save the adjusted data to the flash ROM.
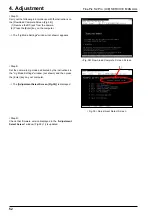
---> The
[Rear display panel Adjustment Complete Screen
(Fig.19)]
is displayed when the adjusted data is saved
normally.
<Step 3>
Press the [Enter] key on the computer while in the [Rear
display panel Adjustment Complete Screen (Fig.19)].
---> The
[Adjustment Select Screen (Fig.4)]
is displayed.
Always select [[F12]: End Setting] to complete adjustment.
Stabilized power supply
DC_5V
USB cable
Connections for Rear display panel Adjustment
Area A
Area B
<Fig.18>Rear display panel Adjustment Preparation Screen


