37
4. Adjustment
FinePix S2 Pro (U/E) SERVICE MANUAL
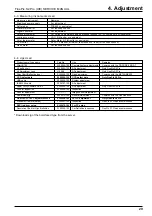
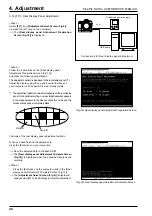
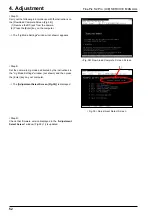
<Fig.1> FFW.EXE Start-up Screen
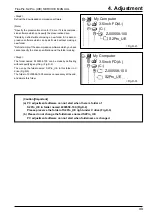
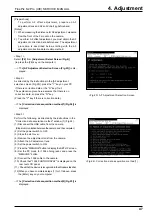
<Fig.2>Cautions When Using Adjustment Software
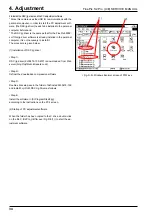
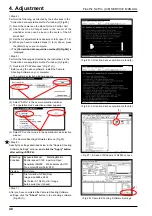
<Fig.3> FinePix S2 Pro Jig Mode Setup Screen
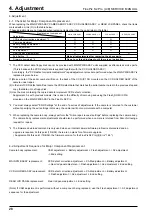
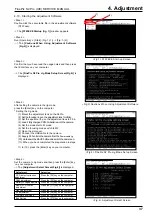
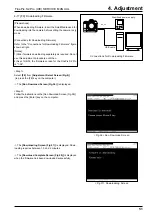
<Fig.4> Adjustment Select Screen
4-10. Starting the Adjustment Software
<Step 1>
Double-click the executable file in the adjustment software
(FFW.exe).
-> The
[FFW.EXE Startup (fig. 1)]
window appears.
<Step 2>
Run [Operation] -> [Start]. (Fig. 1-(1)) -> (Fig. 1-(2))
---> The
[Cautions When Using Adjustment Software
(Fig.2)]
is displayed.
<Step 3>
Confirm that you have read the usage notes and then press
the [Enter] key on your computer.
--> The
[FinePix S2 Pro Jig Mode Setup Screen(Fig.3)]
is
displayed.
<Step 4>
After setting the camera in the jig mode,
press the [Enter] key on the computer.
* Setting the Jig mode
(1) Mount the adjustment lens on the S2Pro.
(2) Set the focusing ring on the adjustment lens to infinity.
(3) Set the aperture ring on the adjustment lens to F5.6.
(4) Load 2 fully charged CR123A batteries into the camera.
(5) Set the mode dial to M mode.
(6) Set the focusing mode switch to MF.
(7) Open the slot cover.
(8) Connect the USB cable to the camera.
(9) Supply 5.00 volts to the camera from the
Power cable jig.
(10) Hold down the BACK button and switch the camera on.
(11) When you have completed the preparation in steps
(1) to (10), press the [Enter] key on your computer.
<Step 4>
Set the camera to Jig mode and then press the [Enter] key
on your computer.
--> The
[Adjustment Select Screen(Fig.4)]
is displayed.
(1)
(2)
Selection
Press the [F4] key on the computer.
Press the [F5] key on the computer.
Press the [F1] key on the computer.
Press the [F11] key on the computer.
Press the [F7] key on the computer.
Press the [F6] key on the computer.
Press the [F8] key on the computer.
Press the [F12] key on the computer.
Adjustment
CCD defect correction
adjustment
CAM adjustment
Battery voltage adjustmen
REAR LCD PANEL
adjustment
Flash adjustment
AF adjustment
Firmware download
End Setting


