107
106
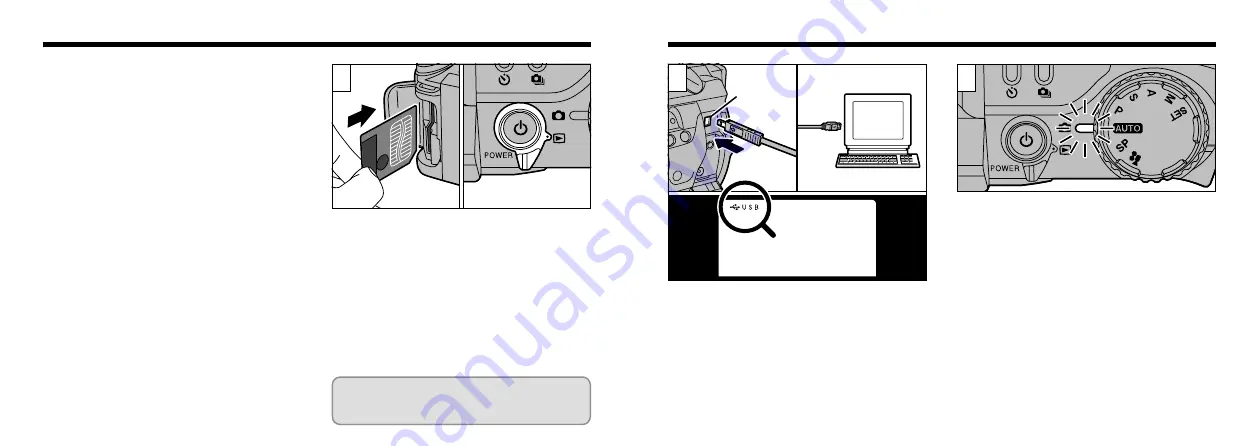
Using the USB Interface Set
●
Use the cable provided to connect the camera
to your PC and transfer image data from the
camera to the PC.
●
The software runs on Windows 98 (including
the second edition), Windows 2000 Professional
and Mac OS 8.5.1 to Mac OS 9.0. Note that
your PC must be equipped with a USB port.
(The software is not guaranteed to run on
home-made PCs.)
➀
Insert the SmartMedia.
➁
Switch the camera on and set the Mode
Switch to “
#
”.
●
!
The Auto Power save function does not operate
when the camera is connected to a PC.
●
!
It is best to use AC Power Adapter AC-5V/AC-5VH
(sold separately) for this operation (
DIGITAL
(USB)
Socket
Insert the small plug on the special cable into
the Digital (USB) socket on the camera
➀
and
plug the other end of the cable into the USB
socket on the PC
➁
. When you switch the PC
on, “
t
USB” appears on the camera monitor.
●
!
Use only the special cable provided.
●
!
Refer to the “Quick Start Guide” provided with the
camera for information on installing and using the
software.
When the indicator lamp turns orange, data
access (data transfer) is in progress. Never open
the slot cover, disconnect the cable or use the
camera in any other way during data access.
3
●
!
To play back a movie on your personal computer,
software such as QuickTime 3.0 is required. You
should also copy the movie file to your hard disk
before playing it back.
2
1
●
➀
●
➁
●
➀
●
➁
Power loss during data transmission will
prevent the image data from being
downloaded correctly.


