101
5
100
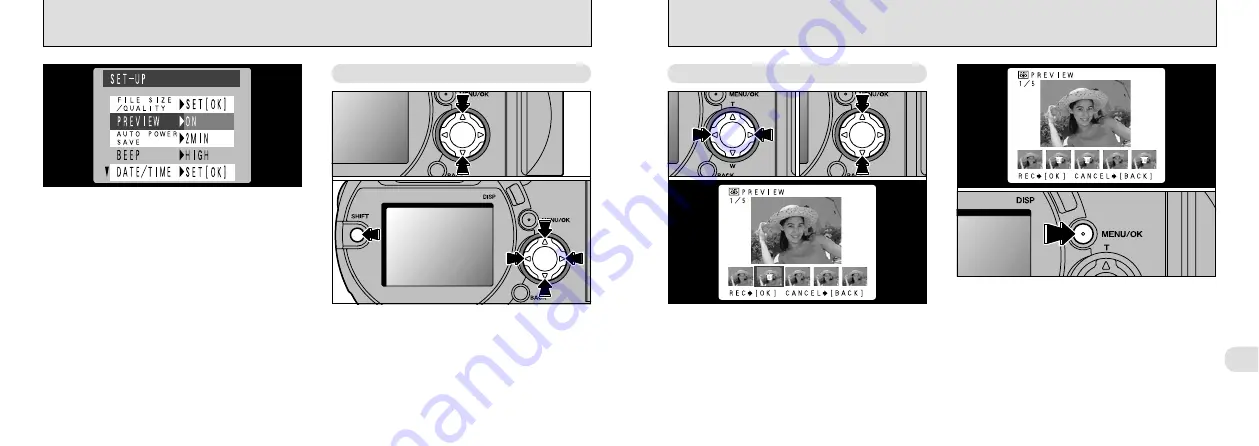
PREVIEW DISPLAY SETTINGS
Use this setting to specify whether a preview
screen (showing the photographed image) is
displayed after you take a photograph.
ON : The preview screen is displayed and you
can choose whether to record the image.
To record : “MENU/OK” button
To continue without recording : “BACK” button
OFF : The preview screen is not displayed and
the image is automatically recorded.
By magnifying the preview picture, checking of
the focusing and details of the picture is possible.
➀
You can zoom in or out on the image on the
preview screen by pressing “
a
” or “
b
” on the
4-direction button.
➁
You can move around a zoomed image by
holding down the “SHIFT” button and pressing
“
d
”, “
c
”, “
a
” or “
b
” on the 4-direction button.
Setting Preview display to “ON” allows you to
select the images to be recorded.
➀
Use “
d
” and “
c
” to select the images you do
not want to record.
➁
Press “
a
” and “
b
” to add or remove the “
c
”
Mark.
Place an “
c
” mark under all the images you do
not want to record and then press the
“MENU/OK” button to record the remaining
images.
Preview Zoom
●
➀
●
➁
In Continuous Shooting/Auto Bracketing
●
➀
●
➁
●
!
Previews are not displayed when the photography
mode is set to Movie.


