91
4
90
[
DPOF SET FRAME
PLAYBACK MENU
6
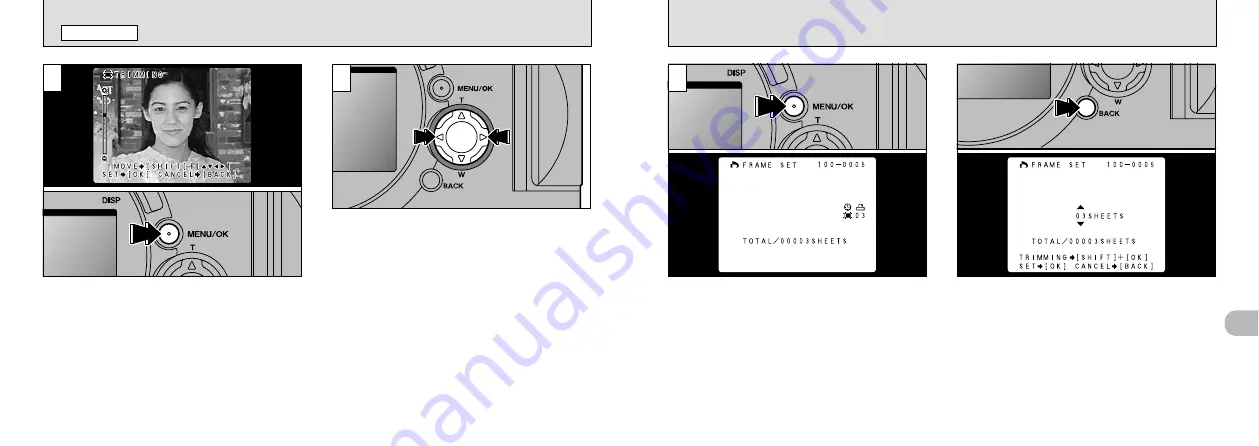
To specify prints for another frame, use the “
d
”
and “
c
” buttons to select the frame and then
specify the number of prints.
5
Check the trimming settings on the monitor and
then press the “MENU/OK” button to confirm the
settings.
<
To Cancel
>
If you cancelled the setting, settings are only
disabled for the frames that were being set.
Settings for other frames are not cancelled.
7
<
To Continue
>
When you have completed the settings, always
press the “MENU/OK” button to confirm the
settings. The total number of prints is displayed
on the monitor and then the menu screen
reappears.
The “
K
” and the number of prints are displayed
for the specified frames, “
H
” is displayed where
the date is specified, and “
J
” is displayed
where cropping is specified.
●
!
“TOTAL” shows the total number of prints specified.
●
!
Using “
d
” or “
c
” to move to another frame
automatically confirms the setting.


