65
3
64
This mode can be selected in the “
5
•
7
•
9
•
4
”
photography modes.
Use this setting when you cannot obtain the
correct brightness, such as when the flash does
not reach the subject (is too faint) or when you
are using the flash for a close-up shot.
●
The range for exposure compensation is ± 2
levels (– 0.6 to + 0.6 EV in 0.3 EV increments).
Exposure compensation only functions with the
built-in flash. See P.112 for more information
on EVs.
This mode can be selected in the “
5
•
7
•
9
•
4
”
photography modes.
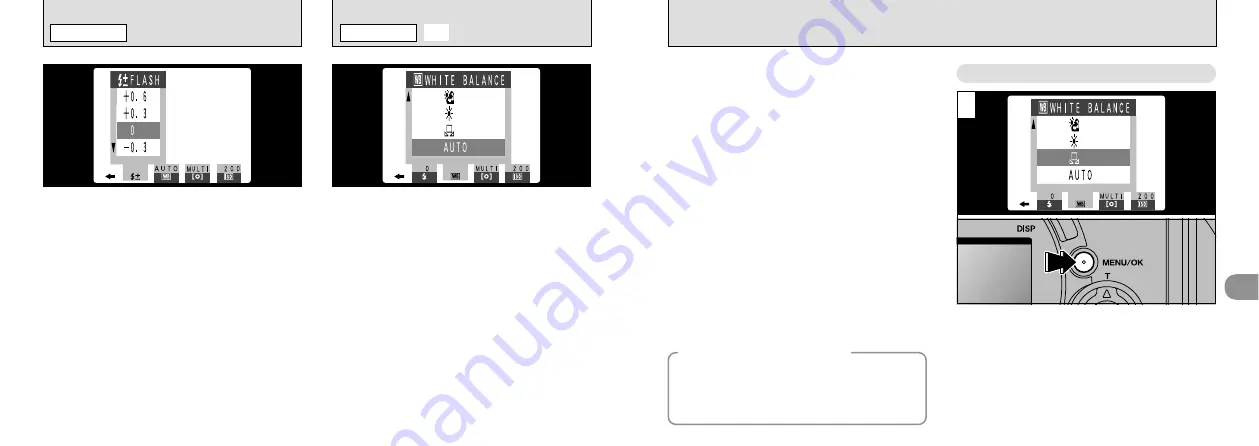
Change the white balance setting when you
want to take a picture with the white balance
fixed for the surroundings and lighting when the
picture is taken.
In Auto mode, the correct white balance may not
be obtained for subjects such as close-ups of
people’s faces and shots taken under a special
light source. In such situations, select the correct
white balance for the light source. See P.112 for
more information on the white balance.
AUTO : Automatic adjustment
(Shooting to show the ambience of the
light source)
Q
: Custom white balance
g
: Shooting outdoors in fine weather
f
: Shooting in shade
l
: Shooting under “Daylight” fluorescent
lamps
m
: Shooting under “Warm White” fluorescent
lamps
n
: Shooting under “Cool White” fluorescent
lamps
q
: Shooting in incandescent light
✽
The white balance setting is ignored when the flash is
used. To achieve the desired effect in your shot,
press the flash back down to suppress flash
operation (
1
Select “
Q
” Custom White Balance and press
the “MENU/OK” button.
i
FLASH BRIGHTNESS ADJUSTMENT
PHOTOGRAPHY MENU
A
SETTING THE WHITE BALANCE
PHOTOGRAPHY MENU
◆
Custom White Balance
◆
Use this function when you want to match the
white balance accurately for a particular light
source. You can also use this function to
achieve special effects.
Custom White Balance Setting


