


58
Printer Management Software
User Setup Disk Creating Tool (Windows Only)
You can use the User Setup Disk Creating Tool program in the
MakeDisk
folder within the
Utilities
folder and drivers in the respective folders of the
Software Pack CD-ROM
to create a driver installation
package. A driver installation package can contain a group of print driver settings and other data for
things such as:
•
Print orientation and Multiple Up print (document settings)
•
Watermarks
If you want to install the print driver with the same settings on multiple computers running on the same
operating system, create a setup disk in a floppy disk or in a server on the network. Using the setup
disk that you have created will reduce the amount of work required when installing the print driver.
•
Install print drivers for your printer on the computer on which the setup disk is to be created.
•
The setup disk can only be used on the operating system on which the disk was created or
computers running the same operating system. Create a separate setup disk for each of the
operating systems.
To create a setup disk, follow the procedure below. The procedure uses Windows 7 as an example.
1
Right-click the icon for your printer in the
Devices and Printers
folder and select
Printing
preferences
to open the print driver window.
2
Specify the settings that you want to include in a driver installation package (for example, the
Multiple Up
setting on the
Layout
tab).
3
Insert the
Software Pack CD-ROM
into the CD/DVD drive and open the disc.
NOTE:
•
If the
AutoPlay
window appears, click
Open folder to view files
.
4
Double-click
Utilities
→
MakeDisk
→
your desired language.
5
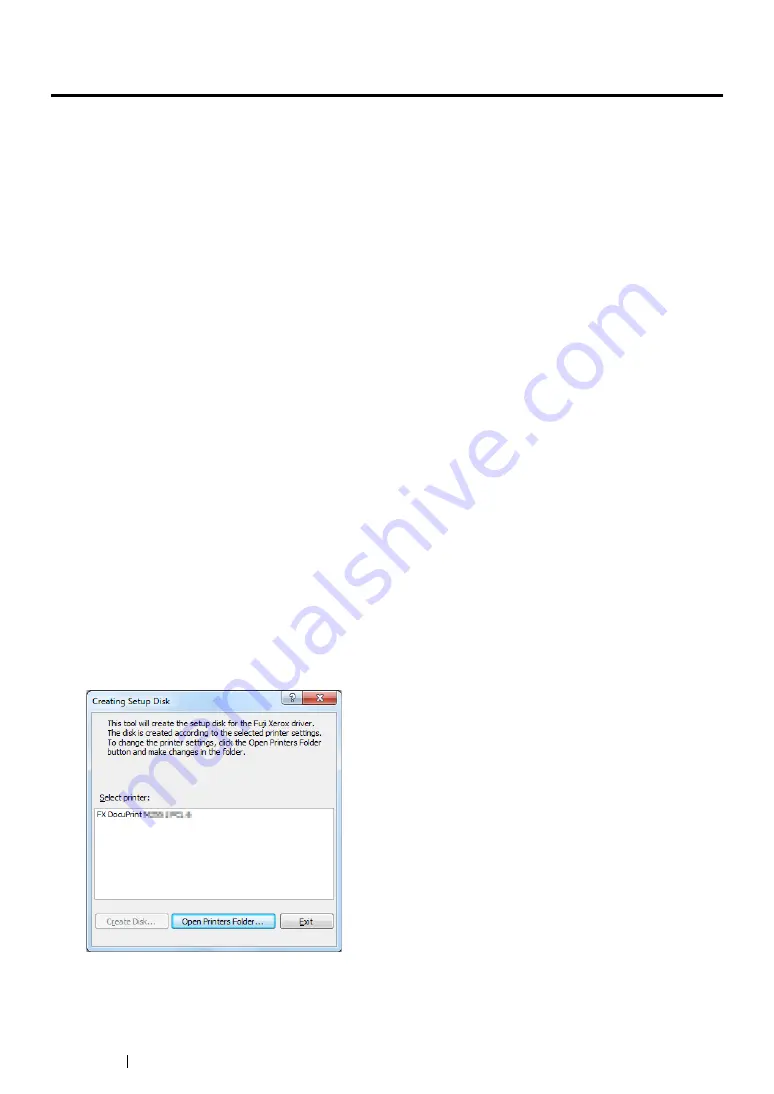
Double-click
makedisk.exe
.
The
Creating Setup Disk
window appears.
Содержание DocuPrint M255 df
Страница 1: ...User Guide DocuPrint M255 df M255 z ...
Страница 48: ...48 Basic Operation ...
Страница 85: ...Printer Connection and Software Installation 85 5 Select Advanced ...
Страница 180: ...180 Printing Basics ...
Страница 242: ...242 Scanning ...
Страница 280: ...280 Faxing ...
Страница 338: ...338 Using the Operator Panel Menus and Keypad ...
Страница 348: ...348 Troubleshooting 7 Close the rear cover 8 Insert the paper tray into the printer and push until it clicks into place ...
Страница 414: ...414 Maintenance 7 Place the printer at a new location and replace the paper tray ...
Страница 418: ...418 Contacting Fuji Xerox ...


