4 Scan
174
Sca
n
4
4
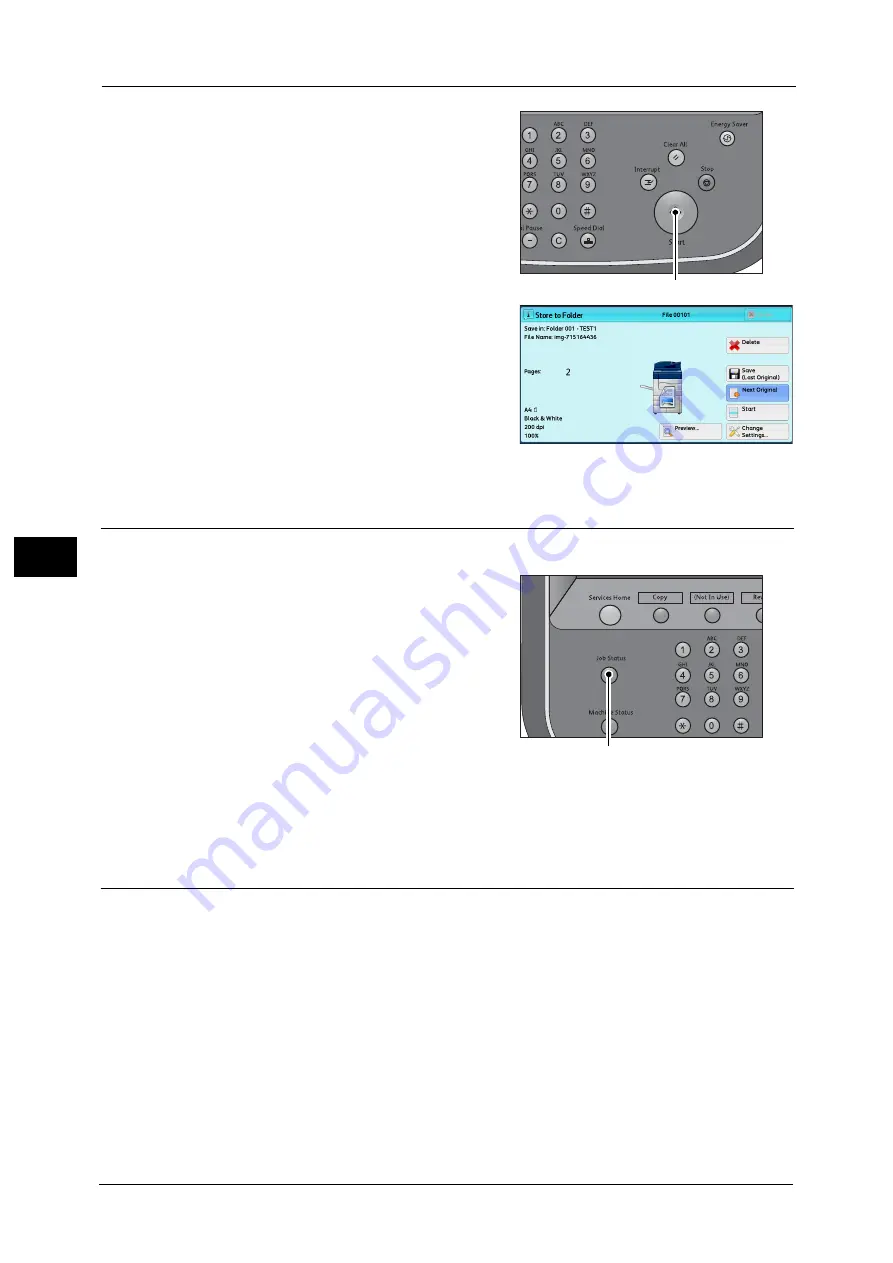
Press the <Start> button.
If you have more documents, repeat steps 3
and 4.
5
When all documents have been scanned, select
[Save (Last Original)].
Step 4 Confirming the Scan Job in Job Status
The following describes how to confirm the status of a scan job.
1
Press the <Job Status> button.
2
Confirm the job status.
Note
•
From the drop-down menu, you can select [Scan Jobs] and display the desired job.
Step 5 Saving the Scanned Data
When you used the Store to Folder service, you can use the following methods to import the
file stored in a folder of the machine to your computer:
Import using an application
Use Network Scanner Driver.
Refer to "Importing to a TWAIN Compatible Application" (P.341).
Import using Stored File Manager 3
Use Stored File Manager 3 (Fuji Xerox application software).
Refer to "Importing Using Stored File Manager 3" (P.343).
<Start> button
<Job Status> button
Содержание Color C60
Страница 1: ...User Guide Color C70 Printer Color C60 Printer...
Страница 10: ...10...
Страница 13: ...Preface 13 Before Using the Machine 1...
Страница 74: ...2 Product Overview 74 Product Overview 2...
Страница 101: ...Copy 101 Copy 3 1 Use and to select from seven density levels...
Страница 166: ...3 Copy 166 Copy 3...
Страница 182: ...4 Scan 182 Scan 4 Original Size Specifying a Scan Size P 243 4 Press the Start button...
Страница 256: ...4 Scan 256 Scan 4...
Страница 290: ...7 Stored Programming 290 Stored Programming 7...
Страница 314: ...10 Job Status 314 Job Status 10 Print this Job Report Prints the Job Report...
Страница 352: ...11 Computer Operations 352 Computer Operations 11...
Страница 353: ...12 Appendix This chapter contains a glossary of terms used in this guide z Glossary 354...
Страница 358: ...12 Appendix 358 Appendix 12...
Страница 364: ...364 Index X XPS 200 XPS Signature 203...


