32
11.3.2
Satellite receiver
Updated software is currently only distributed on the satellites Thor 1.0W and Astra 19.0E. A message will be sent to you
by email to tell you when it is available. If you cannot see either of these satellites, contact your dealer to find out how
to get updated software.
To implement the update, perform the following:
•
Go into the main menu and highlight SETUP. Press OK.
•
Highlight SYSTEM. Press OK.
•
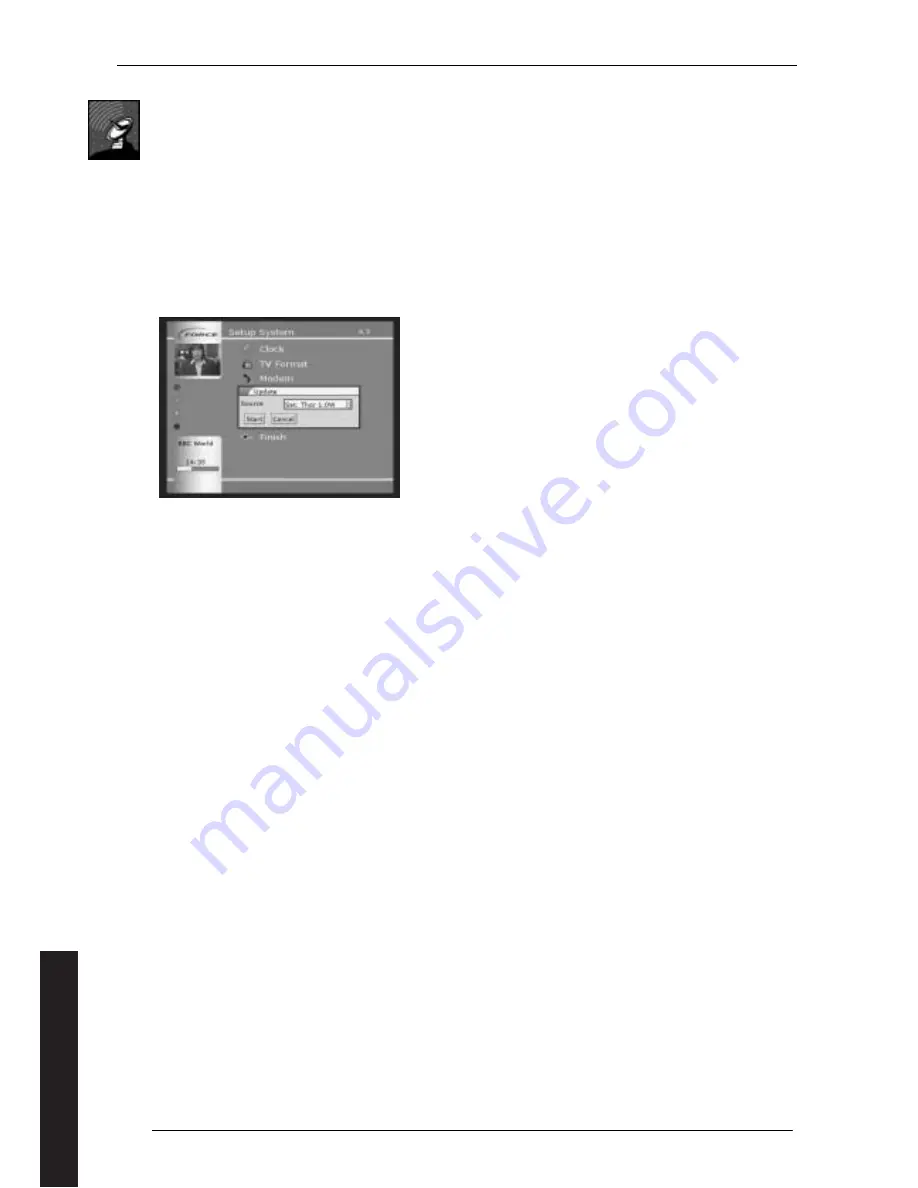
Highlight UPDATE. Press OK.
•
Check that "Source" is "Sat. Thor 1.0W" or "Sat. Astra 19.0E"
•
Highlight START and press OK.
The receiver will now begin to download the latest software directly from the satellite. This can take up to 15 minutes.
Never disconnect the receiver from the power supply during updating.
Figure 46
(Updating via satellite)
Channels and their frequencies change frequently, and new ones become available. When you update the software in
your receiver, you will automatically get the latest channel and/or frequency information, but it is necessary to reset the
receiver to be able to use it. This is done as follows:
•
Go into the main menu and highlight SETUP. Press OK.
•
Highlight SYSTEM. Press OK.
•
Highlight RESET RECEIVER. Press OK.
NOTE!
When you reset the receiver, the channels will be in the order that Force has selected. If you wish to sort this order, see
"Sorting TV channels".
11.4
On screen timeout
Some on-screen information is only shown for a short time. The default for this is 5 seconds, but it can be changed –
from the main menu, select SETUP, then PERSONAL SETTINGS, then OSD setup.
11.5
Adjusting Clock for Different Time Zones
You can set up your receiver for different time zones to ensure that the clock which is displayed is correct.
From the main menu, select SETUP, followed by SYSTEM and then CLOCK. Highlight TIMEZONE and press OK for a drop
down menu giving you the option to set the time zone. The DAYLIGHT SAVING box should normally be set to
Automatic, but you have the option to control this manually. Press SUMBIT when you have finished and confirm that the
correct time is now shown on the screen.
11.6
Menu lock
This enables you to prevent menu changes unless the selected PIN code is entered. This function will only be switched on
once the equipment has been in stand-by mode at least once. Perform the following:
•
Select SETUP from the main menu and press OK.
•
Select Personal Settings using OK.
•
Select MENU LOCK using OK.
•
Enter your selected PIN code and repeat the entry for confirmation.
•
Select SUBMIT.
When this function is enabled, you will be asked to enter your PIN code when the MENU is selected. Once the PIN code
has been entered, it does not have to be entered again until the unit goes into standby. Cycle the unit through standby
again if you want to immediately lock the menu.
If the Menu Lock is in use, you can still use the EPG and access the Timer from the EPG.
There is no default PIN for menu lock. However, if you use this function and forget the PIN, the receiver will have to be
returned to your Force dealer before the menu system can be enabled again.
English


