15
4.6
Saving Your Configuration
You conclude your installation by highlighting SUBMIT and pressing OK. Now the clock will appear in the display on the
receiver as long as you have a signal from the dish or antenna.
You may find that the clock shows the wrong time. If it is wrong by an exact number of hours, the receiver has been set
up for the wrong time zone. This can be changed via the on-screen menu as described in section 11.5.
4.7
LNB Set-up
Additional configuration of the LNB takes place after the basic set-up has been completed. From the main menu, select
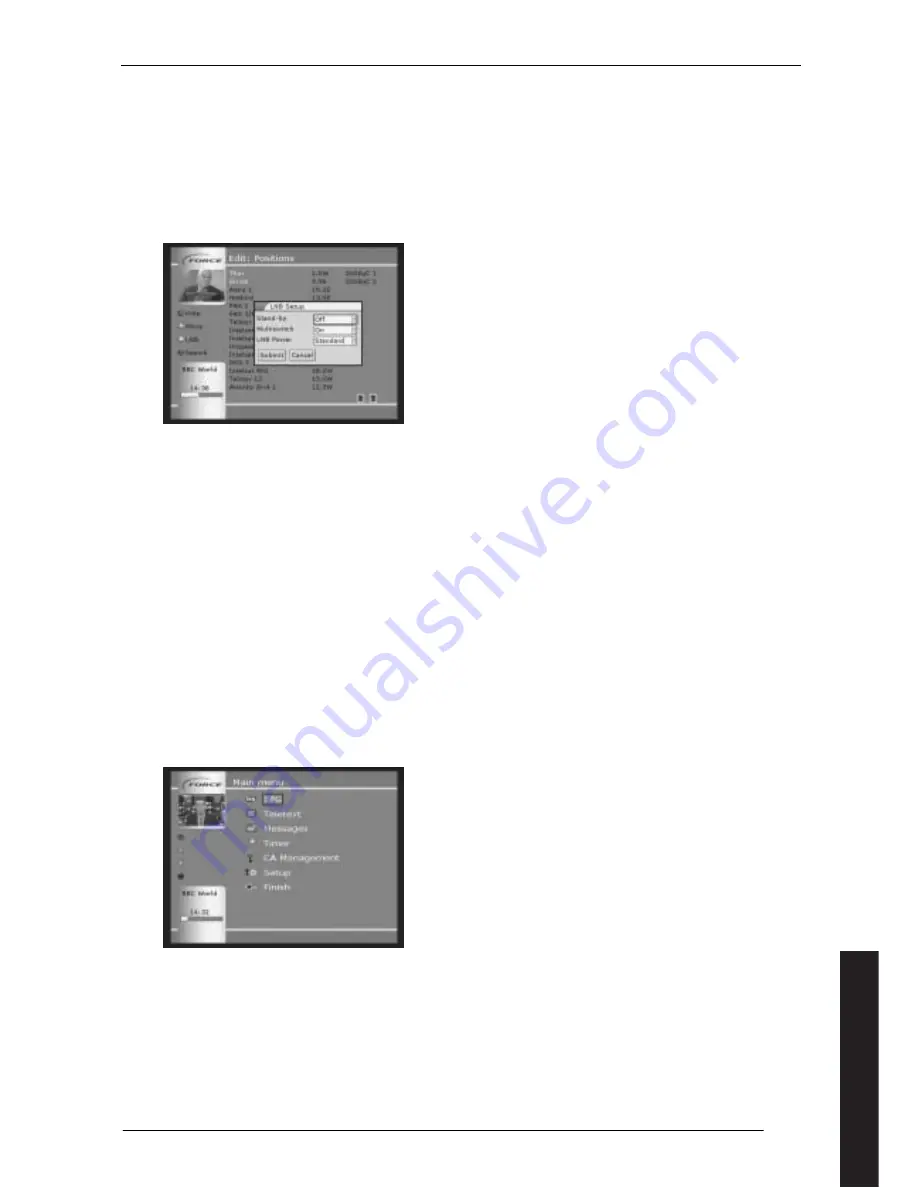
SETUP – LISTS – POSITIONS. Then press the yellow short cut button for LNB control to get the menu shown in figure 15.
Figure 15
(Set up LNB)
If the cable to the dish attenuates the signal too much and its quality is degraded, the LNB voltage can be increased.
Change the LNB POWER from ‘standard’ to ‘+1 volt’.
If your dish is connected to multiple receivers, you must ensure that the receiver which provides power to the LNB, that
is the receiver directly connected to the LNB, continues to power the LNB when it is in standby. On this menu, change
Stand-by from Off to On. If you only have a single receiver, keep this setting at Off.
If you have a DiSEqC unit to control your LNBs (see section 2.2.3), a command is sent to the DiSEqC every time you
change channel, even if the DiSEqC setting is not changed. If you set MULTISWITCH to Off, this command is only sent
when necessary. It is recommended that this command is set on On.
5
Selecting Programmes on your Force Receiver
5.1
Menu system
The Menu system in a Force receiver is comprehensive but easy to move around. There is a selection of main menu
options, and these lead to sub-menus where further selections are available. The operating system is similar to the way
you navigate around a personal computer.
In order to be able to enter the various parameters in the Force receiver, you must go into the main menu. This is done
by pressing MENU on the remote control. You select/activate menu items or functions by using the up/down arrow keys
on the remote control to highlight the relevant point or function with a red border and then confirm by pressing OK.
You can see the main menu on the picture below; here the red box is positioned over the EPG sub-menu.
Figure 16
(Main menu with red box)
When you have finished, highlight FINISH and press ENTER. Alternatively you can press MENU again at any time to exit
the menu system.
If you make a menu selection which you do not want, you can return to the previous menu by selecting FINISH or by
pressing the EXIT button. If you choose the EXIT button, no changes made on the menu are saved.
English


