background image


16 


5.2


Shortcut buttons 

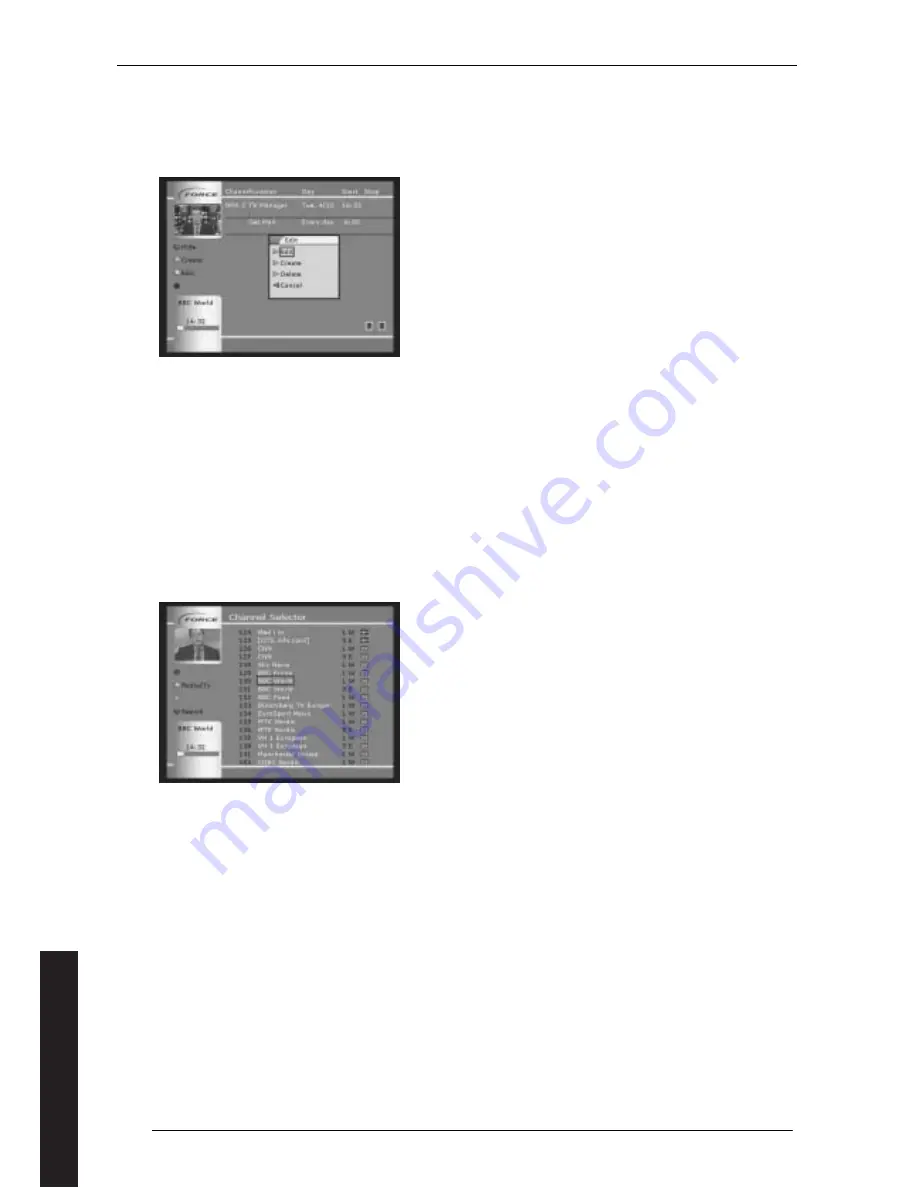
In some of menus/overviews the coloured shortcut buttons are used. Where this happens, they are shown down the left-
hand side of the menu with their allocated functions. An example of such a menu is shown below. If you want to open a 
sub-menu with extended functionality in this overview, you must press the yellow button. The blue button in this 
illustration has no function. 


Figure 17 

(Menu with shortcut buttons)


5.3


Channel selection 

One of the functions you will use often is the channel selector. When you are watching a TV programme (no matter 
which) and you want to change to a different programme, you can do this in three ways: 
  

1.


To move to the next channel, press either the arrow up/arrow down or the CH +/- buttons on the remote control. 
You can repeat this to look at each channel in turn.  

2.


If you want a better overview of the available channels, press the OK button. You will then access the channel 
selector shown in Figure 18 (Channel selector). Use the arrow up/down buttons to move up and down the list on the 
screen, or use the arrow left/right buttons to move to the next/previous page in the list. Use the Radio/TV button to 
switch between their separate lists. Highlight the desired channel, then press OK. You can also search the list, as 
described in section 8. 

3.


If you know the number of the channel you want to view, enter the channel number on the numbered keys on the 
remote control. Press OK, or wait for a few seconds, and the channel will appear.  


Figure 18 

(Channel selector)


You can search the channel selector using the blue shortcut key shown in Figure 18 (Channel selector). 
 
Terrestrial networks transmit a limited number of channels, so you can only search using a text field. To enter text, 
highlight the letter and then press OK. Numbers can be entered directly from the remote control. Delete is the key on 
the bottom right. When complete select OK on the bottom middle of the display, press OK on the remote control, then 
select SUMBIT. The channel list then shows only those programmes which include the selected text, which could for 
instance be the name of the broadcaster, such as Sky. To remove the selection, go back to the Channel Selector screen 
and press the blue button again. Highlight Reset, press OK on the remote control, then highlight SUMBIT. The full list 
should again be visible.  
 
On the satellite receiver, you can search the available channels for a particular category, e.g. sport. You will then only 
see the channels categorised as sports channels; the same can be done for language, package, position or a specific text 
field which you enter yourself. 

English

Содержание 310S

Страница 1: ...rought to them in a simple and intuitive way To achieve this we work together with both experienced and inexperienced user groups The knowledge and experience we gain enables us to develop products th...

Страница 2: ...demand a symbolic subscription for updates to the channel list for other satellites If you cannot accept these conditions you must not connect the apparatus to the power supply The connection of the e...

Страница 3: ...in use 12 4 Start up 13 4 1 Installation Wizard 13 4 2 Select language 13 4 3 TV format Menu 13 4 3 1 TV format 13 4 3 2 TV SCART Start up TV format 13 4 3 3 UHF channel Start up TV format 14 4 3 4 R...

Страница 4: ...ent 30 11 2 Messages via the mail system 31 11 3 Updating the software 31 11 3 1 Terrestrial receiver 31 11 3 2 Satellite receiver 32 11 4 On screen timeout 32 11 5 Adjusting Clock for Different Time...

Страница 5: ...lk to your distributor to get the best advice More details are given in section 2 3 Many services particularly when broadcast over satellite are encrypted and require a plug in card so that you can vi...

Страница 6: ...tant that the mounting is stable Please note that a wooden gable on a house may be unsatisfactory as it will deteriorate over time The dish must have an unhindered view to the south see Figure 1 Turn...

Страница 7: ...type plug Take care to avoid a short circuit between the inner conductor and the metallic protective screening the wires around the inner conductor Figure 4 Assembly of the F plug Note The LNB F plug...

Страница 8: ...led for analogue reception may give adequate reception but due to the differences in signal frequencies you may find that only some TV channels can be received Your local distributor will be able to g...

Страница 9: ...ent on the aerial connected to the Antenna In Add a short RF cable between ANT OUT and RF IN on the Force receiver 2 6 Connection to video recorder The analogue output RF Out can be used to connect to...

Страница 10: ...on Figure 8 Terrestrial receiver distribution If you have a second Force Receiver it can be connected to the ANT OUT connector on the first receiver Several receivers fed from the same dish or antenna...

Страница 11: ...normal Off On No input Off Flashing Searching for channels Off Flashing Note that when the unit goes into standby both red and blue LEDs are on for a short time while the unit is shut down 3 2 Program...

Страница 12: ...me on When the receiver is switched on the red LED will go off and a blue LED will be seen The receiver will always start on the channel it was tuned to when it was put into standby This area figure 1...

Страница 13: ...12 Select language 4 3 TV format Menu 4 3 1 TV format TV format refers to whether you have a standard 4 3 TV or a widescreen 16 9 TV 4 3 This setting is suitable for most TVs 16 9 This setting is onl...

Страница 14: ...able channels see section 8 2 2 Figure 14 Positions The installation wizard sets up the basic parameters for the LNB but advanced settings are configured after the wizard has finished These are descri...

Страница 15: ...your LNBs see section 2 2 3 a command is sent to the DiSEqC every time you change channel even if the DiSEqC setting is not changed If you set MULTISWITCH to Off this command is only sent when necess...

Страница 16: ...the desired channel then press OK You can also search the list as described in section 8 3 If you know the number of the channel you want to view enter the channel number on the numbered keys on the...

Страница 17: ...then show the programme at the correct time Remember not to do this for a programme which is currently being broadcast Figure 20 EPG Extended information Figure 21 Search As noted above the EPG data...

Страница 18: ...e of these controls The volume on the VCR SCART and the digital audio outputs are not affected by adjustment on the Force receiver You can decide whether the volume on the Analogue Audio outputs is or...

Страница 19: ...de and then press the red shortcut button hide If you want the timer to be active again press the red shortcut button again 6 1 TV Manager Your Force receiver can be set to automatically advise you wh...

Страница 20: ...ith any other selected timer functions The Force receiver will carry out this function as soon as the time arrives 6 3 Get Mail Your receiver is set as standard to check for new mail every day However...

Страница 21: ...rly useful if for example you are on holiday or for any other reason your receiver is not being used for a long period and your programme cards are thus not being updated You can check the status of t...

Страница 22: ...the menu for the relevant timer and can change the various parameters 6 7 Deleting timer settings If you want to delete a timer setting perform the following Go into the timer overview Main menu Timer...

Страница 23: ...elect PERSONAL SETTINGS and press OK Select ADULT LOCK Select ON Enter a 4 figure code PIN code for use in the programmes to be locked Enter the code again Press SUBMIT IMPORTANT Use a PIN code that i...

Страница 24: ...or select RESET then select SUMBIT You can edit the information held against a channel and also control its access From the TV or radio channel list press the Yellow shortcut button You have three ot...

Страница 25: ...annel search for instance if you have moved the receiver from one area to another or simply start a new channel search to add to the existing list New searches can either be automatic or manual Use th...

Страница 26: ...egin to search for TV and radio channels for the selected frequency and network This may take a few minutes Once the search is complete press OK on your remote control You can then continue searching...

Страница 27: ...h the number of the channel where you wish to place the channel and then press the green shortcut button again to place the channel To sort the channels press the yellow short cut button then select S...

Страница 28: ...age selection you must enter Vpid and Apid WARNING Do not change programme ID and PID unless you are absolutely sure you know what you are doing If you do make changes remember the old settings 8 2 2...

Страница 29: ...Shows channel information plus the satellite and its position TV SAT Switches the source of the signal in the TV between the Force Receiver and the selection made on the TV itself Refer to section 10...

Страница 30: ...DVD connected via the VCR SCART connector on the receiver the VCR is the source of the signal when it is playing If you want the TV set to select its own input press 0 on the remote control press OK...

Страница 31: ...l Select START for automatic updates and press OK on the remote control The receiver will now begin to download the latest software directly from the network This will take approx 3 minutes Never disc...

Страница 32: ...s 5 seconds but it can be changed from the main menu select SETUP then PERSONAL SETTINGS then OSD setup 11 5 Adjusting Clock for Different Time Zones You can set up your receiver for different time zo...

Страница 33: ...ll not have been able to complete the channel search part of the installation You should now be able to do this as described in section 8 1 2 11 9 Language Control The language set up during installat...

Страница 34: ...V aerial UHF or VHF frequencies Connected only to RF Analogue output Outputs Video TV SCART CVBS RGB or S Video Video SCART Model 320 only CVBS or S Video Video formats PAL G I K Aspect ratio Auto 16...

Отзывы: