42
The displays differ depending on the personal computer
you use.
≥
Operate as the user who has the PC administrator right.
1
“
[
スタート
(Start)]”
1
“
コントロールパネ
ル
(Control panel)”
1
Open “
プログラムのアン
インストール
(Uninstall programs)”.
2
Select “NTT DoCoMo FOMA PC
設定ソフト
(NTT DoCoMo FOMA PC setup software)”,
then click “
アンインストール
(Uninstall)”
1
Click “
続行
(Continue)”.
3
Click “
はい
(Yes)”.
The uninstallation starts, and applications (programs) are deleted.
4
Click “
完了
(Finish)”.
Uninstalling the “FOMA PC setup software” is completed.
The operation below explains how to set an access
point name (APN) for packet communication.
The FOMA packet communication does not use an
ordinary phone number as an access point unlike the
64K data communication. For each access point,
register an access point name (APN) in the FOMA phone
beforehand, then specify the registration number (cid) in
the access point phone number field for connection.
“cid” is the abbreviation of “Context Identifier”, the
number for storing the packet communication access
point name (APN) in the FOMA phone.
1
Start the “FOMA PC
設定ソフト
(FOMA PC
setup software)”, then click “
接続先
(APN)
設
定
[Access point name (APN) setting]” in “
マ
ニュアル設定
(Manual setup)”.
2
Click “OK”.
When you click “OK”, the system automatically accesses the
connected FOMA phone and reads the registered “access point
name (APN) setting”. You can obtain the setting information also
from “
ファイル
(File)”
→
“FOMA
端末から設定を取得
(Obtain the
setting from the FOMA phone)” on the menu in step 3.
Uninstall
Access Point Name (APN) Setting
3
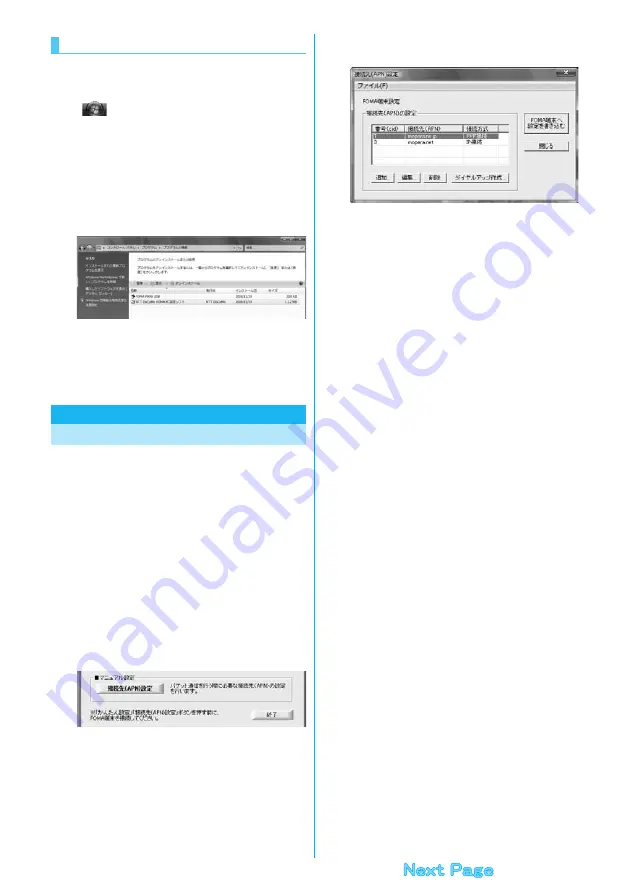
Set an access point name (APN).
≥
If the FOMA phone is not connected, this display does not appear.
Adding, editing, and deleting an access point
name (APN)
・
To add an access point name (APN), click “
追加
(Add)”.
・
To edit (correct) a registered access point name (APN), click “
編集
(Edit)”.
・
To delete a registered access point name (APN), select the target
access point name (APN), then click “
削除
(Delete)”.
※
You cannot delete the access point name (APN) registered in
“cid1” and “cid3”. (Even if you select “cid3” and click “
削除
(Delete)”, it is not deleted actually and “mopera.net” returns.)
Saving data into a file
From the menu, select “
ファイル
(File)”
→
“
上書き保存
(Overwrite
and save)” or “
名前を付けて保存
(Rename and save)”; you can back
up the access point name (APN) setting registered in the FOMA
phone or save the currently edited access point name (APN) setting.
Reading data from a file
From the menu, select “
ファイル
(File)”
→
“
開く
(Open)”; you can
obtain the access point name (APN) setting saved in the personal
computer.
Reading access point name (APN) information
from the FOMA phone
From the menu, select “
ファイル
(File)”
→
“FOMA
端末から設定を取
得
(Obtain the setting from the FOMA phone)”; you can obtain the
access point name (APN) setting from the FOMA phone.
Writing access point name (APN) information to
the FOMA phone
Click “FOMA
端末へ設定を書き込む
(Write the setting to the FOMA
phone)”; you can write the displayed access point name (APN)
setting to the FOMA phone.
You cannot write the IP information to the FOMA phone which does
not support the IP connection.
Dial-up information creation function
Select an access point name you add or edit on the access point
name (APN) setting display, then click “
ダイヤルアップ作成
(Create
dial-up information)”; you can create dial-up information for packet
communication. If the access point name (APN) setting is not written
to the FOMA phone, the FOMA phone setting writing confirmation
display then appears, then click “
はい
(Yes)”. After writing ends, the “
パケット通信ダイヤルアップ作成画面
(packet communication
dial-up information creation display)” appears.
Enter any access point name, then click “
アカウント・パスワードの
設定
(Specify account and password)”. (You can leave it blank to
connect to “mopera U” or “mopera.”)
Enter the user name and password, select the authorized user, and
then click “OK”.
If your Internet service provider instructs you to specify IP and DNS
information, click “
詳細情報の設定
(Set detailed information)”, and
register the required information. Then click “OK”.
After entering information, click “OK”. Dial-up is created.
See page 37 for using “mopera U” or “mopera”.
See page 38 for using a provider other than “mopera U” or “mopera”.
Содержание P906i
Страница 92: ...90 ...
Страница 276: ...274 ...
Страница 292: ...290 ...
Страница 314: ...312 ...
Страница 328: ...326 ...
Страница 436: ...434 ...
Страница 466: ...464 ...
Страница 543: ...541 Index Quick Manual Index 542 Quick Manual 550 ...
Страница 623: ...Kuten Code List ...


