13
FläktGroup
DC_9355GB 20180119_R0
We reserve the right to make changes without prior notice
Handheld terminal
Navigation
Use the up and down buttons (5, 6) to navigate in the
handheld terminal. Press one of these buttons to move the
cursor up or down to the desired row. To go into the sub-
menu, press Enter (7). To go back to the previous menu,
press ESC (3).
Changing a value
Place the cursor on the desired parameter using the up
and down buttons (5, 6) Then press Enter (7). Set the
desired value using the up and down buttons (5, 6).
Confirm the change by re-pressing Enter (7). To abandon
the change and return to the menu without confirming,
press ESC (3).
Please note:
From now on in this document, navigation to a
sub-menu will be illustrated with the symbol
Ú
.
Navigation example
The following example shows how to put the control unit
into Auto, i.e. enable operation from the internal schedulers.
1. Place the cursor on the Main index row using the
up and down buttons (5, 6).
2. Then press Enter (7) once to show the next level in
the menu structure.
3. Move the cursor to the Unit row using the up and
down buttons (5, 6).
4. Then press Enter (7) once to show the next level in
the menu structure.
5. Move the cursor to the Operating mode row
using the up and down buttons (5, 6).
6. Then press Enter (7) once to show the next level in
the menu structure.
7. Move the cursor to the Manual operation row
using the up and down buttons (5, 6).
8. Press Enter (7) to start editing the value.
9. Change the value to Auto using the up and down
buttons (5, 6).
10. Confirm the selection by re-pressing
Enter (7).
11. Press ESC (3) three times to return to the
Start page.
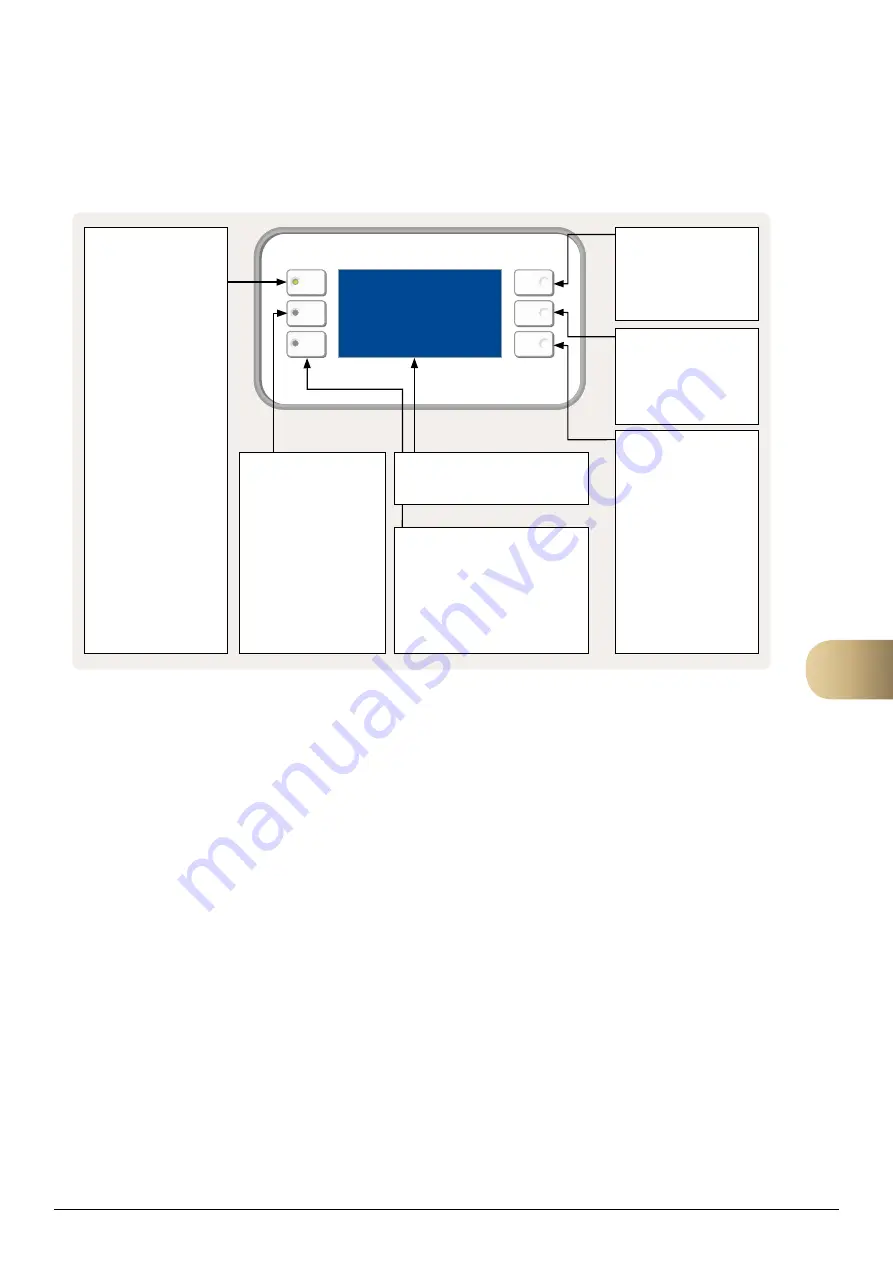
1. Display
Display of readings and settings.
5. Up/increase
Press to navigate up the
list or to increase the
parameter value.
6. Down/decrease
Press to navigate down
the list or to decrease the
parameter value.
7. Enter button
Press this button to
enter a menu or to
confirm a new reading.
Hold down to go straight
into the login menu if
the value to be changed
requires a login.
2. Info button
Press to access Main
Index.
•
Extinguished =
Stop,
recooling.
•
Green steady
illumination =
Normal
operation.
•
Flashes green =
Startup, Night operation
test, Night cooling or
Night heating/night
cooling.
•
Orange steady
illumination =
Emergency stop and
alarm with stop.
•
Flashes orange =
Fire damper exercising
from Climatix.
•
Alternating green/
orange =
Manual
control.
4. Alarm button
Function, see alarm
acknowledgement.
•
Flashes red
= alarm.
•
Red steady
illumination =
alarm
acknowledged but
persists.
3. ESC button
• Press to return to previous menu/
screen.
• Press to cancel the ongoing
editing of a value.
5
Содержание eQ PRIME 005
Страница 1: ...eQ PRIME COMMISSIONING...
Страница 2: ......


