14
Pre-Commissioning Settings
FFRT Set-Up Description
Using the keypad the scanner flame failure response time can be set by the user to the desired timing.
Each unit comes from the factory pre-set at 1 second.
To change the factory default to a different
FFRT see Set-Up Procedure below. To verify the current FFRT setting, press and hold the UP push
button with the scanner in the normal operating mode. The “flame strength” LED set will display 1
st
,
2
nd
, 3
rd
or 4
th
LED as appropriate and these correspond to the FFRT in seconds.
FFRT Set-Up Procedure
If the Flame Failure Response Time needs modifying, follow the procedure listed below.
Press both the
Target Flame Select
and
Background Flame Select
buttons simultaneously.
Use the up button to drive the LEDs until LED number
[8]
(pass code) is illuminated on the flame strength
LEDs right hand set.
Press both the
Target Flame Select
and
Background Flame Select
buttons simultaneously.
Press UP or DOWN push buttons to select required FFRT (the selected FFRT is displayed on the flame
strength LEDs as either
1
st
, 2
nd
, 3
rd
or 4
th
). Once you have selected the correct value, Press both the
Target Flame Select
and
Background Flame Select
buttons simultaneously to store. The stored value
can be displayed and checked at any time while in the normal run mode. Pressing and holding the UP
pushbutton at any time will display the stored FFRT on the flame LEDs right hand set. Verify that the
correct FFRT has been stored.
Commissioning the Scanner /Learning the Flame Condition
Step 1 – Enter the pass code
Press both the
Target Flame Select
and
Background Flame Select
buttons simultaneously.
Use the up button to drive the LEDs until LED number
[5]
(pass code) is illuminated (if you pass the
required point use the down button to correct).
Press both the
Target Flame Select
and
Background Flame Select
buttons simultaneously.
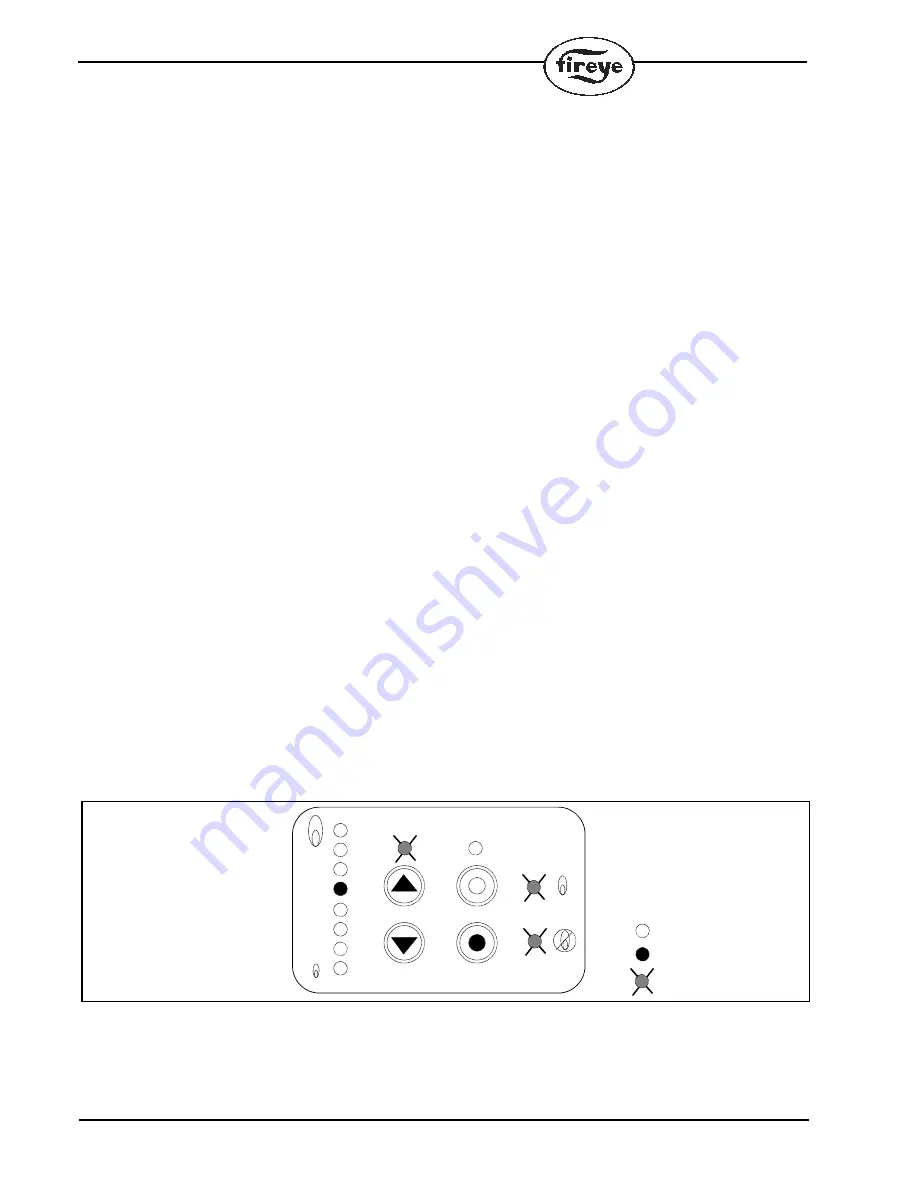
LED indication at this point:
Ready = Flashing
Flame On/Off LED = OFF
Flame Learn LED = Flashing
Background Learn LED = Flashing
PASS CODE ACCEPTED
Step 2 – Learn / Store the Target Flame
Press the Target Flame select button (the Learn Target Flame LED illuminates). Note also that the flame
relay output is energized when the Target Flame Select button is depressed. This is to allow the Phoenix
Scanner to signal flame present to the BMS during commissioning
READY FLAME
= OFF
= ON
= FLASHING


