79
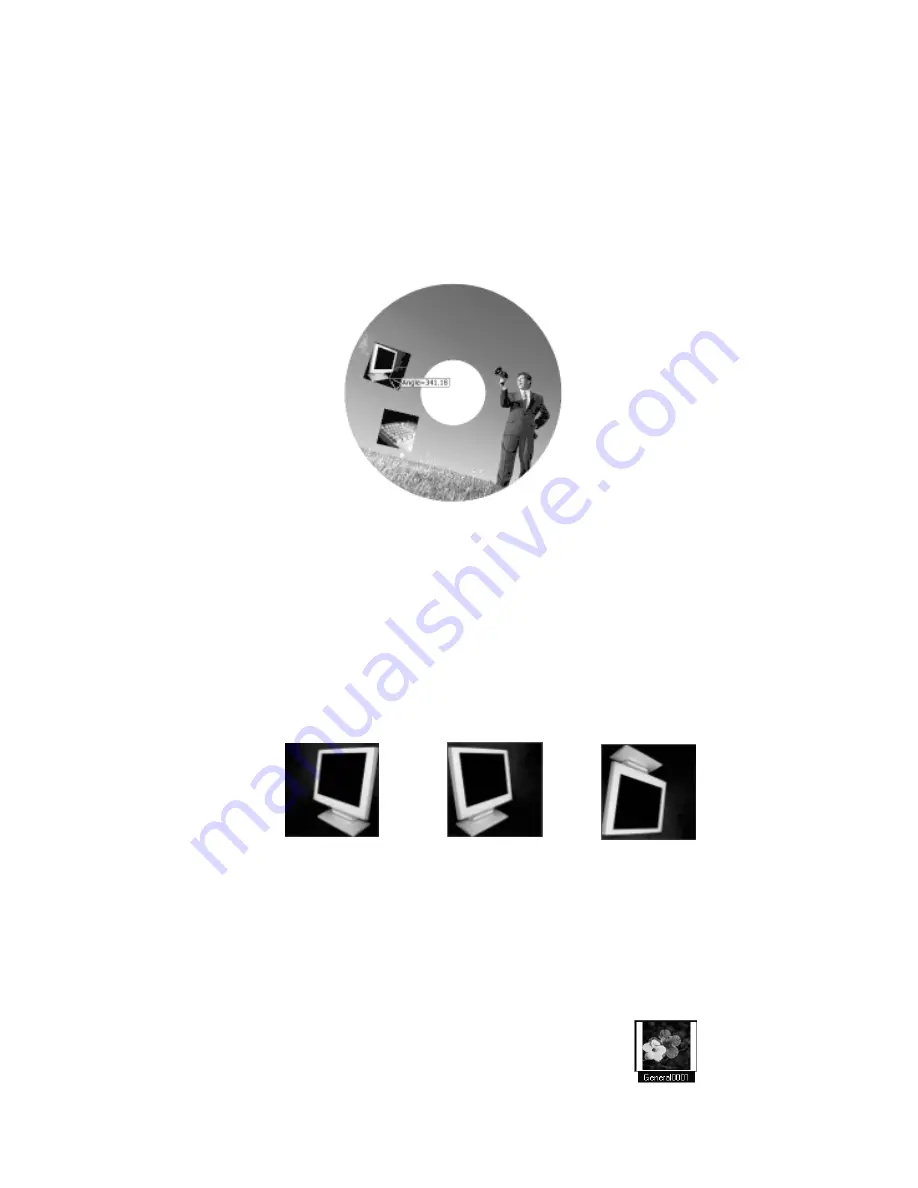
Next, we will rotate the angles of the images. Complete the steps below for each image:
To rotate the image:
Double-click on the image. The mouse pointer changes to a small cross-hair.
Hold down the left mouse button while moving the mouse in a circular
motion. As you rotate the image, the angle value will be displayed.
Your label should now look similar to the one shown below:
Rotating an image
You are also allowed to flip images on your label. Selected objects are flipped either
vertically or horizontally across the center axis of the selection.
To flip image:
Left-click once to select the image.
Select Format>Image>Flip Horizontal
Or, select Format>Image>Flip Vertical.
An example of each effect is shown below:
Original image
Flip Horizontal
Flip Vertical
Another way to manipulate an image is to crop that image. When you crop an image, you
are defining a part of that image to cut out and use instead of using the entire image. To
show an example of this, we will insert a third image onto our label and then crop that
image. To do this, complete the steps below.
To crop the image:
Insert the following image onto a blank area of your
label: (Please refer back to the Inserting an Image from


