27
Click on the Delete button (red button with a large ‘X’), or hit the Delete key
on your keyboard.
Multiple selection of text fields is another option offered in the Design Wizard. By
selecting multiple fields, all of the actions listed in the Working with Text section can
be applied to a group of text fields at the same time. This is especially useful when
you want to align several text fields to a specific location on the label.
To edit multiple text fields:
Left-click on one of the text fields.
Holding down the Ctrl key, left-click another text field. A thin light-blue
outline will appear around both of the text fields. The two text fields are now
grouped together and will be treated as one text field. Any action that is
applied - moving, resizing, rotating or deleting - will be applied to both text
fields simultaneously.
To ungroup the text fields, left-click on an open area of the label.
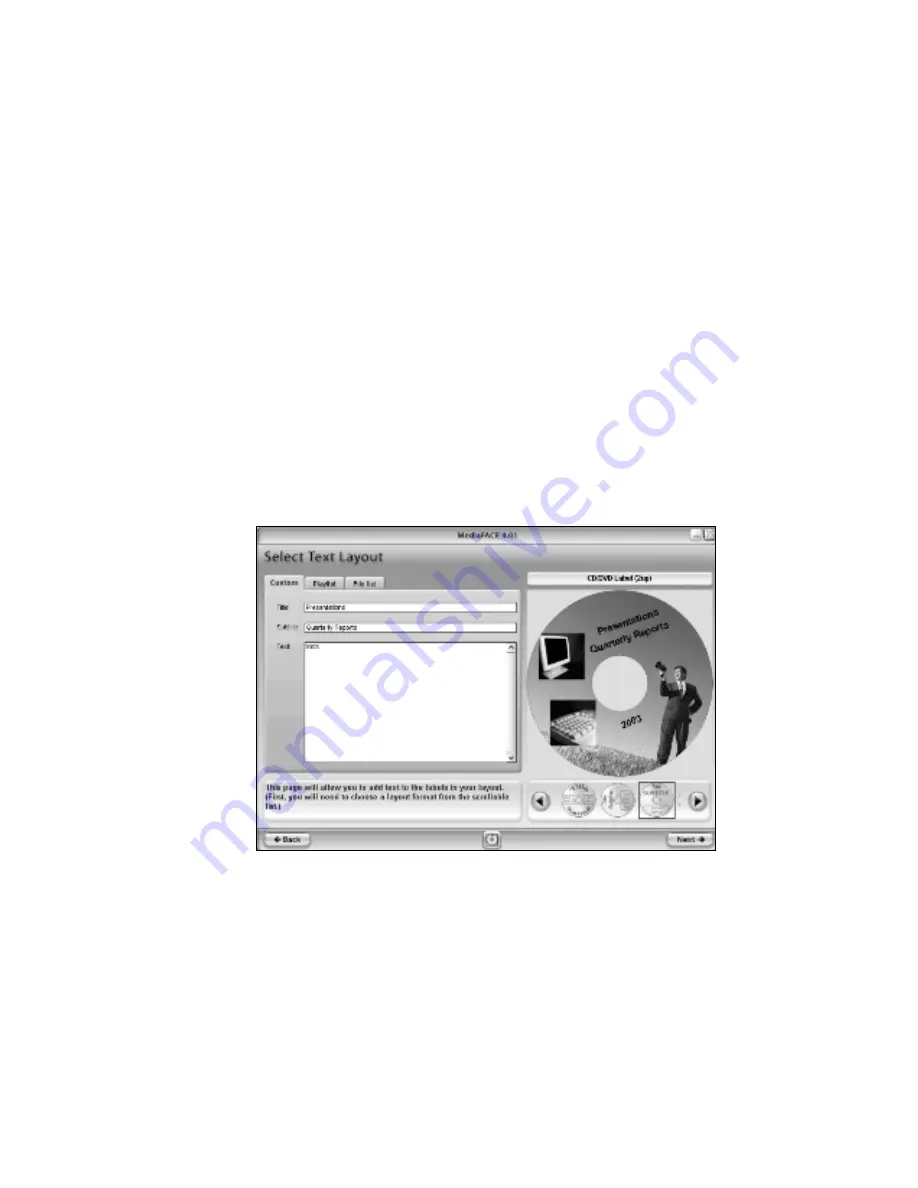
For our CD label example, shown below, the text fields inserted earlier were moved and
rotated to different angles:
Figure 2.9 – Rotating and resizing text fields
After you have inserted the images and text and moved them on the label, click the Next
button to continue. The next step is to print your label.
Printing
Now that we’ve designed our CD label, it’s time to print it out. The Select Paper screen
consists of several options that help you select the correct label paper and choose which


